beurer HT 65 Wave styler Instruction Manual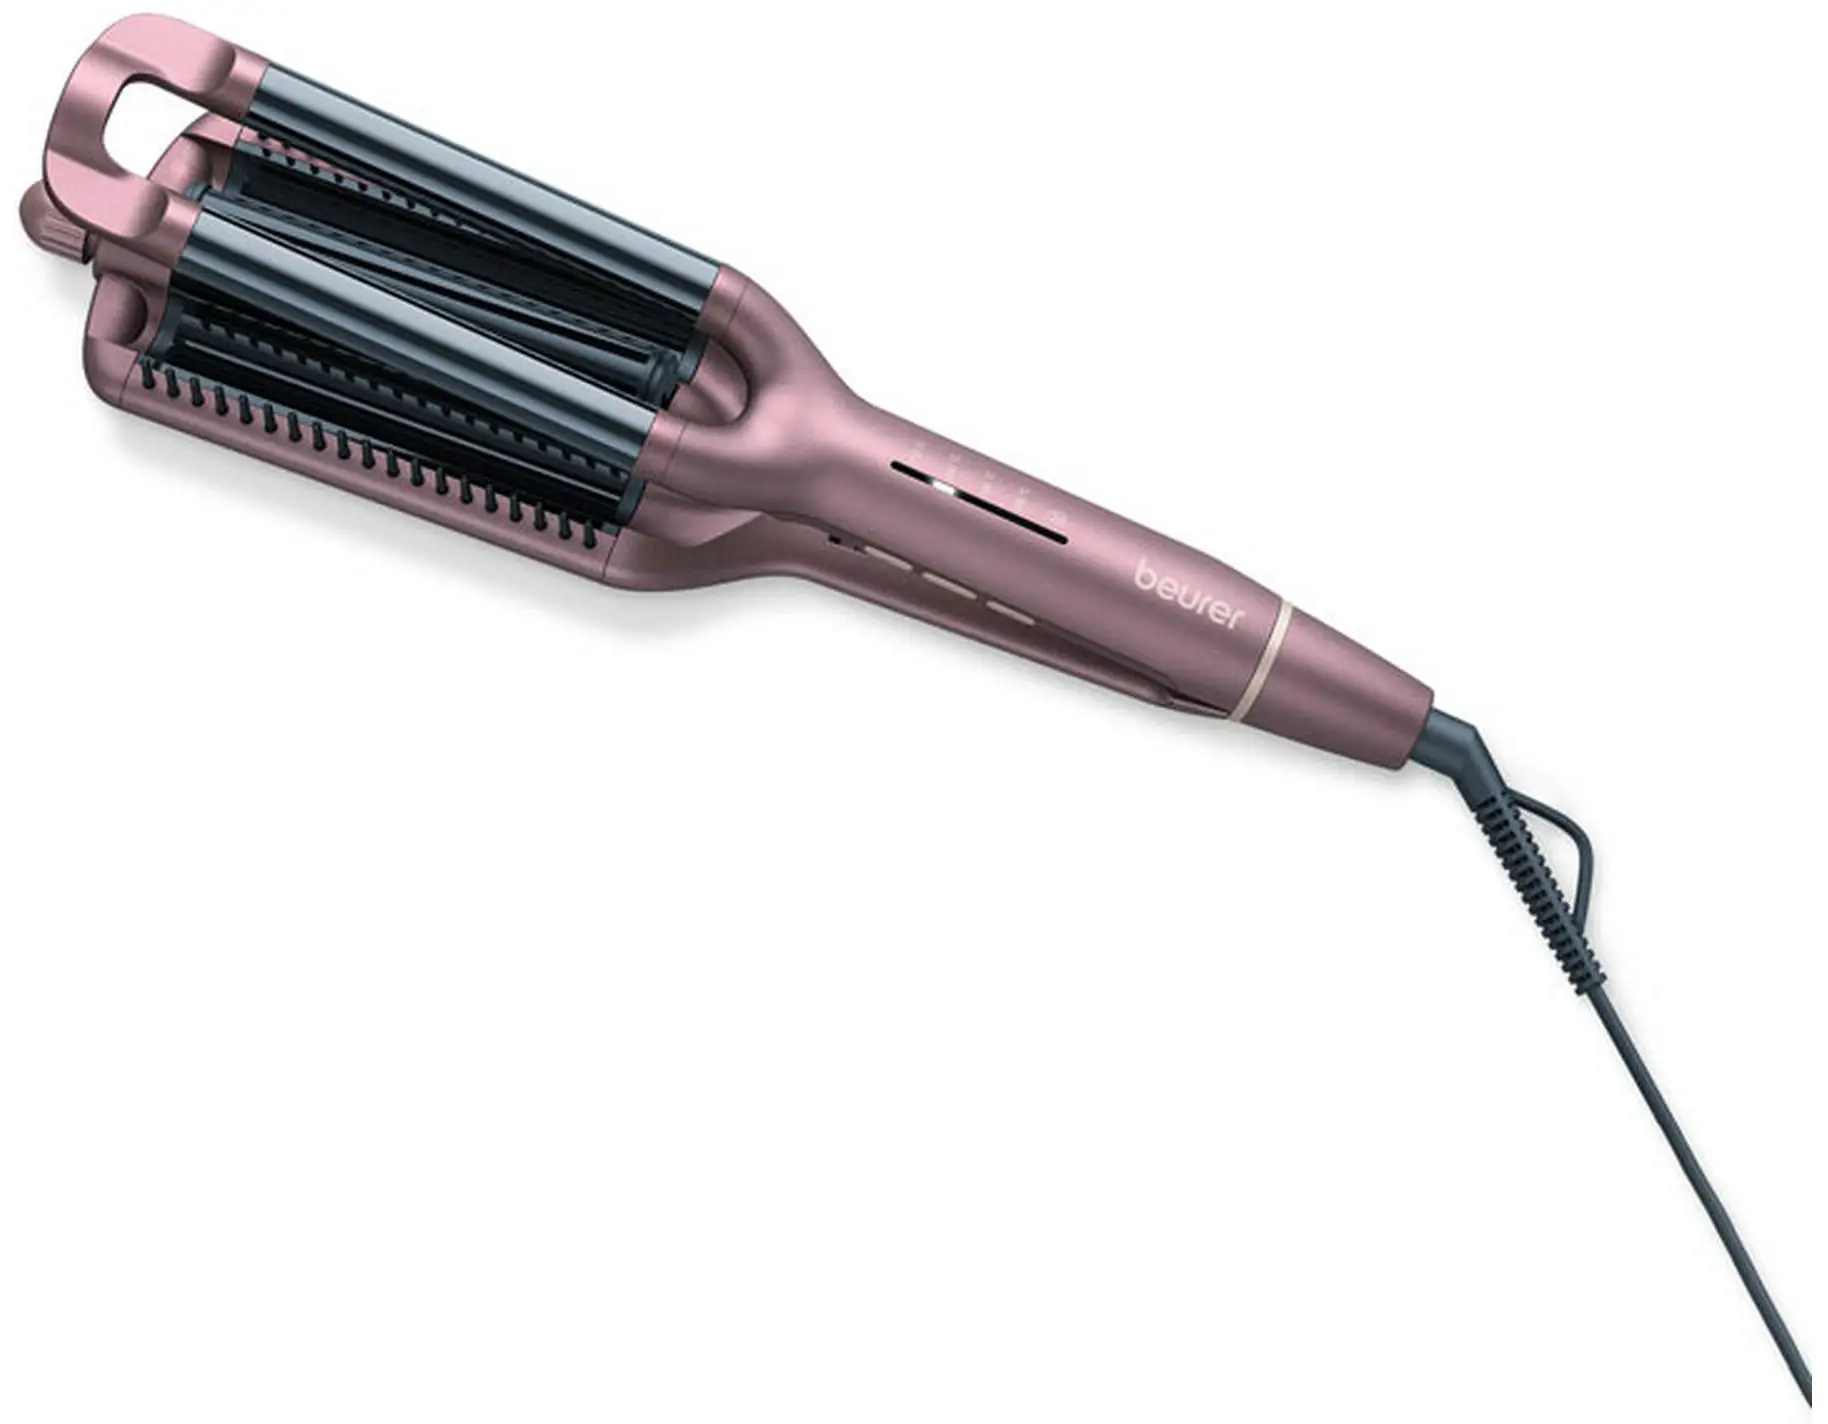
 Read these instructions for use carefully. Observe the warnings and safety notes. Keep these instructions for use for future reference. Make the instructions for use accessible to other users. If the device is passed on, provide the instructions for use to the next user as well.
Included in delivery
Check that the exterior of the cardboard delivery packaging is intact and make sure that all contents are present. Before use, ensure that there is no visible damage to the device or accessories and that all packaging material has been removed. If you have any doubts, do not use the device and contact your retailer or the specified Customer Service address.
1 x Wave styler
1 x Set of these instructions for use
![]() WARNING
WARNING
- The device is only intended for domestic/private use, not for commercial use.
- This device may be used by children over the age of 8 and by people with reduced physical, sensory or mental skills or a lack of experience or knowledge, provided that they are supervised or have been instructed on how to use the device safely, and are fully aware of the consequent risks of use.
- Children must not play with the device.
- Cleaning and user maintenance must not be performed by children unless supervised.
- If the mains connection cable of this device is damaged, it must be replaced by the manufacturer, its customer service department or a similarly qualified person to avoid any risk.
- When using the device in the bathroom, unplug the mains plug after use, as water in the vicinity constitutes a danger, even when the device is switched off.
- Never use the device near baths, wash basins, showers or other objects containing water or other liquids – risk of electric shock!
- As an additional safety measure, we recommend the installation of a residual-current circuit device (RCD). The rated operational current should not exceed 30 mA in the bathroom circuit. Your local electrical specialist can provide you with the relevant information.
SIGNS AND SYMBOLS
The following symbols are used on the device, in these instructions for use, on the packaging and on the type plate for the device:
 | Warning | This device must not be used near water or in water (e.g. in a wash basin, or in the shower or bath) – risk of electric shock! |
 | Warning | Warning notice indicating a risk of injury or damage to health |
| Important | Safety note indicating possible damage to the device/ accessory |
 | Note | Important information to note |
 | Protection class II | |
 | Dispose of packaging in an environmentally friendly manner | |
 | Disposal in accordance with the Waste Electrical and Electronic Equipment EC Directive – WEEE | |
| Read the instructions for use | |
 | CE labelling This product satisfies the requirements of the applicable European and national directives. | |
 | United Kingdom Conformity Assessed Mark | |
 | Manufacturer | |
INTENDED USE
The wave styler must only be used by individuals for shaping and styling and is for personal use only! Do not use the wave styler on synthetic hair or on animals.
Warning
The device is suitable only:
- for external use.
- for the intended purpose and as specified in these instructions for use.
Any improper use may be dangerous!
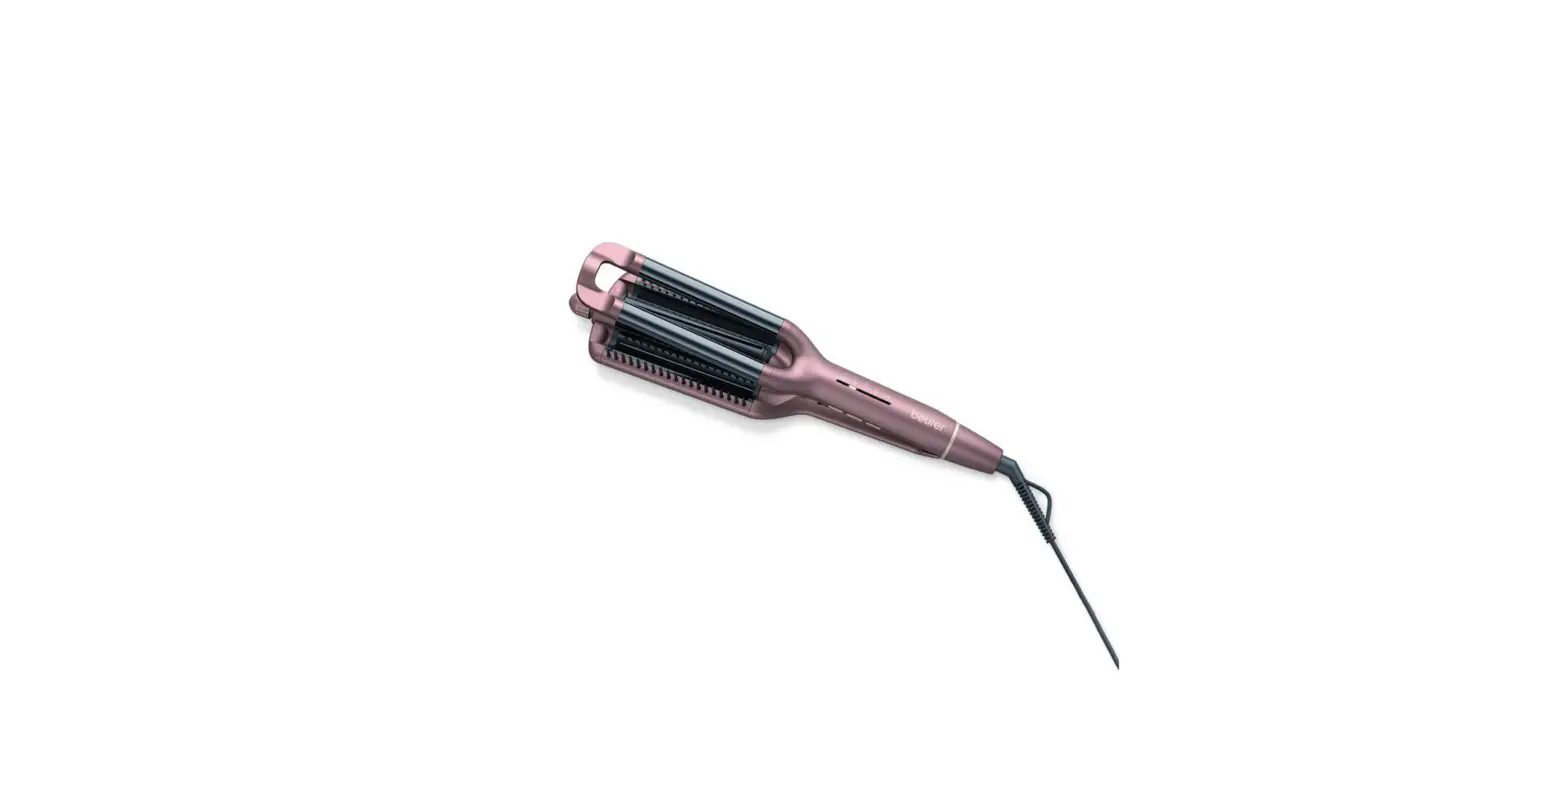
DEVICE DESCRIPTION
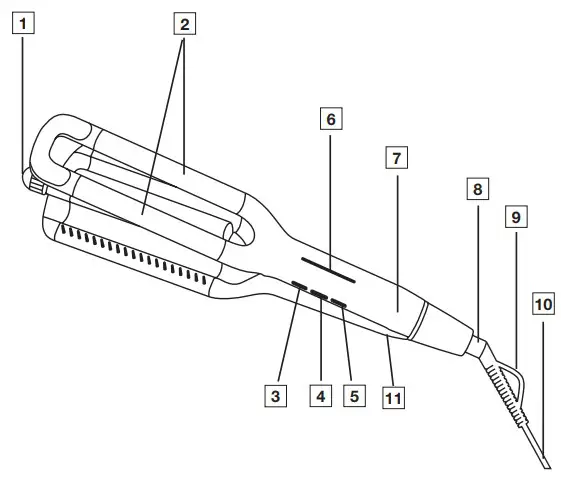
- Dial for setting the wave size
- Heating rods
- + Button for increasing the temperature
- – Button for reducing the temperature
- ON/OFF button
- LED temperature display (°C)
- Handle
- 360° swivel joint
- Hanging loop
- Mains cable
- Transport lock
USAGE
Starting the application
- Dry your hair thoroughly before using the wave styler
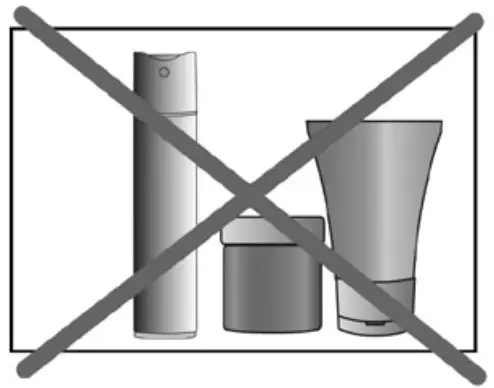
- Make sure that your hair is clean and free from styling products. This excludes special products designed to help your hair when shaping curls or waves.

- Comb your hair to get rid of any tangles.

- Switch on the wave styler by pressing the ON/OFF button [5].
- To make it easier to set the temperature, first close the wave styler and slide the transport lock [12] to the position. Set your desired temperature setting using the – button [3] or + button [4]. The device is pre-set to 160°C when it is switched on. Once you have set the temperature, slide the transport lock [12] to the position. The respective temperature setting starts to flash white in the LED temperature display [6]. Once the temperature setting lights up white permanently, the heating rods [2] have reached the configured temperature setting and the wave styler is ready for use.
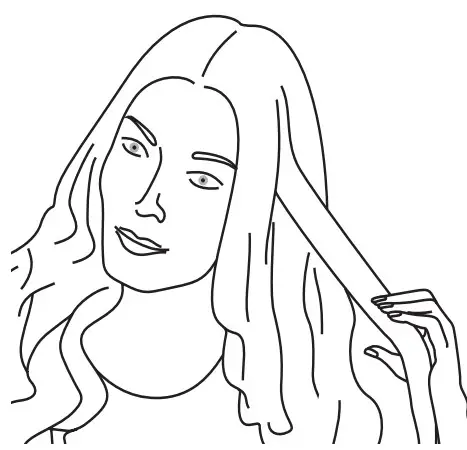
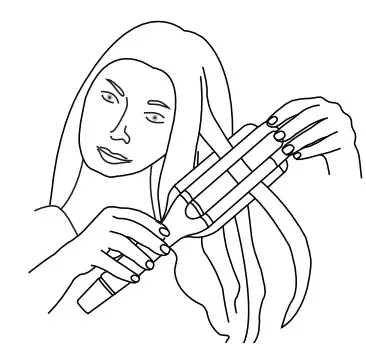
- Separate your hair into individual sections with a width of approx. 2-4 cm. Hold the strands taut.

- Place the section of hair between the heating rods [2] starting at the roots. Make sure that you do not touch your scalp with the heating rods [2].

Note
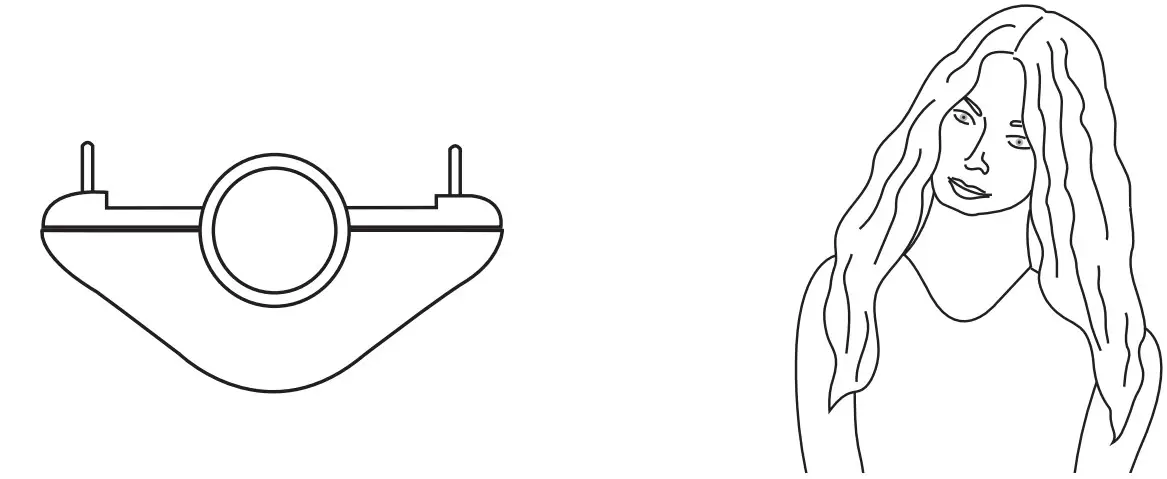
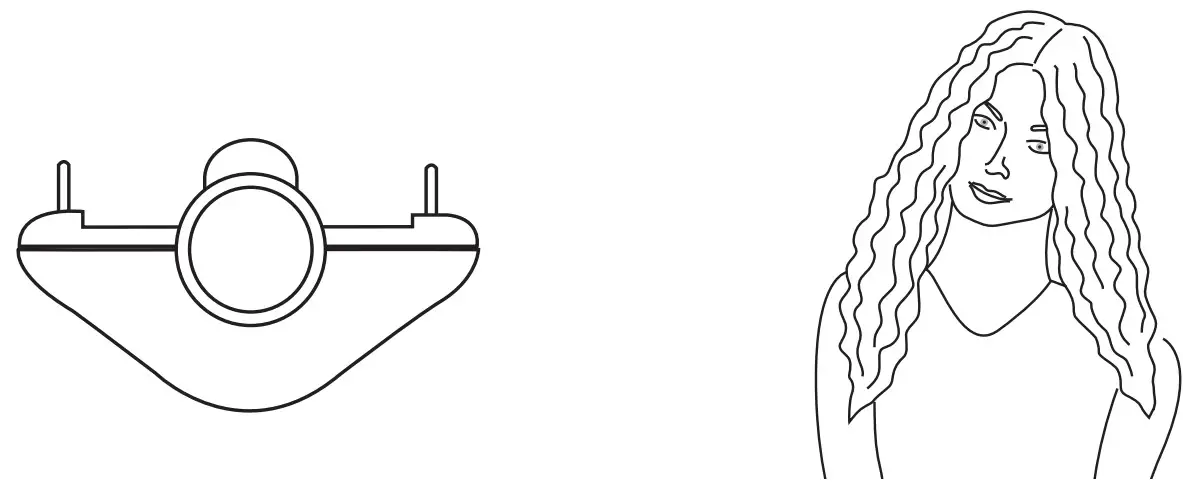
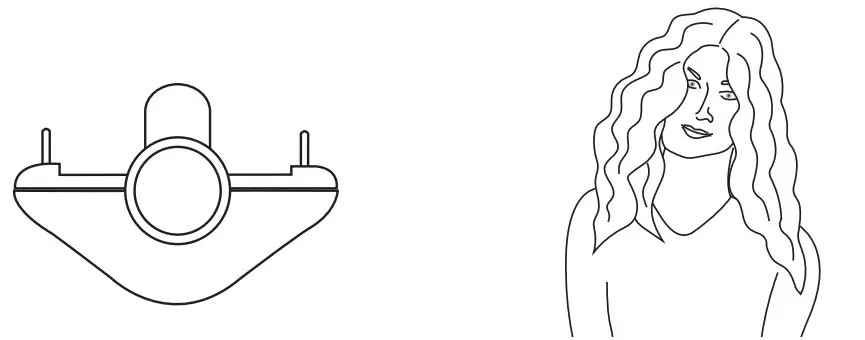
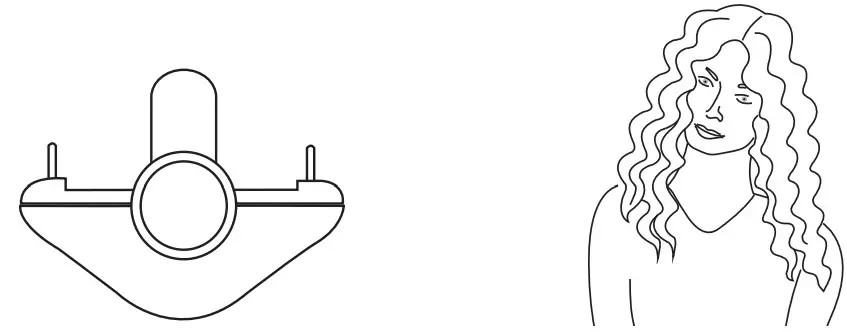
Turn the rotary wheel [1] to set the desired wave size created by the middle heating rod.
The following styles can be set:
Beach waves
Natural waves
Mermaid waves
Water waves
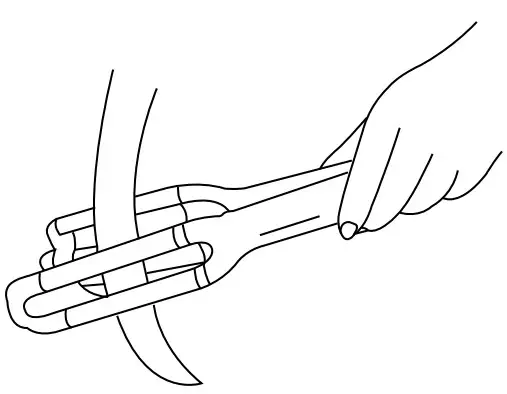
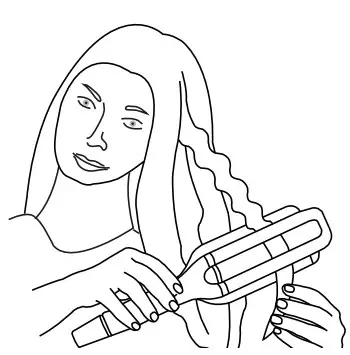
- Press the handle [7] of the wave styler shut so that the hair section is enclosed by the heating rods. Exert a small amount of pressure and hold this position for a few seconds.

- Release the handle [7] of the wave styler. Place the wave styler a little lower on the hairsection so that the part that has already been styled is not done again. Repeat the application along the entire length of the hair section

Note
![]() The wave styler features a safety switch-off function. After approx. 25 minutes, the LED temperature display starts to flash [6] to remind you about the automatic switch-off. If you want to use the wave styler for longer than 30 minutes, switch the device off and then immediately on again. The safety switch-off function is then reset to activate again in 30 minutes.
The wave styler features a safety switch-off function. After approx. 25 minutes, the LED temperature display starts to flash [6] to remind you about the automatic switch-off. If you want to use the wave styler for longer than 30 minutes, switch the device off and then immediately on again. The safety switch-off function is then reset to activate again in 30 minutes.
After use
- To switch off the wave styler after use, hold down the ON/OFF button [5] for three seconds. The heating rods [2] are now switched off and the LED temperature display [6] goes out.
- Pull the mains plug [11] out of the socket after each use. Do not wind the mains cable [10] around the device!
- Place the wave styler on a stable, horizontal and non-flammable surface to cool down. Make sure that the hot heating rods [2] do not touch the surface! Risk of fire!
- Wait until the heating rods [2] of the wave styler have cooled down completely. Then store the wave styler in a dry place out of the reach of children. Alternatively, you can hang up the wave styler on a hook using the hanging eyelet [9].
CLEANING AND MAINTENANCE
![]() Important
Important
- Always pull the mains plug out of the socket before cleaning the device. Risk of electric shock!
- Do not clean the wave styler with highly flammable liquids. Risk of fire!
![]() Warning
Warning
- Ensure that no water gets inside the device! Risk of electric shock!
DISPOSAL
For environmental reasons, do not dispose of the device in household waste at the end of its service life. Dispose of the device at a suitable local collection or recycling point in your country. Observe the local regulations for material disposal. Dispose of the device in accordance with EC Directive – WEEE(Waste Electrical and Electronic Equipment). If you have any questions, please contact the local authorities responsible for waste disposal. You can obtain the location of collection points for old devices from the local or municipal authorities, local waste disposal company or your dealer, for example.
TECHNICAL DATA
Weight: Approx.: 660 g
Voltage supply: 220-240 V~, 50-60 Hz
Power consumption: 120 W
Protection class: II
Ambient conditions: Only approved for indoors
Permissible temperature range: -10 to +40°C
Subject to technical changes.
WARRANTY
Further information on the warranty and warranty conditions can be found in the warranty leaflet supplied.


