welcoming • sophisticated • inspiring
![]()
ALLEN+ROTH and logo design are trademarks or registered trademarks of LF, LLC. All rights reserved.
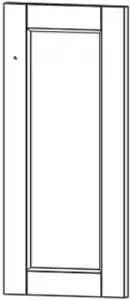
ITEM #2694646
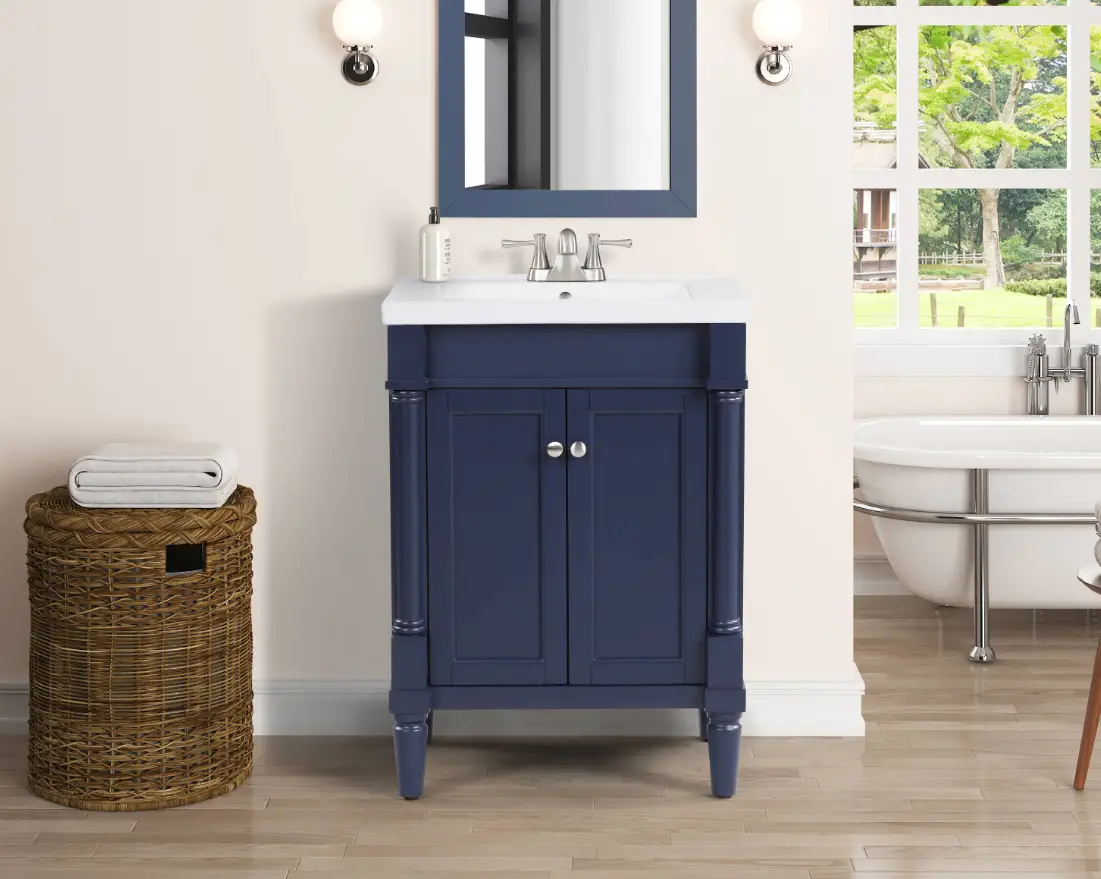
VANITY WITH TOP
Model #BV-8369
ATTACH YOUR RECEIPT HERE
Serial Number ___________ Purchase Date __________
Questions, problems, missing parts? Before returning to your retailer, call our customer service department at 1-866-439-9800, 8 a.m. – 8 p.m., EST, Monday – Sunday. You could also contact us at [email protected] or visit www.lowespartsplus.com.
RR20351
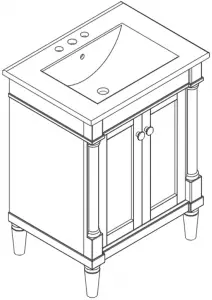
PACKAGE CONTENTS
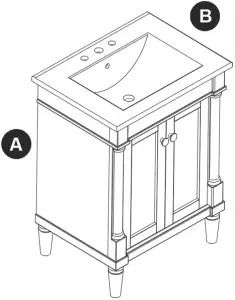
| PART | DESCRIPTON | QUANTITY |
| A | Vanity | 1 |
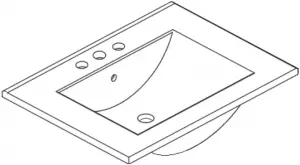
| B | Vanity Top | 1 |
HARDWARE CONTENTS
AA BB
![]()

Touch-Up Pen Optional Golden Knob
Qty: 1 Qty: 2
![]() SAFETY INFORMATION
SAFETY INFORMATION
Please read and understand this entire manual before attempting to assemble, operate or install this product.
![]() WARNING
WARNING
- Keep small parts away from children.
- Installing the item will require more than one person.
CAUTION - DO NOT try to pry off top from vanity. Damage to top or vanity may occur.
- Use care when assembling the vanity; take your time and follow the assembly instructions closely.
KEEP THESE INSTRUCTIONS FOR FUTURE REFERENCE.
PREPARATION
Before beginning assembly of product, make sure all parts are present. Compare parts with package contents list and hardware contents list. If any part is missing or damaged, do not attempt to assemble the product.
Estimated Installation Time: 20-30 minutes (24 hours for adhesive to dry).
Tools Required for Installation (not included): Silicone compound, Utility knife.
INSTALLATION INSTRUCTIONS
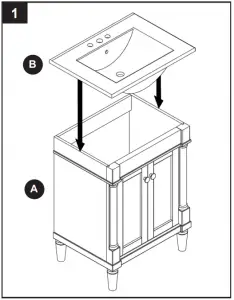
Step 1: Install the Vanity Top
1. Remove the protection pad from the vanity base (A) and clean the vanity surface before installation. Apply clear silicone caulk to the top of vanity. Carefully set vanity top (B) into position on vanity (A) and firmly press down. It is important to caulk around vanity top and vanity to prevent potential water from seeping into vanity and mildew.
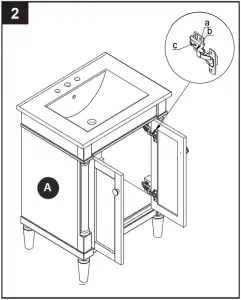
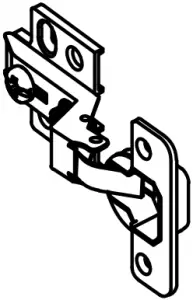
Step 2: Hinge Adjustable for Door Alignment
2. If the doors preassembled to vanity (A) require adjustment, follow the below options as needed: To adjust door up or down, loosen screws (a), adjust door and retighten screws. To adjust door left and right, turn screw (b) in or out. To adjust door in and out, loosen screw (c), adjust door and retighten screws.

Step 3: Adjustable Level
3. In case of uneven floors, floor levelers are provided at the bottom of the vanity. If necessary, adjust floor leveler by hand to correct tilting and /or level doors.
Optional Step 4 : Replace hardwares
4. Open the doors, remove the preassembled screws, change the optional Golden knobs and relock the screws.
CARE AND MAINTENANCE
- Dust the vanity regularly with a soft, non-lint producing cloth or household dusting product.
- You can clean the vanity with a gentle, non-abrasive household cleaner.
- Make sure to dry the wood immediately with a soft cloth or towel.
- Clean the top with a glass cleaner or other household cleansers that are non-abrasive. Usingabrasive cleansers will damage the surface.
- Tips for using touch-up pen (AA): For scratches, stroke in direction of scratch. Rub off excess colorant promptly with a soft cloth.
WARRANTY
The manufacturer provides a one-year limited warranty for residential use. The vanity combo will be free from manufacturing defects, provided the original purchaser resides in or owns the home of installation, and provided the vanity combo is installed and maintained according to the installation and maintenance instructions contained within and supplied by the manufacturer. The liability will be limited to cost of products only. This warranty is in lieu of any other implied or expressed warranties. This warranty applies only to the original purchaser. This warranty does not apply to any damage on the product by accident, misuse, or modified, improper installation or by affixing accessories not produced by the manufacturer. The manufacturer shall not be legally responsible for incidental, consequential or special damages arising at or in connection with product use or performance except as may otherwise be accorded by law.
REPLACEMENT PARTS LIST
For replacement parts, call our customer service department at 1-866-439-9800, 8 a.m. – 8 p.m., EST, Monday – Sunday. You could also contact us at [email protected] or visit www.lowespartsplus.com.
B C D
![]()
AA BB CC E
| PART | DESCRIPTON | PART# |
| B | Vanity Top | BV-8369-01 |
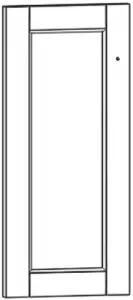
| C | Left Door Panel | BV-8369-02 |
| D | Right Door Panel | BV-8369-03 |
| AA | Touch-up Pen | BV-WT08011 |
| BB | Golden Knob | BV-8369-H01 |
| CC | Brushed Nickel Knob | BV-8369-H02 |
| E | Hinge | BV-002-CR |
Printed in Vietnam
ALLEN+ROTH and logo design are registered trademark of LF, LLC. All Rights Reserved.
![]()


