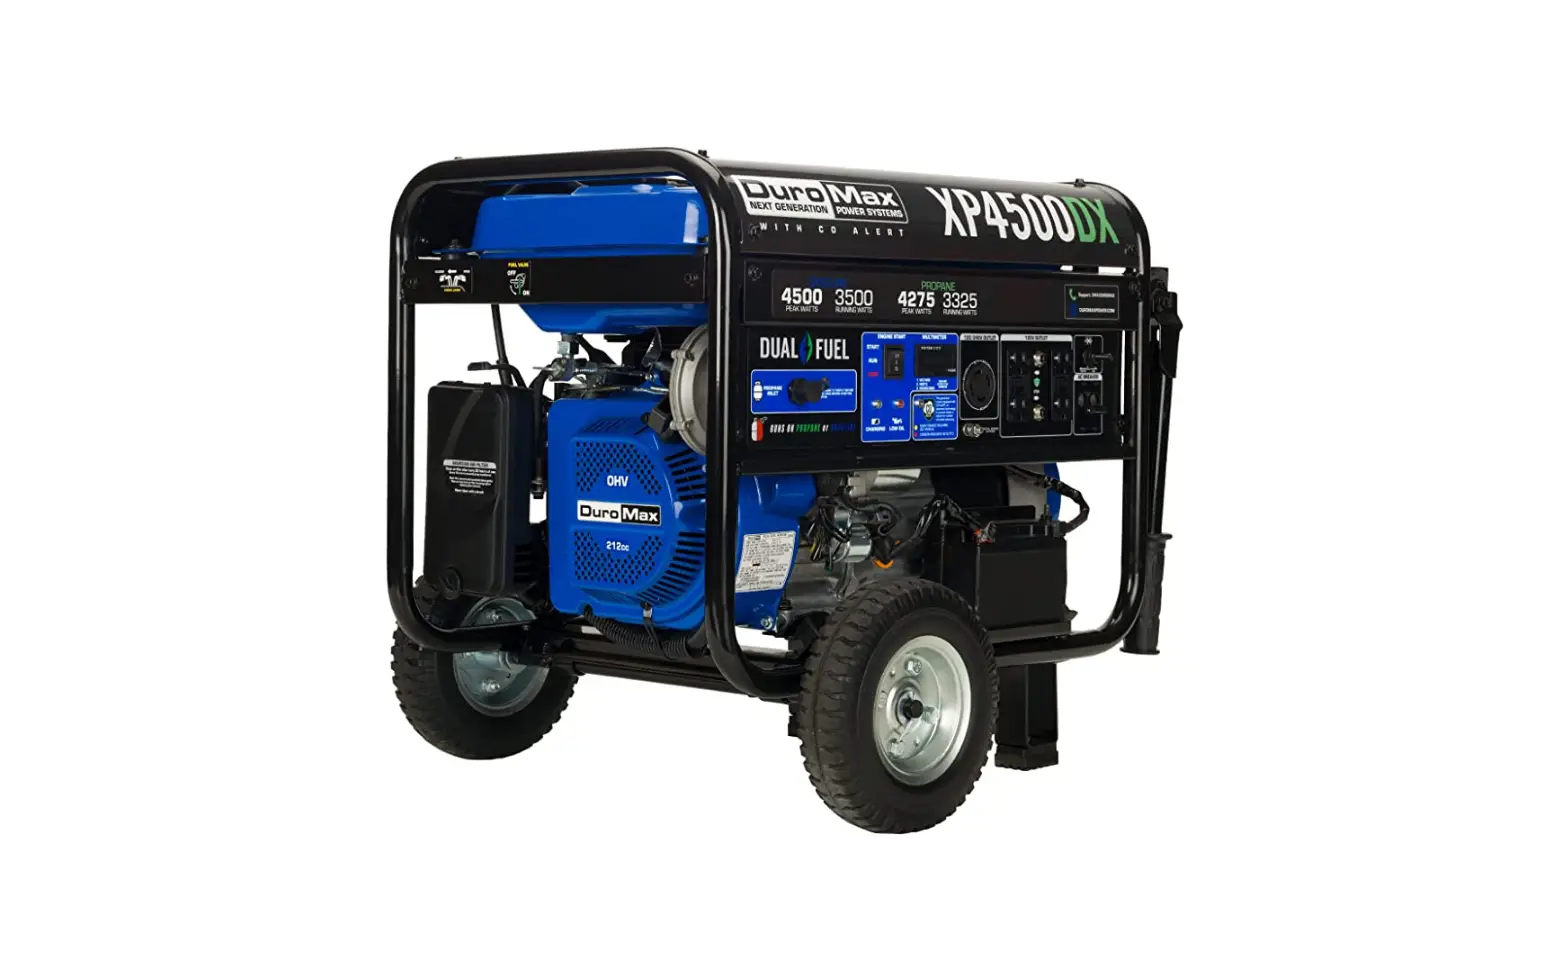
DuroMax XP4500DX 4,500 Watt Dual Fuel Portable Generator User Guide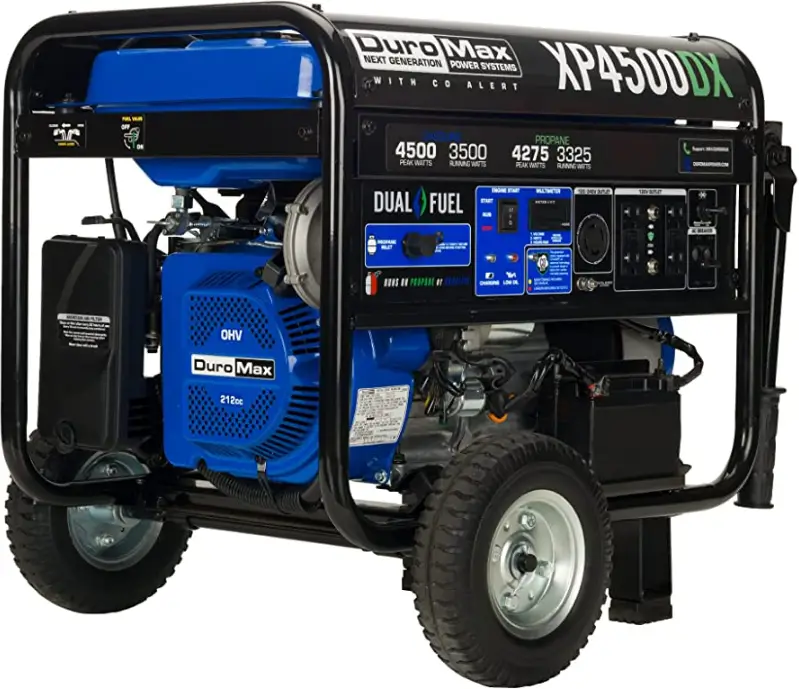
SELECTING PROPANE
If you want to start your generator using propane, follow the below steps 1-3, then continue with the remaining steps 4-8 below.
Step 1: Turn fuel valve off by rotating valve counter clockwise.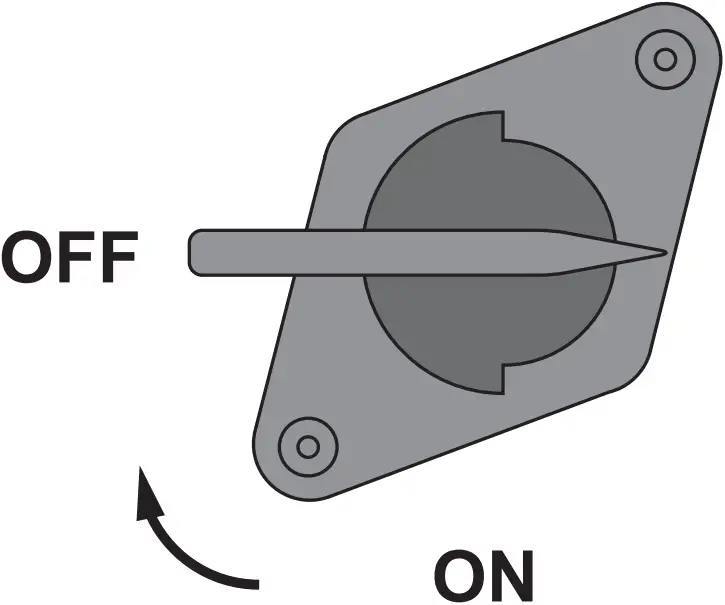
Step 2: Connect the included propane line to the generator inlet located on the panel.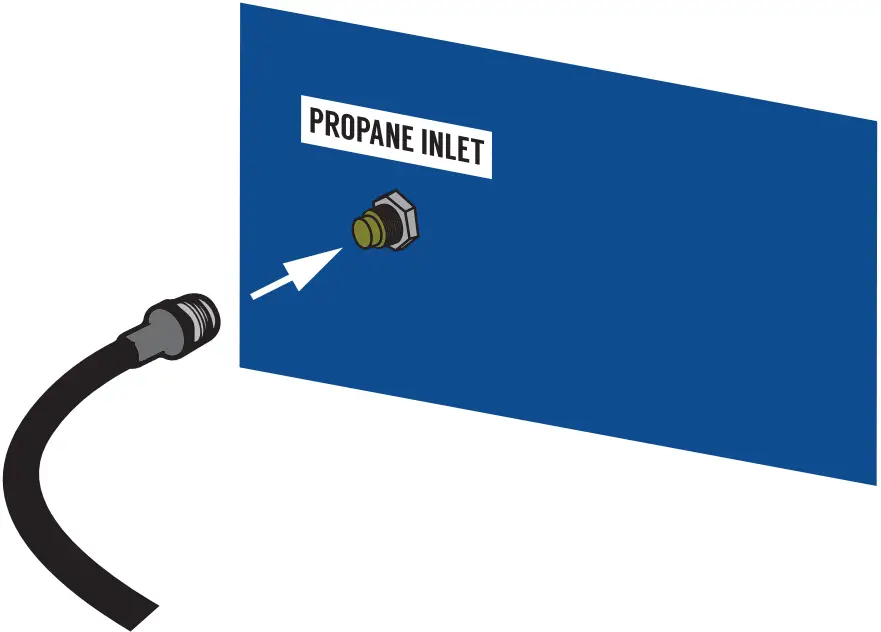
Step 3: Connect the included propane line to the propane tank.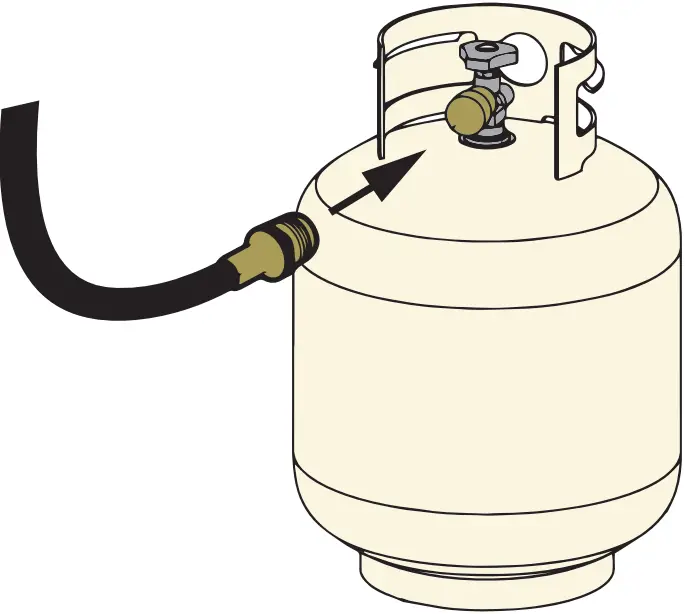
SELECTING GASOLINE
If you want to start your generator using gas, follow the below steps 1-3, then continue with the remaining steps 4-8 below.
Step 1: Place propane cap over propane inlet.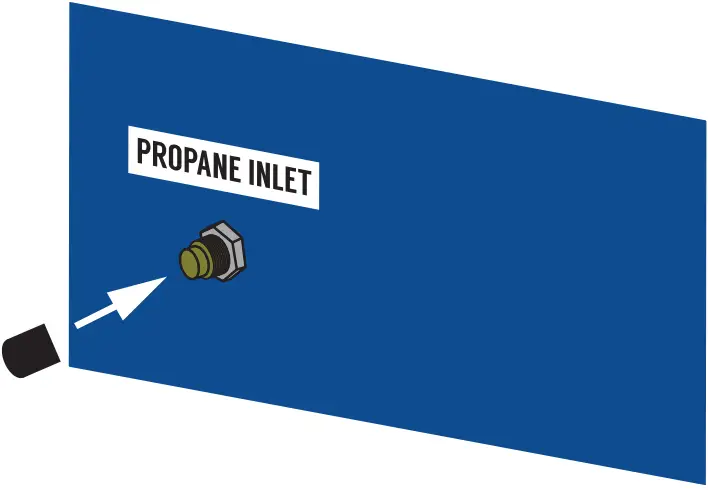
Step 2: Check the generator for gasoline. Add as needed.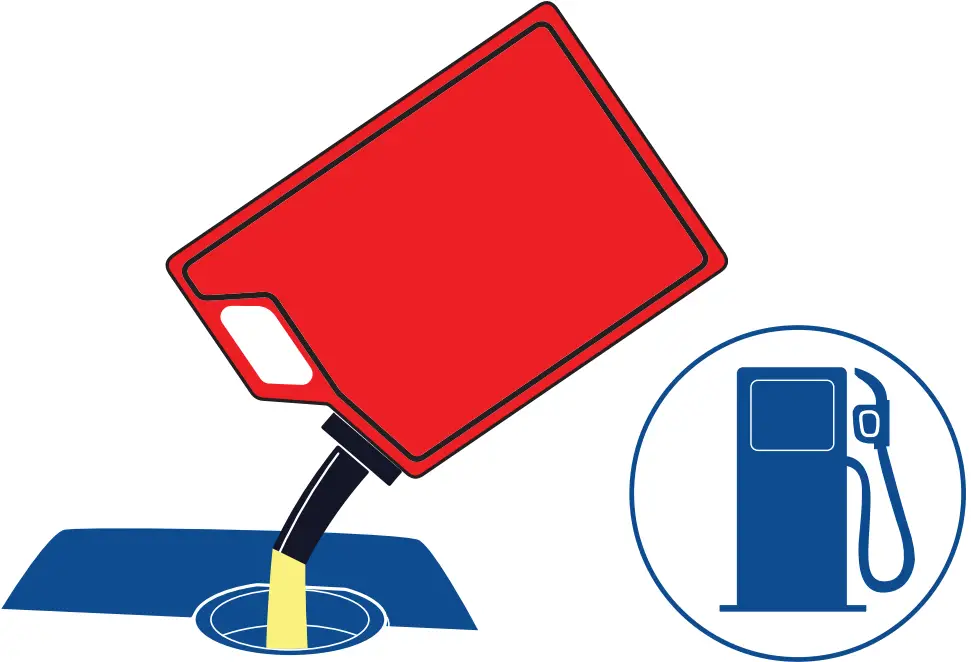
Step 3: Turn fuel valve on by rotating valve counter clockwise.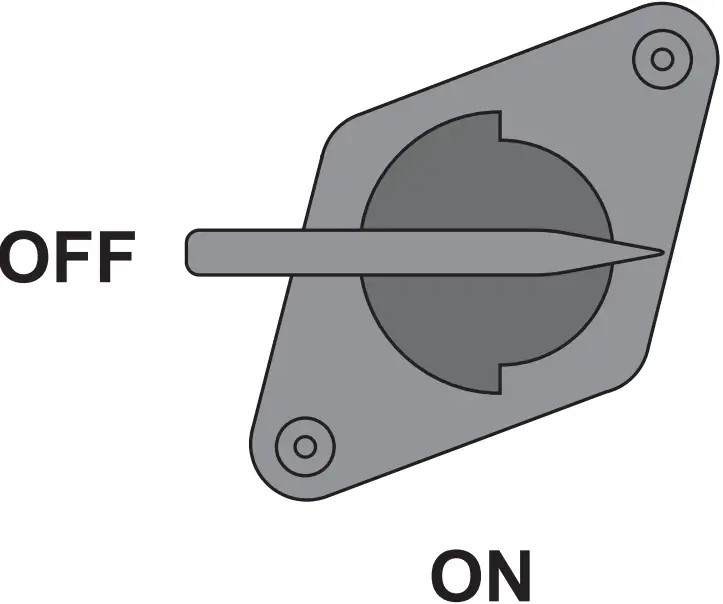
CONTINUE STARTUP STEPS WITH EITHER FUEL
Step 4: Switch the main breaker
Step 5: Close the choke lever by to OFF. moving it to the left.
Step 6: Press the start button up and hold for 3-5 seconds or until the engine starts.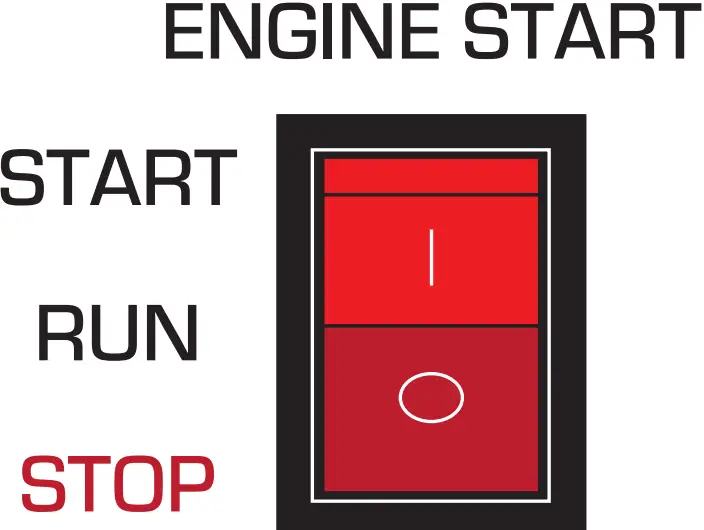
Step 7: Open the choke lever by moving it to the right.
Step 8: Once the generator is running, turn the main breaker to on and plug devices in.
ASSEMBLING YOUR GENERATOR
Step 1: Remove the generator from the box and flip it over, so you can see the underside of the generator.
Step 2: Remove the shipping brace using the included wrenches. Braces can be discarded.
Step 3: Secure the support legs to the frame with the provided lock nuts.
Step 4: Insert wheel axle bolts through frame and secure with the provided nut and wrenches.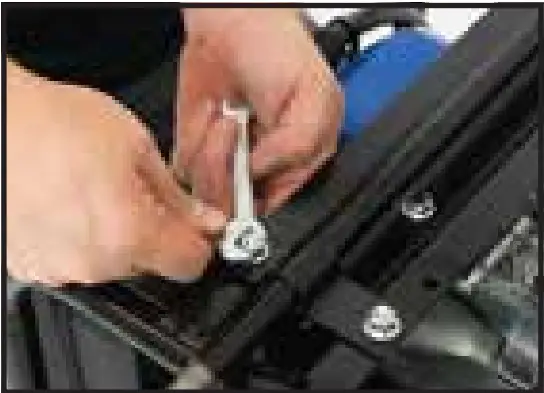
Step 5: Insert axle bracket bolts through frame and secure with the provided nut and wrenches.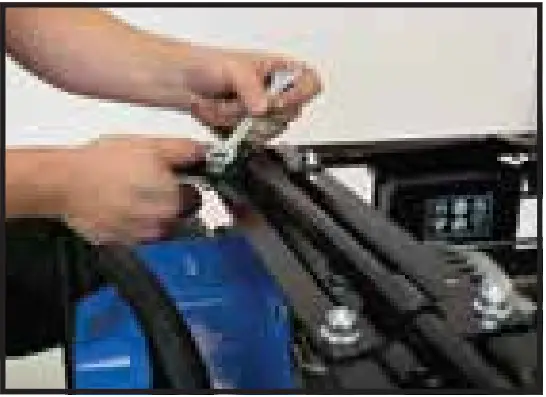
Step 6: Place one of the large washers onto both sides of the axle behind the wheel.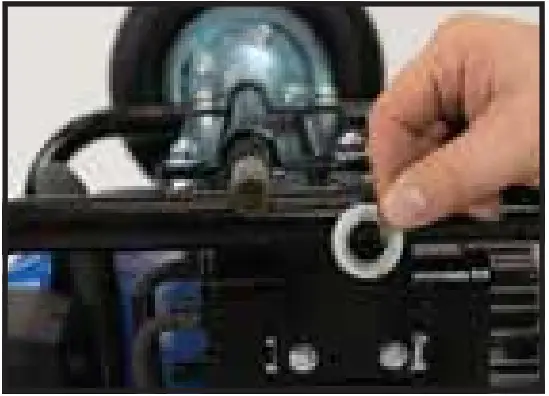
Step 7: Place the wheels onto either side of the axle.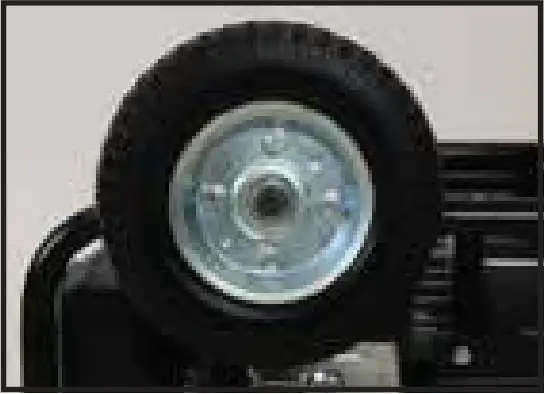
Step 8: Place the other large washers onto each side the axle in front of the wheel.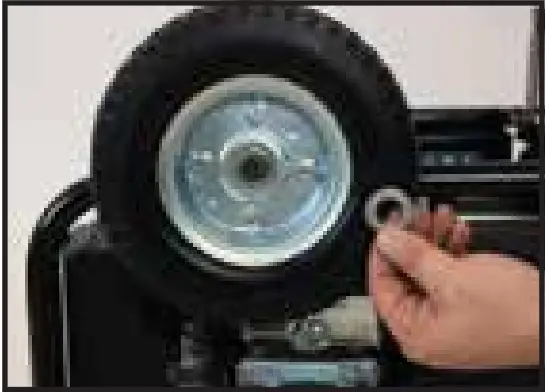
Step 9: Place a cotter pin through the hole in each end of the axle and bend it out to secure the wheels.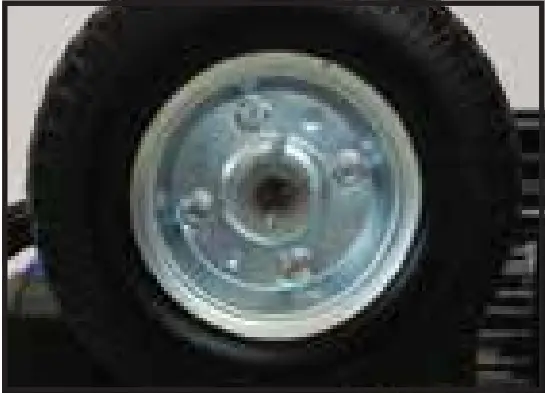
Step 10: Attach the handles to the brackets on the frame using the provided bolts and nuts.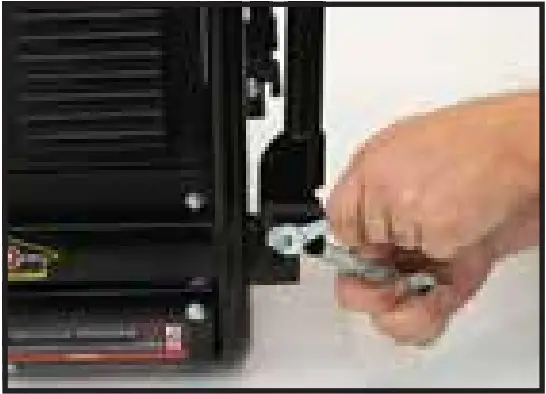
Step 11: Flip the generator over and sit it on its wheels.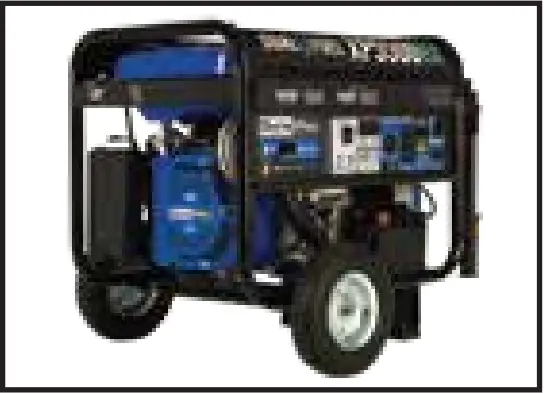
Step 12: Connect the battery terminal.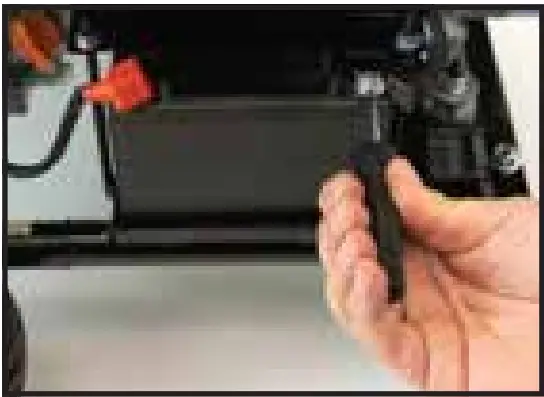
Step 13: Replace the battery terminal cover.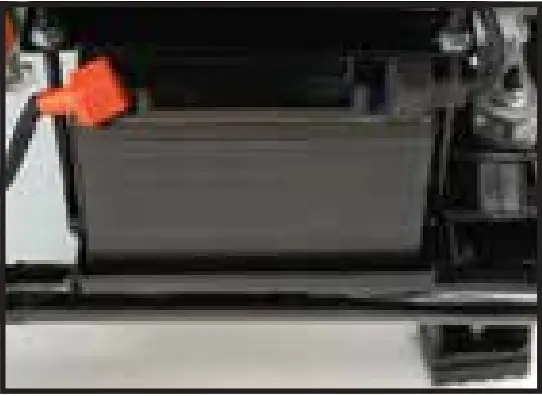
Step 14: Add oil to the generator.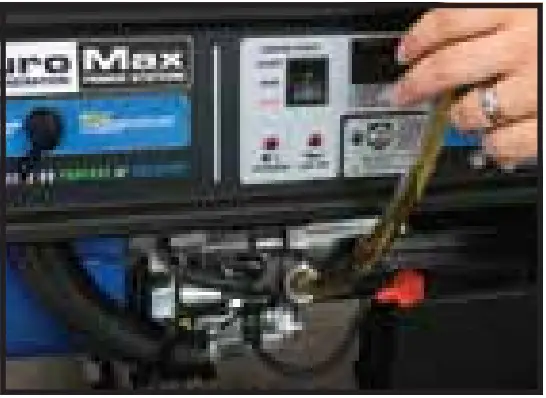
Note: The following set of instructions are a list of simplified steps to operate your generator. These steps are covered in greater detail within the product manual along with safety warnings, guidelines for maintaining your generator, and details about your generator’s warranty. We strongly recommend after assembling your generator you read the entire product manual to ensure that you understand how to operate your generator properly and safely.


