![]() Quick Start Guide*
Quick Start Guide*
*See owner’s manual for complete instructions and important safety information before using this product.
Step 1

Remove Paper Protector
Lower Locking Bar and remove Lid. Discard paper protector from inside the juicer. Wash all parts and reassemble. Replace Lid and secure Locking Bar.
Step 2
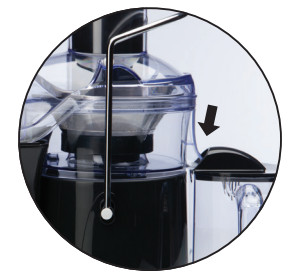
Line up Juice Spout Into Pitcher
Juicer Spout must be in a downward position when juicing to avoid leaking from the sides of the machine. (Remember to line up the pitcher beneath the Spout.)
Step 3
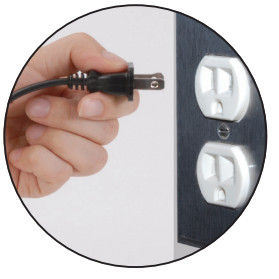
Plug-In
Plug Power Cord into a 120-volt wall outlet. (This plug will fit only one way in a polarized outlet.)
Step 4

Turn Power Switch “ON”
The switch will be illuminated when in the “ON” position. (Machine must be turned on and running for approximately 5–10 seconds before the product is inserted into the Chute.)
Step 5
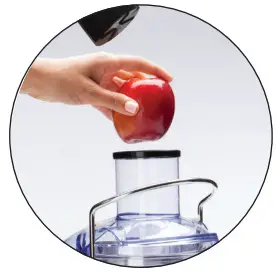
Add Fresh Fruits and Vegetables
Remove Pusher and insert fresh fruits and vegetables. Push fruits and vegetables gently through the Chute using the Pusher. (Pushing too hard or overloading the chute may jam the motor.)
Step 6
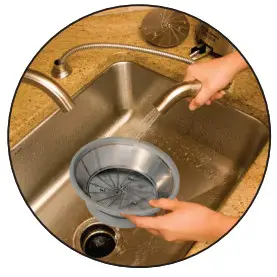
Cleaning
For the easiest cleanup, wash juicer parts immediately after juicing. Place dishwasher-safe parts on the top rack only.
NOTE: Sometimes you may need to clear up food excess when making large quantities of juice. To do this: unplug unit, remove the lid, clean the blade assembly, and pulp the Chute.
Wash All Components Before First Use.
FJ_JACK 100 _QUICKS__ENG_V2_171011
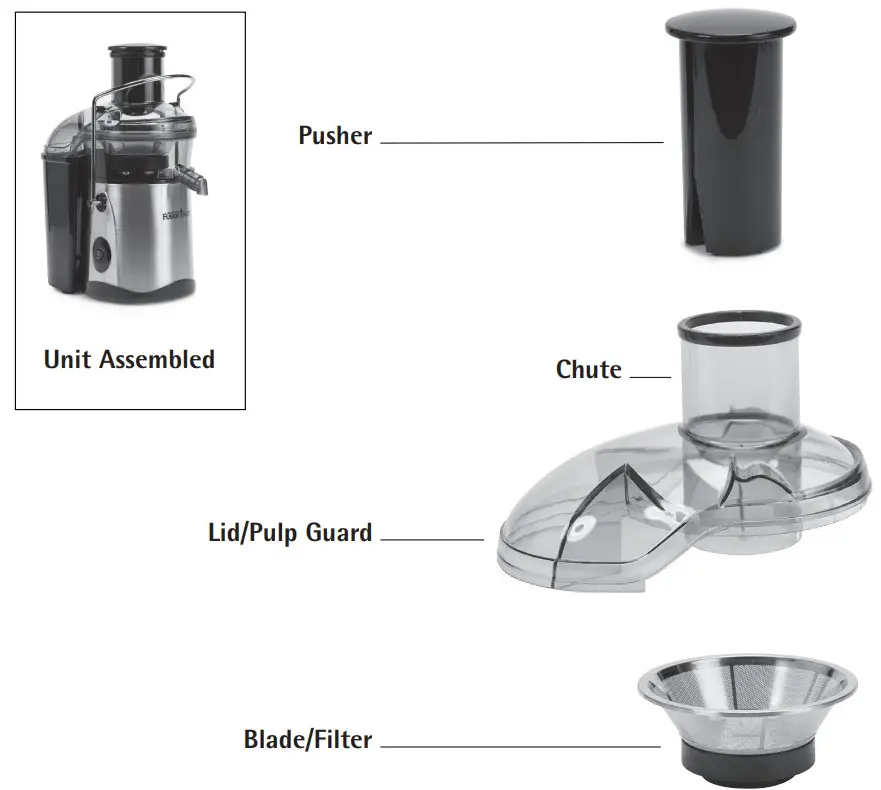
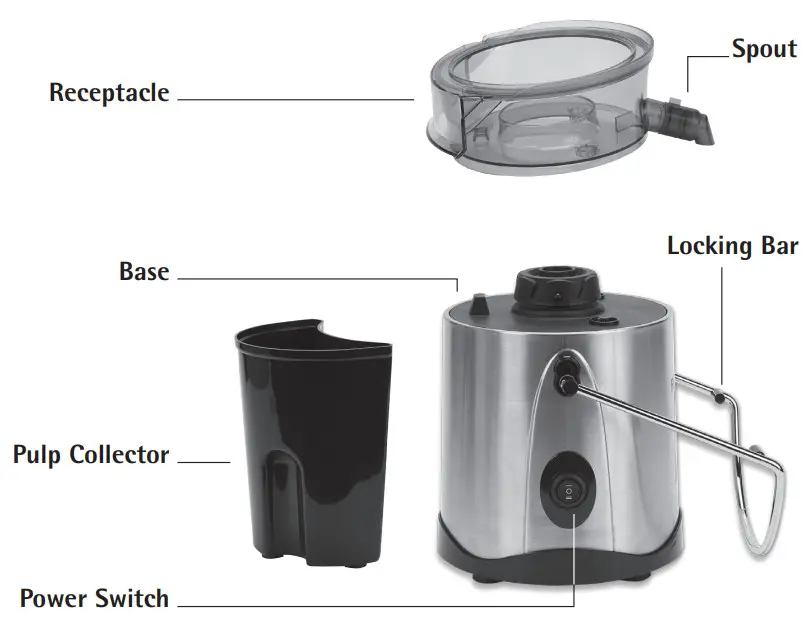
PARTS DIAGRAM