bouncepad BP-LINKIPAD10B Adjustable Tablet Kiosk Ergonomically Flex
Tools Required to Fix From Above:
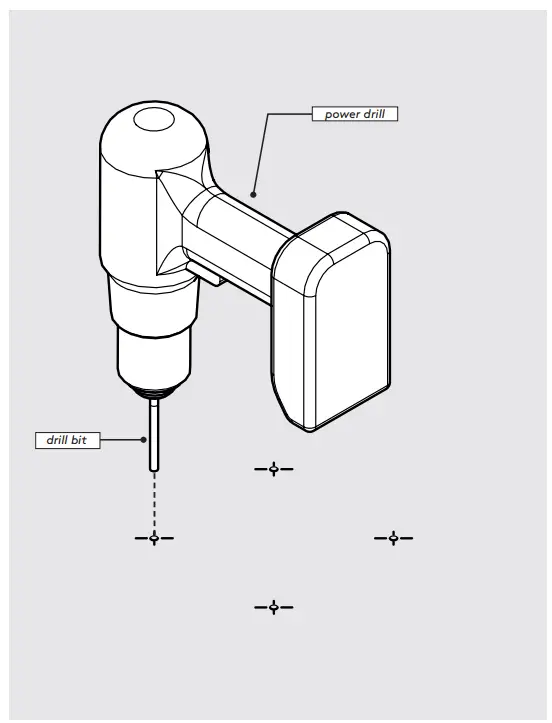
- Drill + drill bits
- Pencil
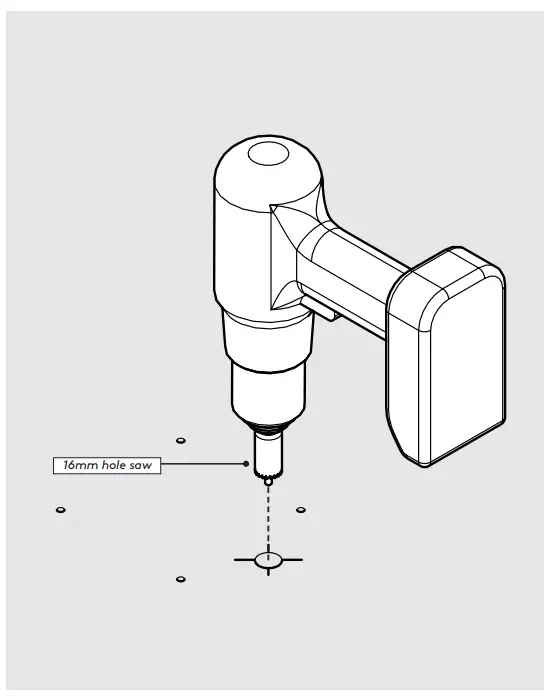
- 16mm Hole Saw
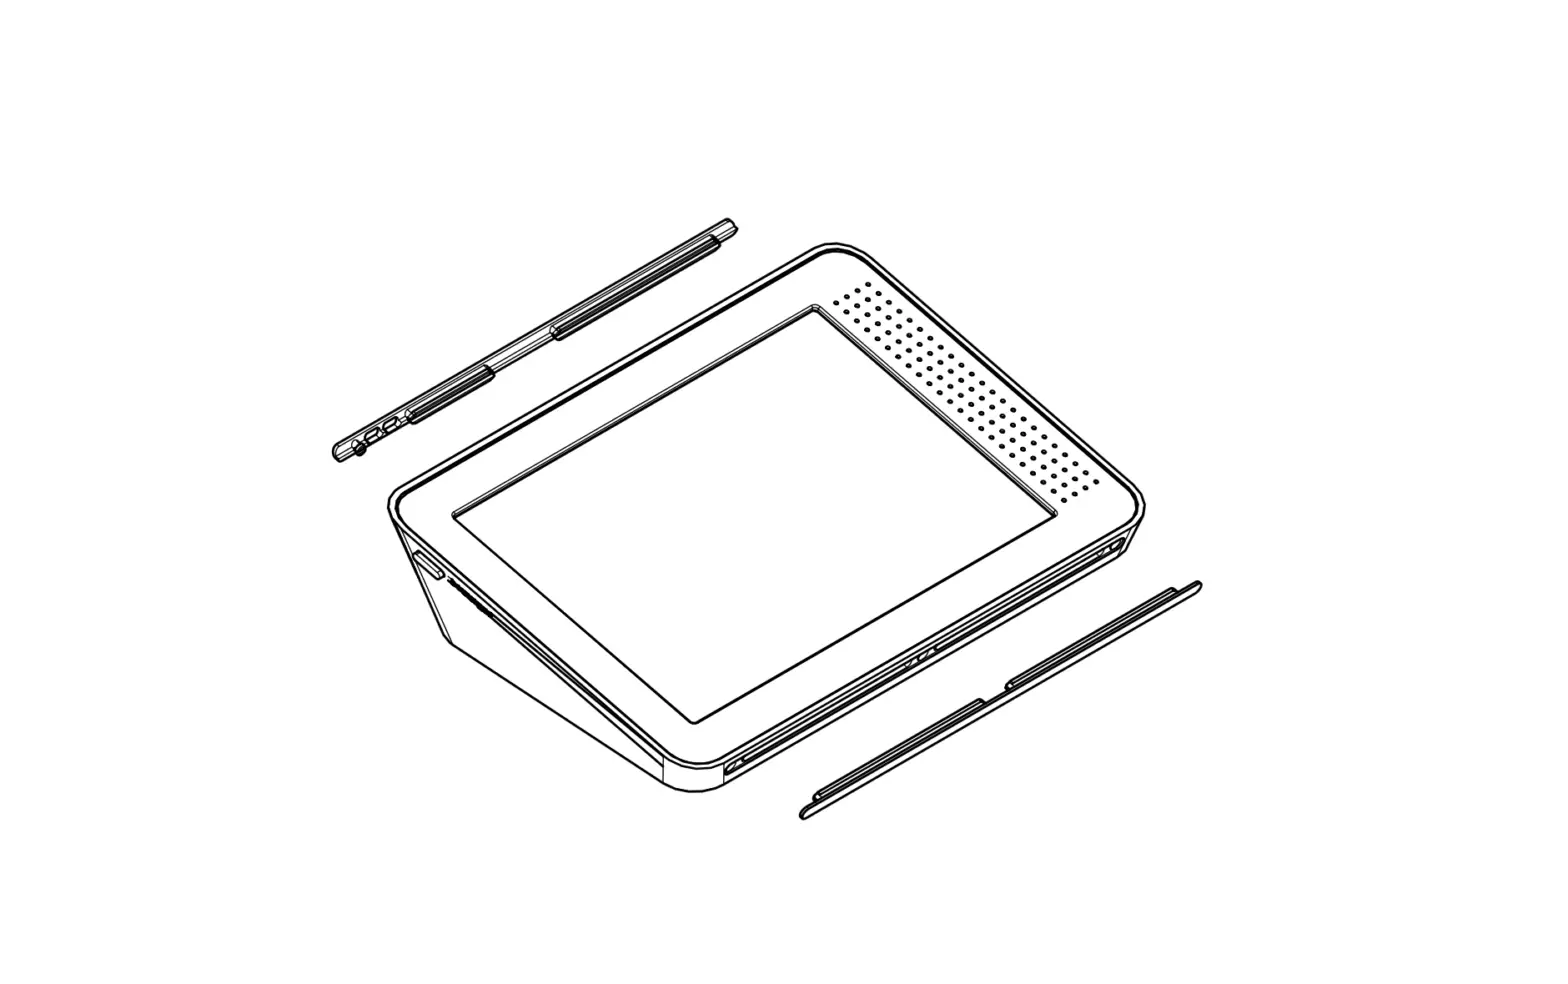
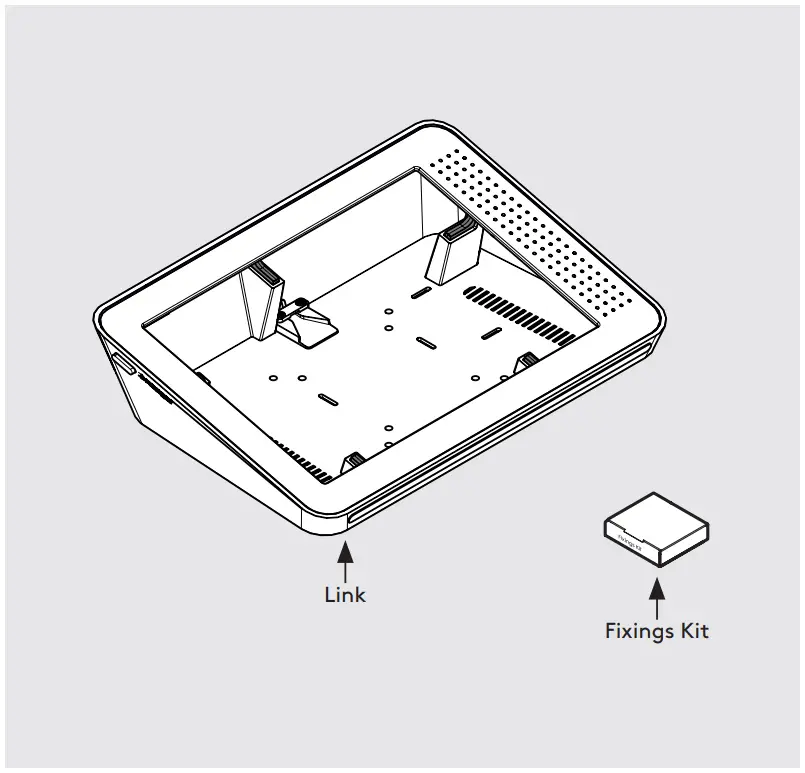
 In the Box
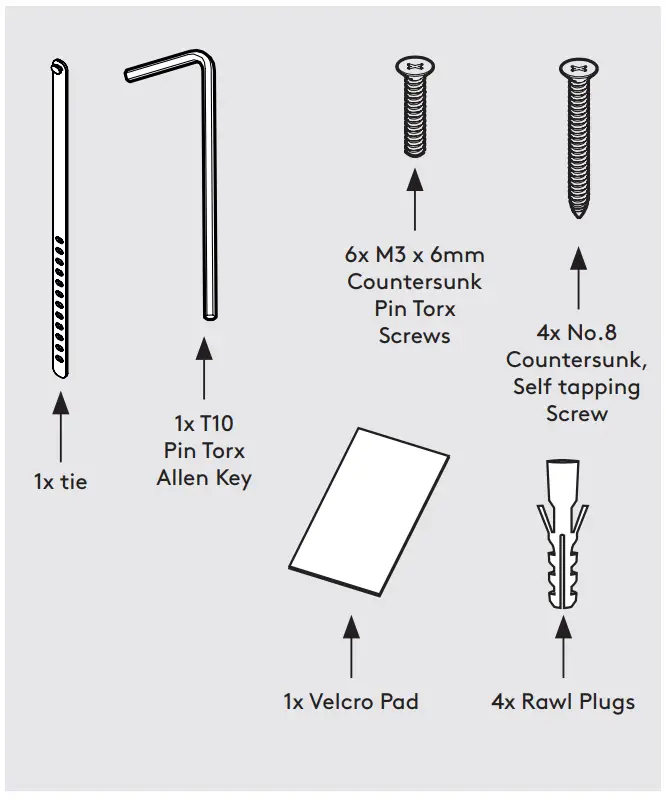
 Fixings List
 Fixings List
* Due to the modular nature of our product range you may receive additional fixings in the fixings kit
Assembly Instructions
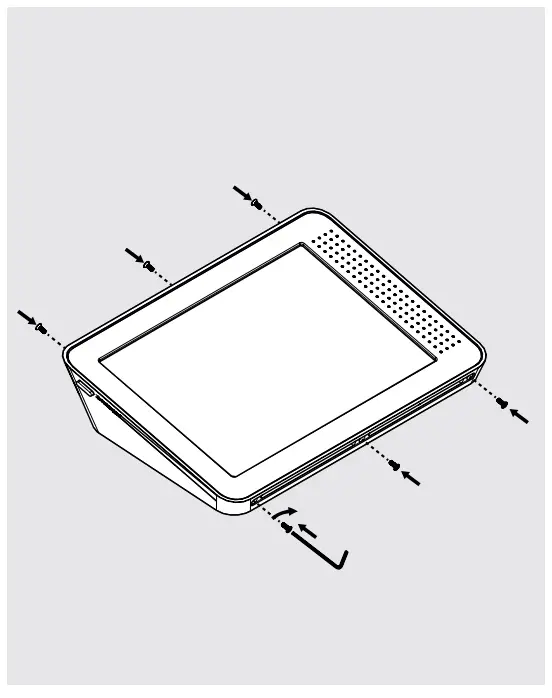
- Remove Front and Back Screw Covers.

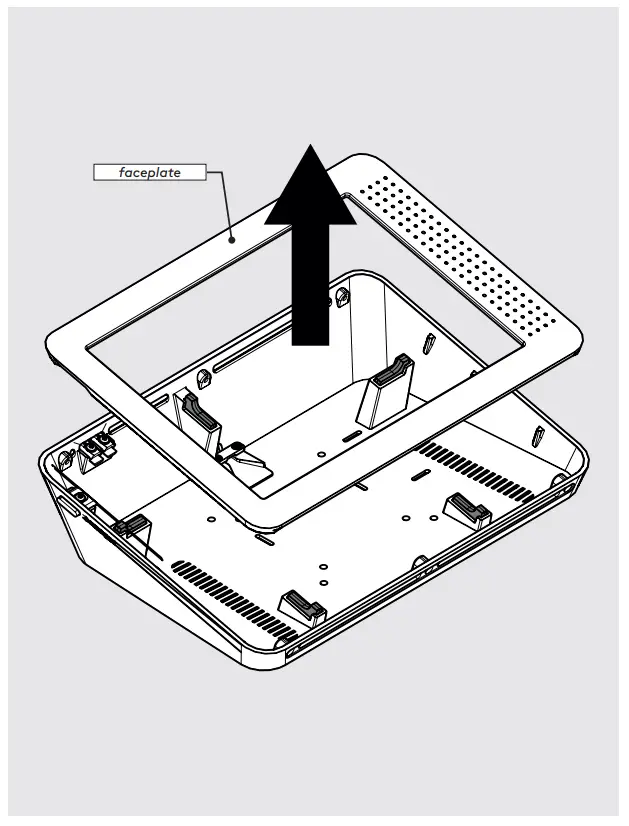
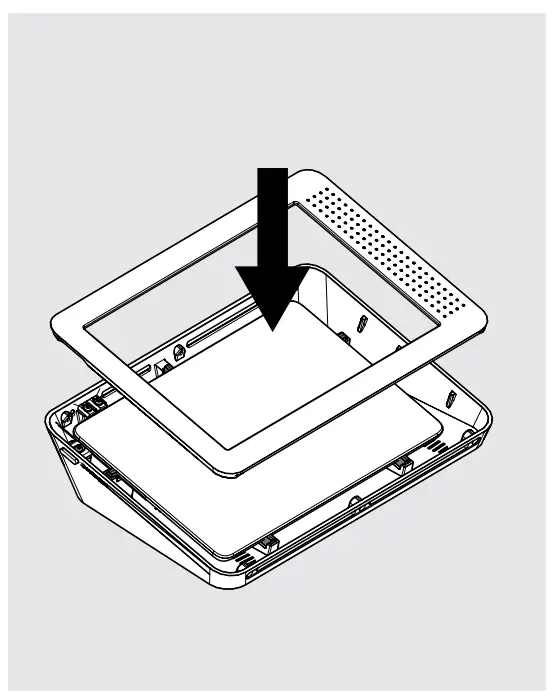
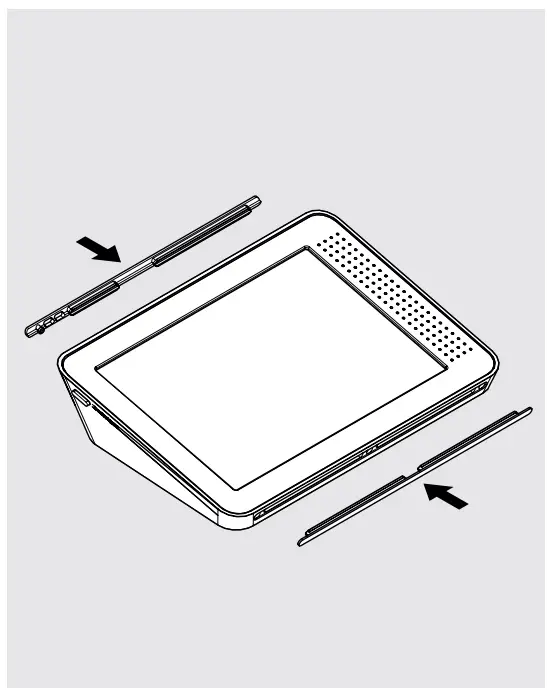
- Remove Faceplate.
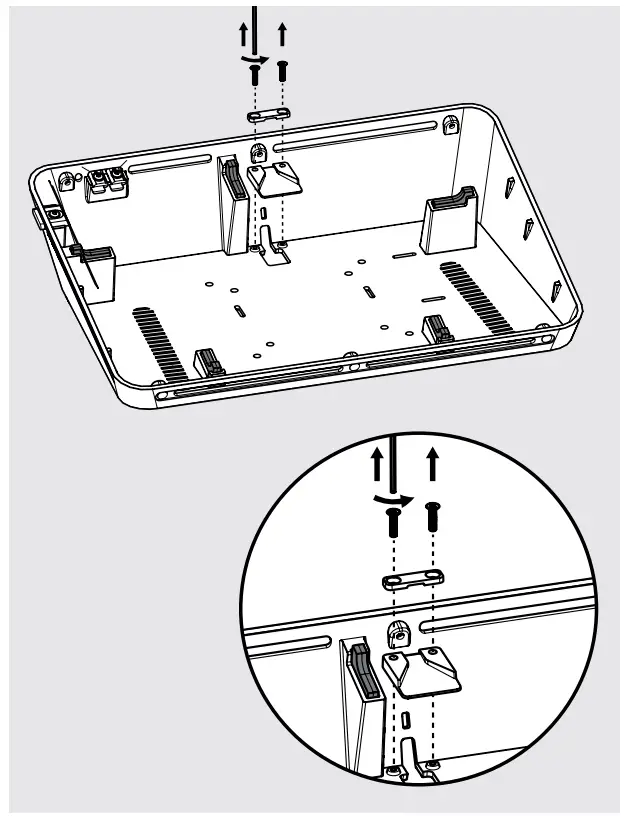
- Remove Cable Lock.
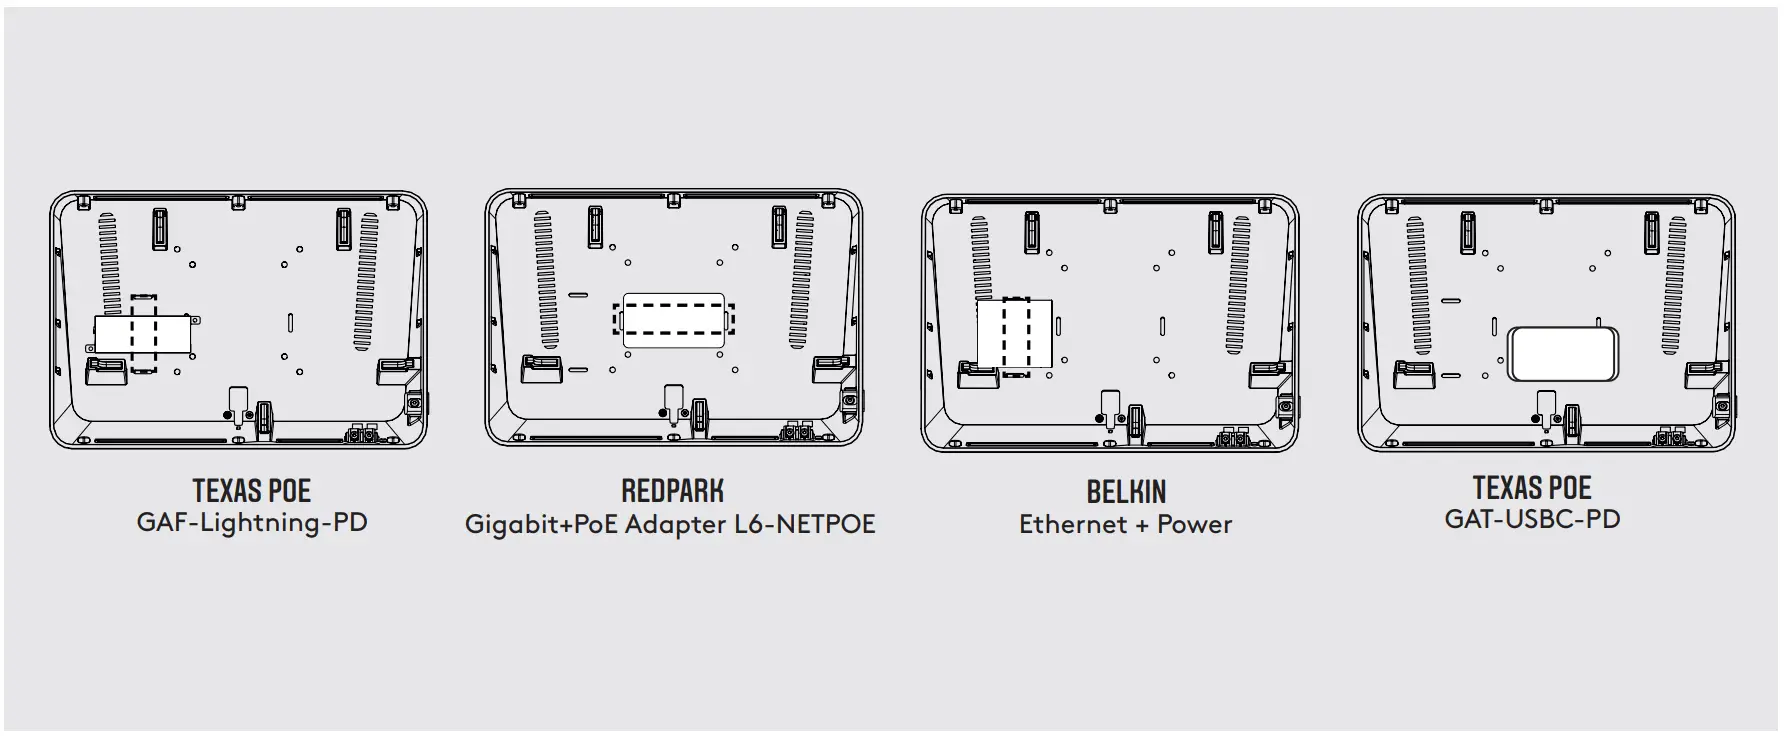
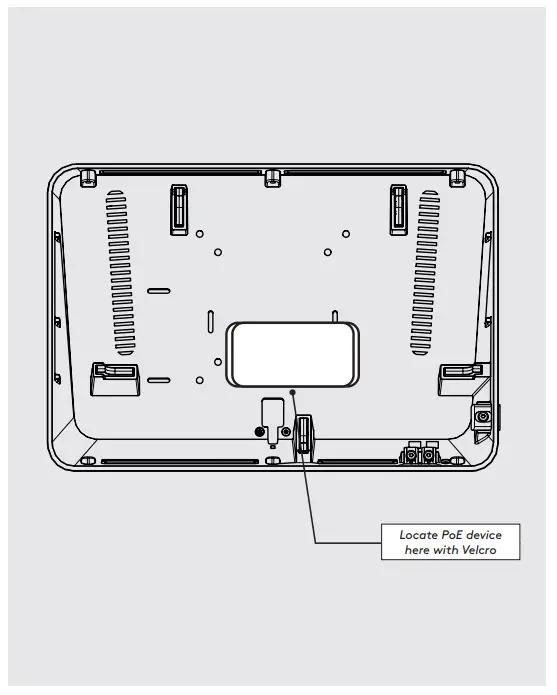
- Select your PoE device and note it’s location in relation to the mounting slots.

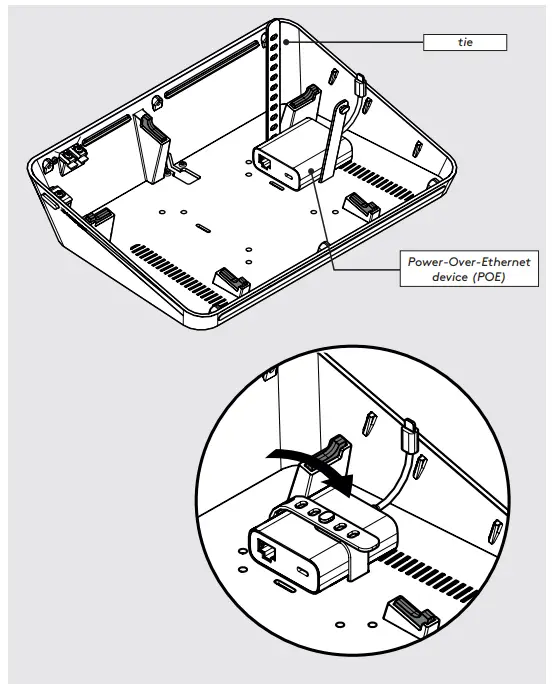
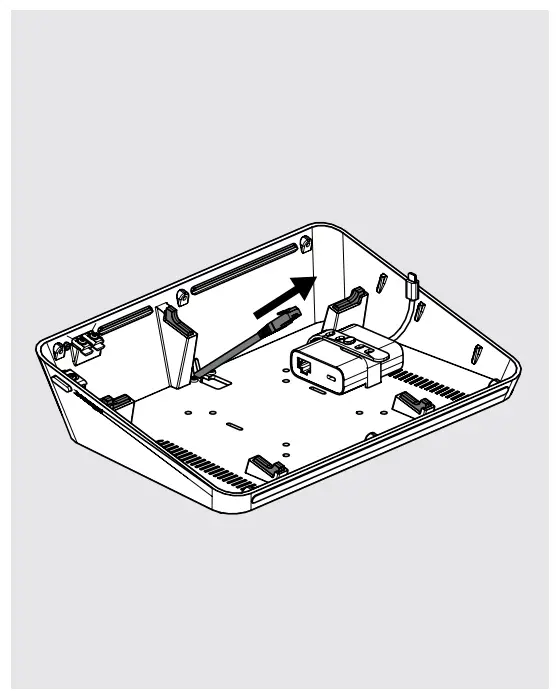
- Insert the tie through the cable slots and then clasp over the POE device.

- Specifically for Texas PoE GAT-USBPD use velcro pad for attachment.
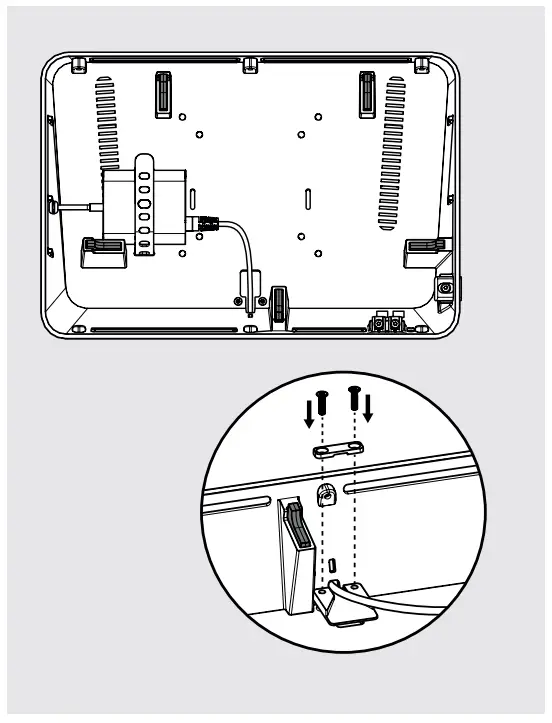
- Feed the ethernet cable through the cable exit.
- Connect the ethernet cable to the POE and secure the cable with the cable lock.

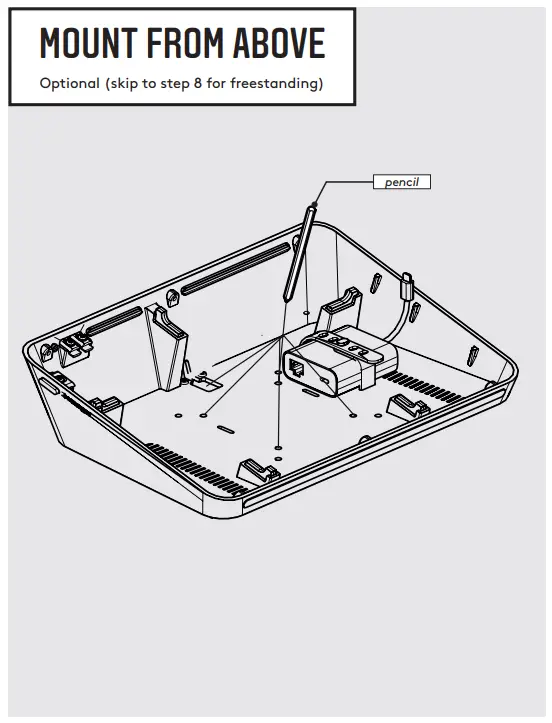
A1: Use a pencil to mark pilot hole locations.
A2: Use a drill bit suitable for your surface and make 4x pilot holes.
A3: If running a ethernet or USB cable through the surface use a hole saw in the cable exit position.
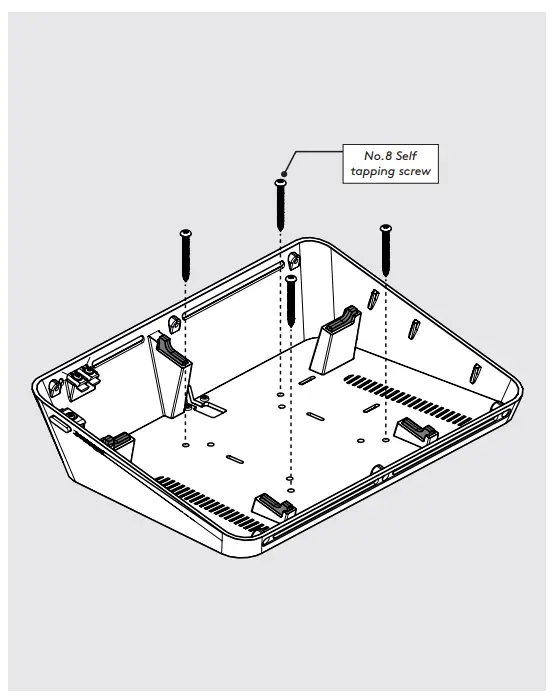
A4: Secure the Link to the surface with 4x No.8 Self tapping screws. Rawl plugs are provided if required. - Connect the USB cable to the tablet, then place inside the enclosure. Reattach the faceplate.
- Use 6x M3 Screws to secure faceplate.
- Reattach the front and back screw covers.
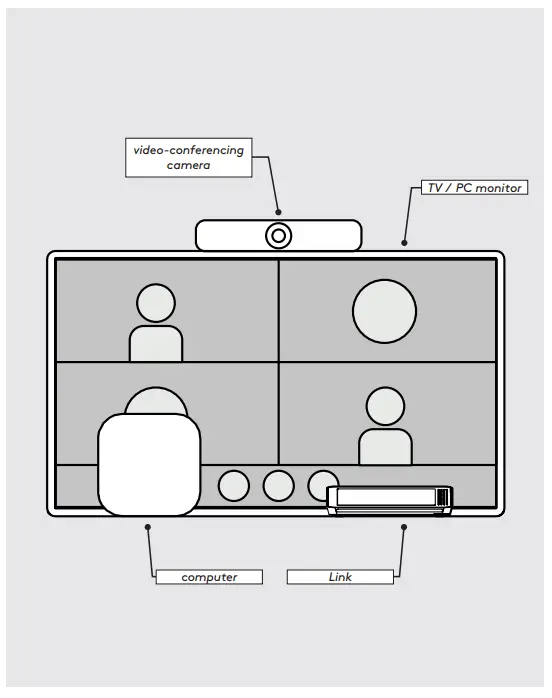
- Set up the video-conferencing software and peripherals as per the provider’s instructions.
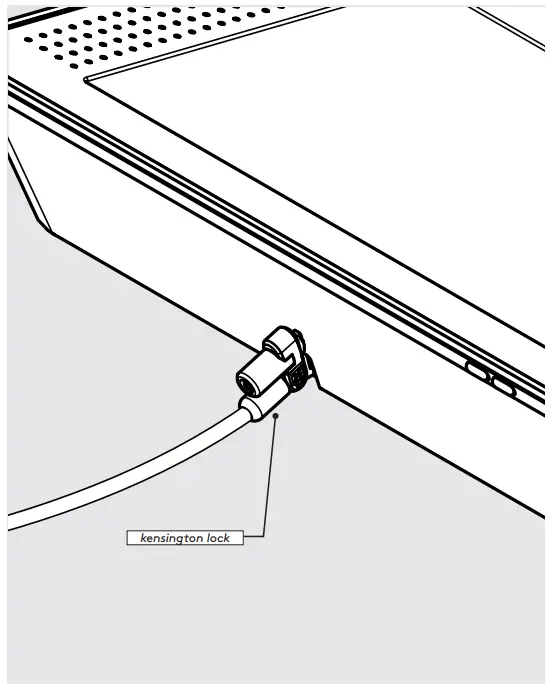
- For additional security, tether your Link with a Kensington security cable. *Security cable not provided.