![]() PE456USL/PE456WSL
PE456USL/PE456WSL
Quick Setup Guide
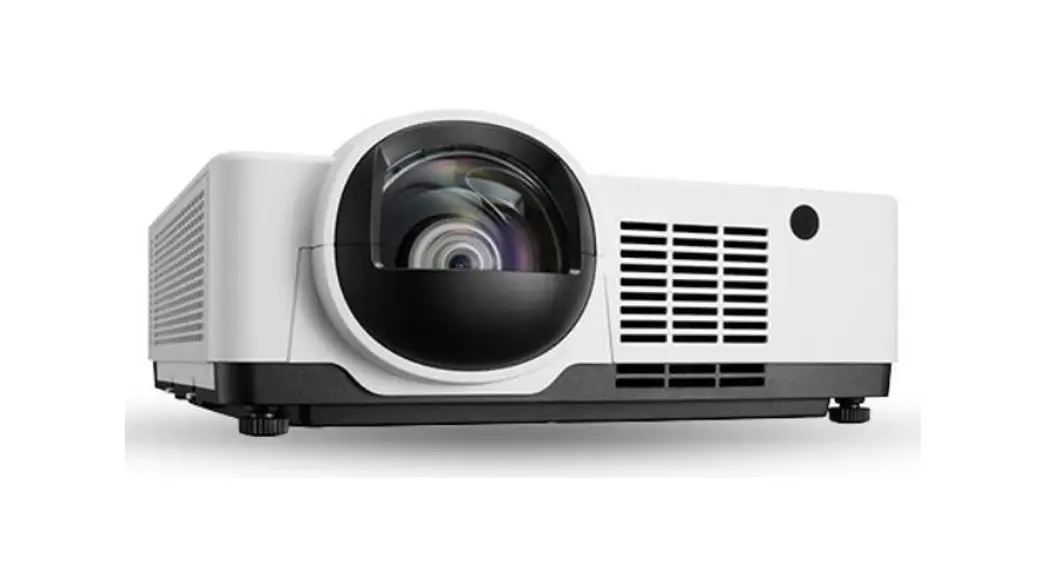
PE456USL, PE456WSL Projector
Step1 Connect your computer to the projector.
Step2Connect the supplied power cord.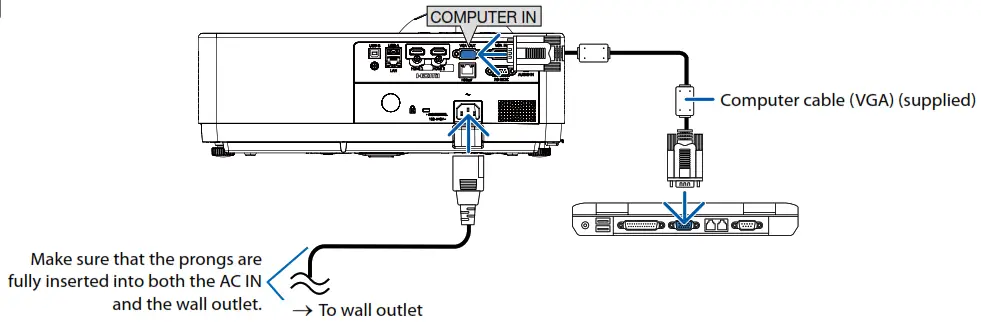
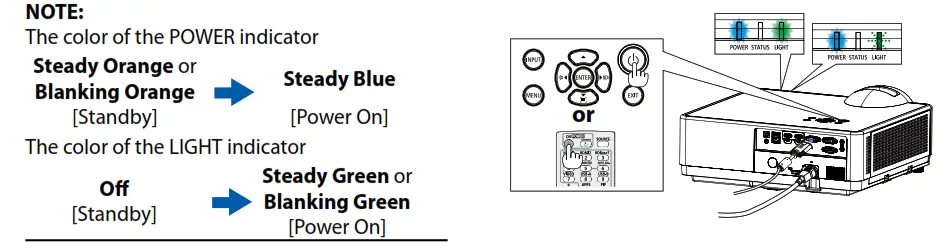
Step3 Turn on the projector.
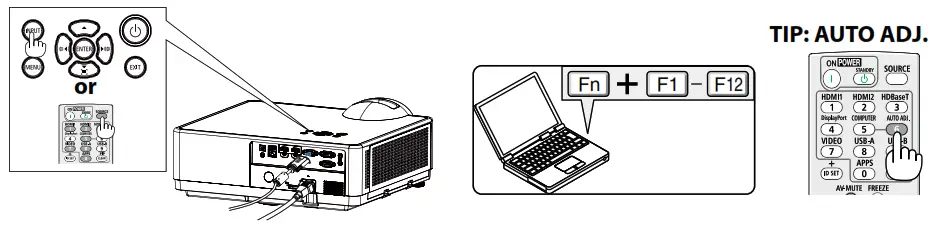
Step3 Select a source.
Step 5Adjust an image size and position.
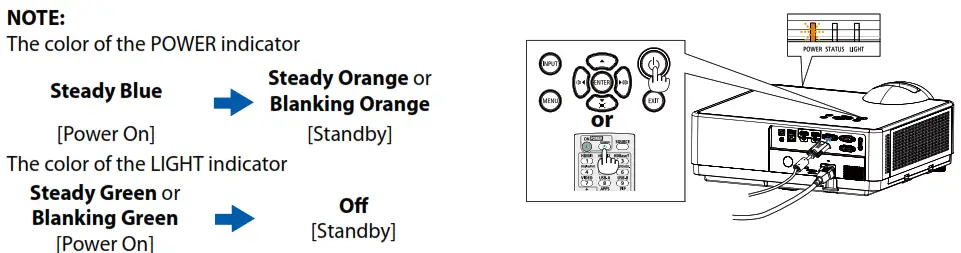
Step6 Turn off the projector.
- Connect your computer to the projector using the supplied computer cable (VGA).
- Connect the supplied power cord.
- Turn on the projector.
Press the (POWER) button on the projector cabinet or the POWER ON button on the remote control.
 - Select a source.
TIP: Press the AUTO ADJ. button to optimize an RGB image automatically. - Adjust an image size and position.
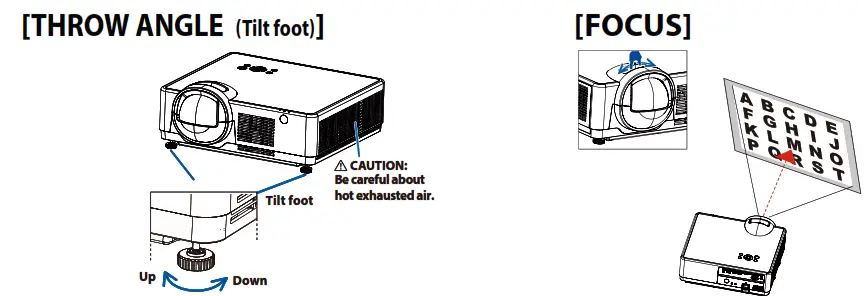
[Throw angle (Tilt foot)]
1. Place the projector perpendicular to the screen.
2. Rotate the left and right adjustable tilt foot to make adjustments to the desired height.
• Rotate the tilt clockwise to raise the projector, and counterclockwise to lower the projector or retract the adjustable foot.
• The tilt foot can be extended up to 0.71 inch/18 mm.
• There is approximately 3.5 degrees (up) of adjustment for the front of the projector.
[FOCUS]
Turn the focus ring. - Turn off the projector.
1. Press the (POWER) button on the projector cabinet or the STANDBY button on the remote control.
2. Press either the(POWER) or the STANDBY button again.
3. Disconnect all the cables.
© Sharp NEC Display Solutions, Ltd. 2022 Printed in China