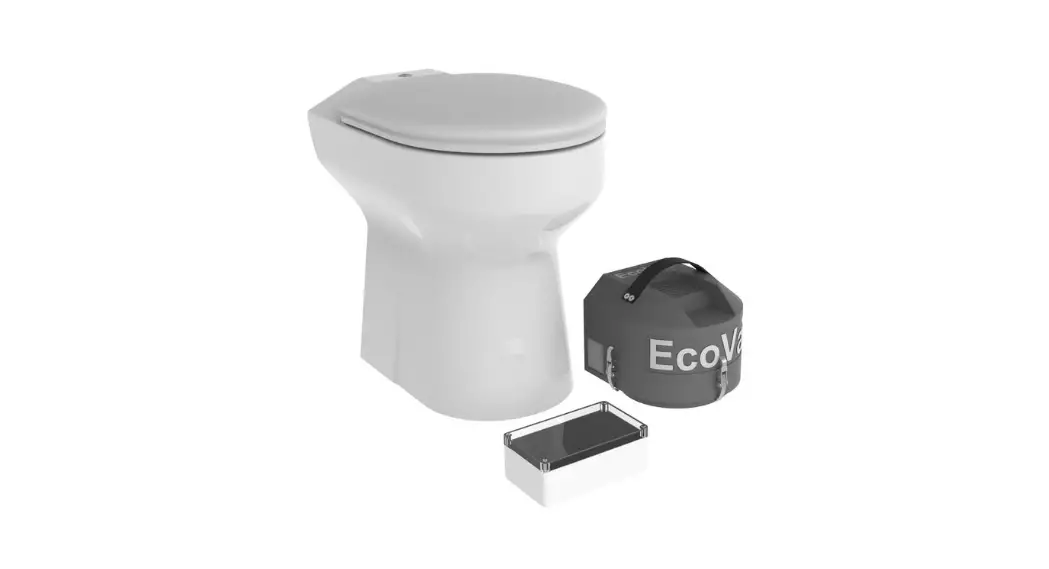
![]() EcoVac WC Extend Vacuum Toilet
EcoVac WC Extend Vacuum Toilet
Instruction Manual 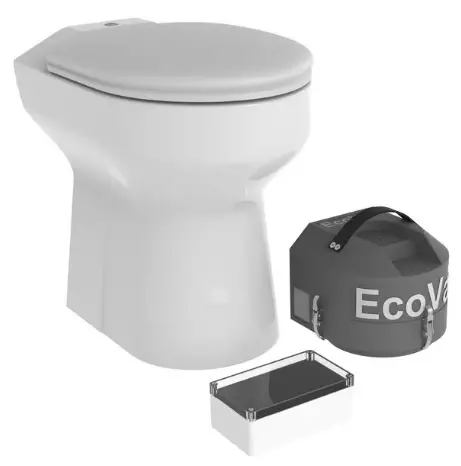
EcoVac WC Extend Vacuum Toilet
This manual should be saved
EcoVac® Manual
 | EcoVac® WC Weight : 40 |
 | EcoVac BASE® Weight : 4 kg Measure : >20 kr Energy : ca 4 kWh/year |
 | EcoVac EXTEND® Weight : 6 kg Measure : H/45 D/30 L/34 |
 | EcoVac CONTROL BOX® Weight : 1.52 kg Measure : H/12 D/8 L/20 cm |
Important before installation!
- This manual should be saved by the owner!
- Read the whole manual before installation.
- Installation must be done by a professional tradesman, or by a person with comparable experience and knowledge.
- When installing a tank, make sure to check what is approved in your respektive commune.
- Don’t remove the small foam pieces under the front edge. (They hold the flushing pipe in place)..
- FOR SEPARATING WC: The is a pre-mounted water trap in the urine bowl, no additional water trap should be mounted in the urine outlet.
- The control unit has a counting unit that shows the number of flushes, and gives an indikation of how filled the tank is. However a separate septic tank alarm that warns about high levels must be installed.
- The turbine in the vacuum unit is expendable and will need to be replaced within a few years. Usually ca 4-5 years. A strong recommendation in that always have a spare motor unit.
- The whole system is sensitive to frost and needs to be kept frost free.
- If the toilet risks being exposed to degrees below 0 degrees Celsius, empty the water trap and the solenoid valve of water, otherwise frost damage can emerge.
- No napkins, paper towels, feminine hygiene products, cotton balls etc. should be flushed down the WC. Only toilet paper with shorts fibers should be used.
- See complete troubleshooting at www.wostman.se/support.
Warranty
Reklamations of EcoVac-system and its components that are delivered by Wostman Ecology AB is made according to the Consumer Purchase Act.
In case of complaint, the place of purchase is contacted, i.e. the retailer, contractor or store from which the product is purchased. Remember to always show a receipt of the purchase in question when filing a complaint.
If the product is bought directly at Wostman Ecology AB, please have following information ready when filing the complaint.
* Name, adress and phone number
* Product name, please also include RSK-number
* Receipt / invoice
* Picture of the product
* Cause of error
EcoVac BASE® (1 WC)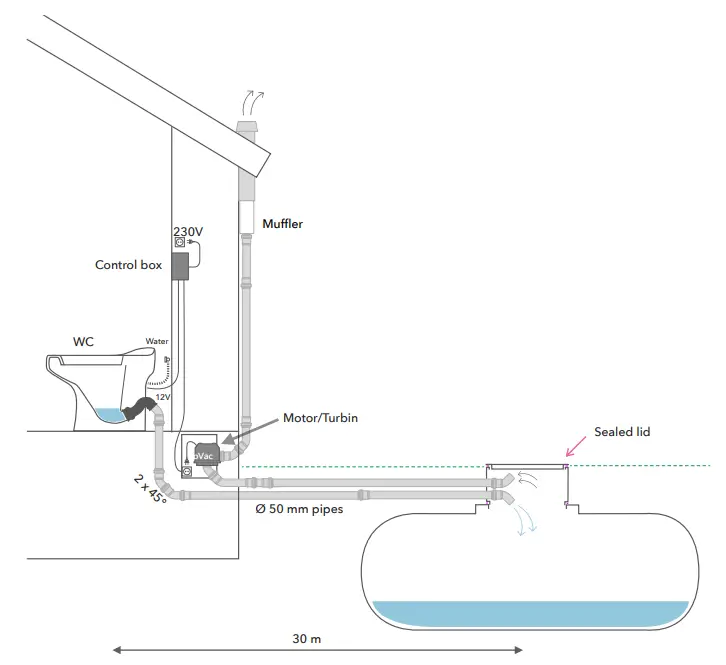
What’s included
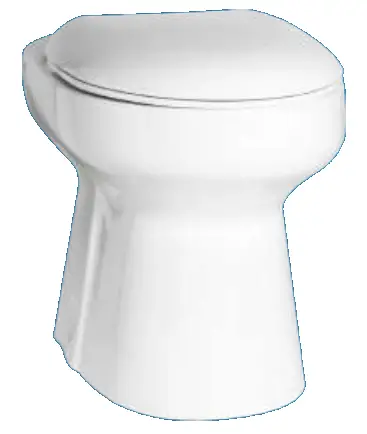
- WC EcoVac
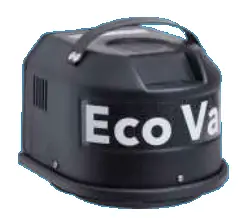
- Vacuum turbine
- Control Unit
- Muffler
- Manual
- Extra motor unit
What you need
- Septic tank
- Pipes + 45° angles (50 mm)
- Ventilation pipes (75/110mm)
- Cables
- Electrical outlets
- Frost guard
Remind this!
- BASE is used for 1 WC
- Septic tank must be handle vacuum pressure.
- Septic tank must be sealed. Use rubber fitting in the lid.
- Do you need to isolate the pipes?
- Alarm should be installed on septic tank.
- >0-30 meter till avloppet
- 0-30 meter mellan turbin och tank
- 0-15 meter till avluftning
 What’s included
- WC EcoVac
- Vacuum turbine BASE
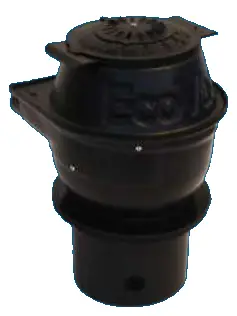
- Vacuum Unit EXTEND
- Control Unit
- Muffler
- Manual
- Extra motor unit
What you need
- Pipes + 45° angles (50 mm)
- Ventilation pipes (75/110mm)
- Cables
- Electrical outlets
- Frost guard
Remind this!
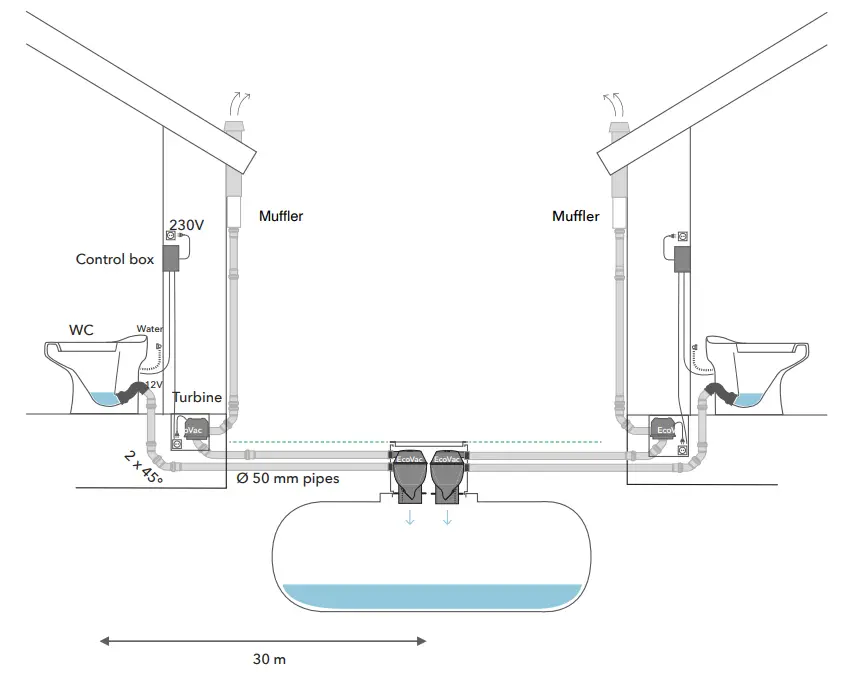
- EXTEND is used for 1-2 or multipel WC
- Every WC has 1 BASE + 1 EXTEND
- Can be used to any septic tank
- Septic tank should be ventilated
- Do you need to isolate the pipes?
- Alarm should be installed on septic tank.
- 0-30 meter från wc till tank
- 0-30 meter från turbin till tank
- 0-15 till avluftning
Piping
Avoid
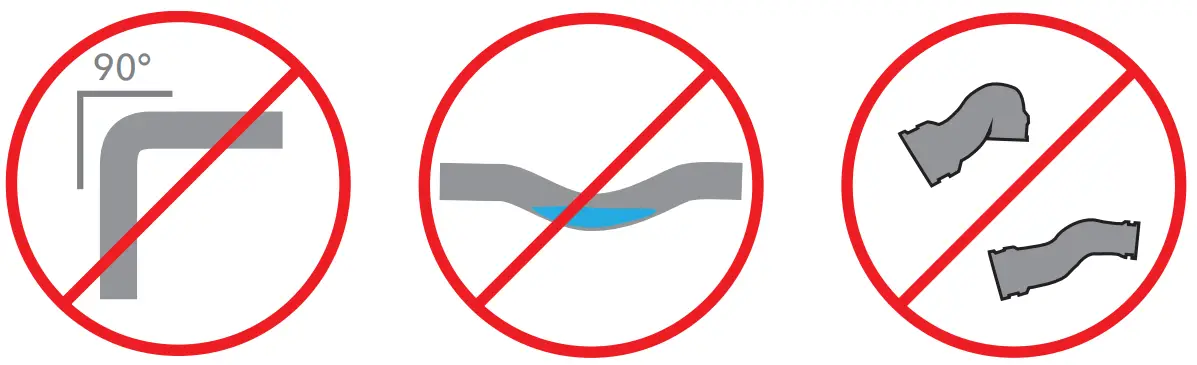 | ||
| No hard 90° on the pipes, it can cause clogging. | Avoid sinks where water can gather and freeze. | The rubber part behind the WC should remain it’s original shape. |
Recommendations
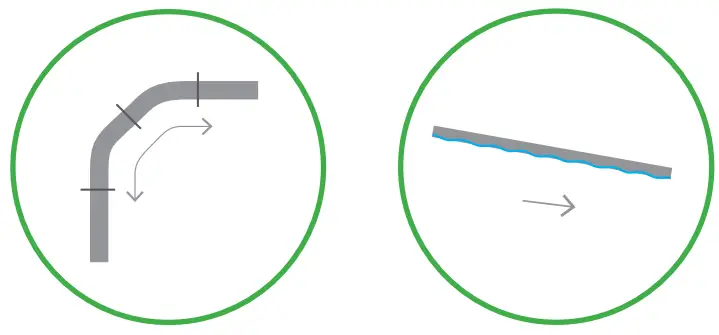 | |
| If a turn must be installed, use x2 45° rather then x1 sharp 90°. | A slight fall on the pipes is recommend, it allows flushing even in the event of power failure |
Possibilities
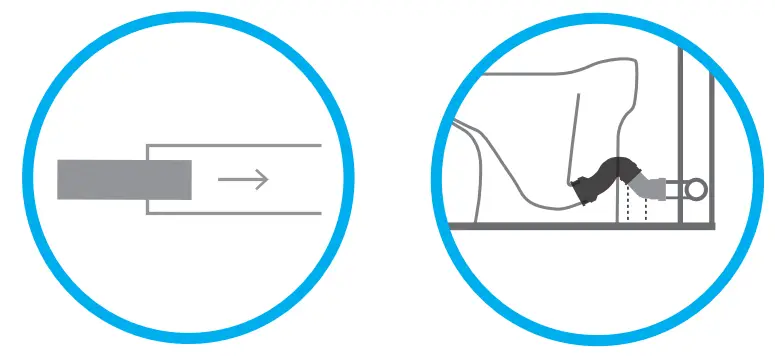 | |
| A 50mm pipe or PEM hose can be mounted inside existing 110mm pipes.. | The pipes can be mounted through walls or be drawn through the floor. |
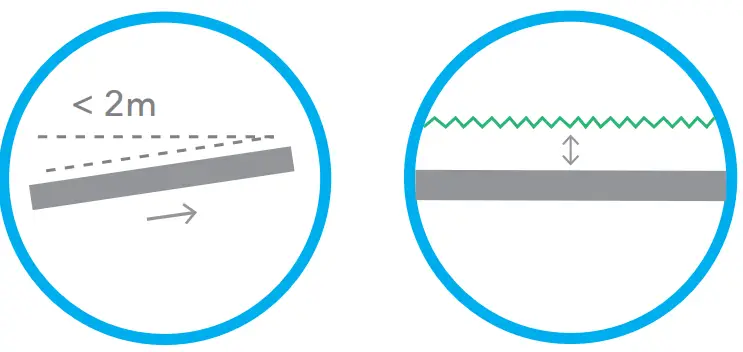 | |
| The pipes can be mounted uphill. But not exceed a hight difference of 2m. If the pipes are mounted uphill the possibility of using the toilet under a power break is limited. | The pipes does not have to be buried deep since they are always empty and are not sensitive to frost. |
Stainless flush button 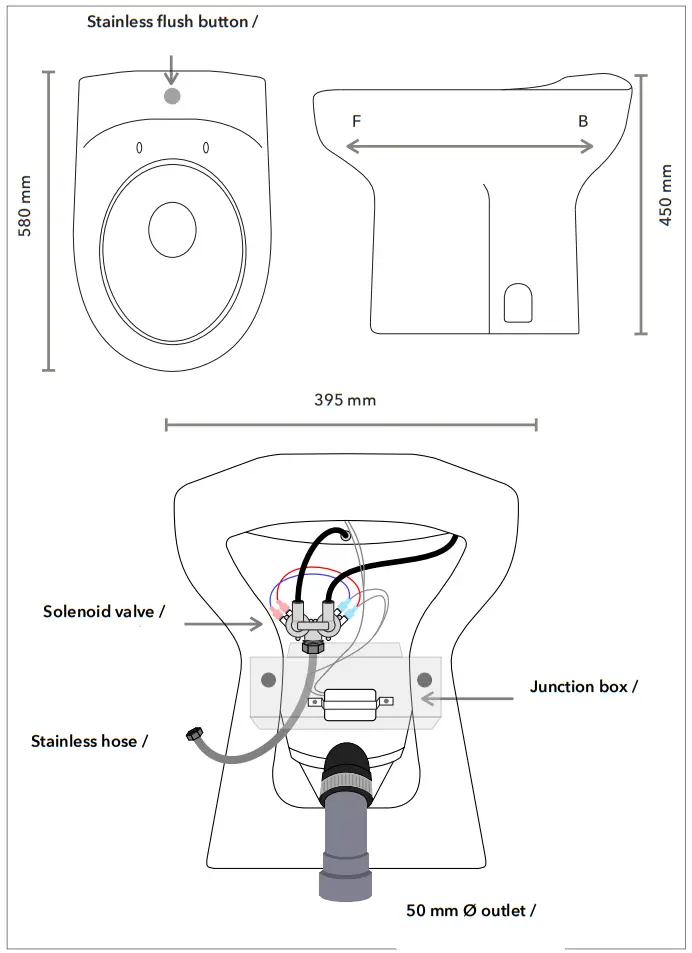
EcoVac® WC
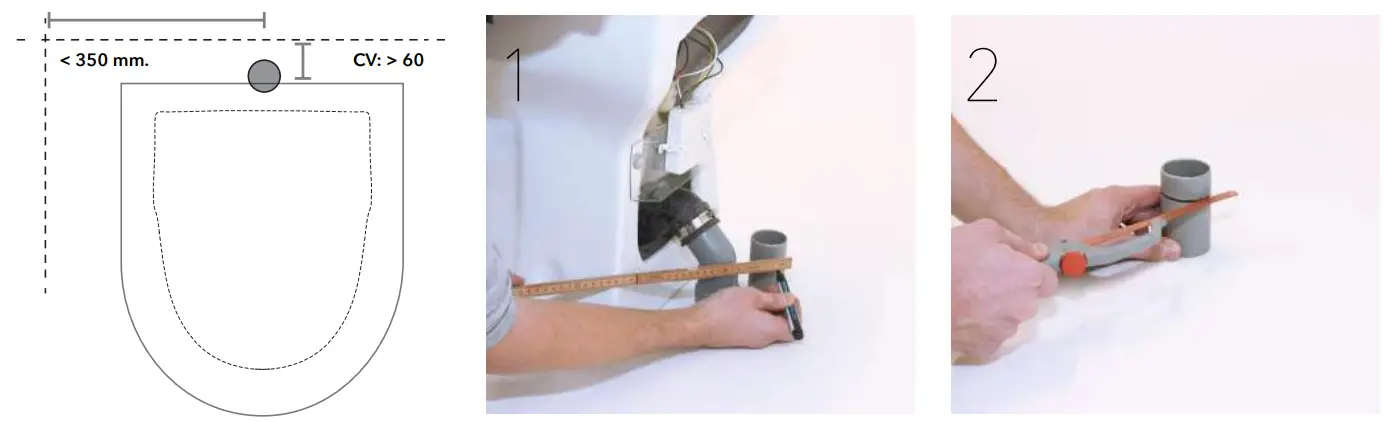 | ||
| Measure the pipe in the floor. | Cut the pipe. | |
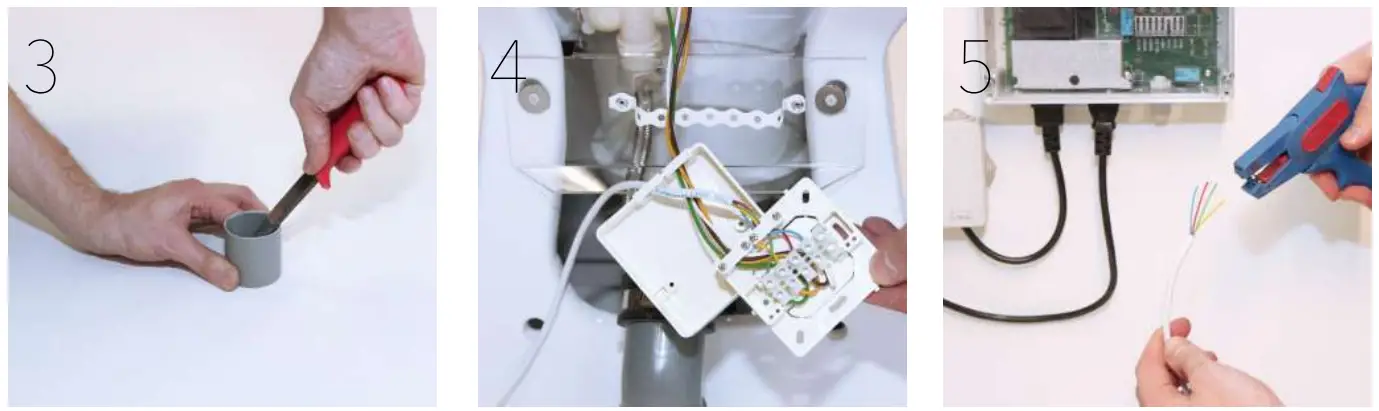 | ||
| Clean the pipe. | Open the junction box and prepare for the electrician. | Connect the signal cable to the control unit. Make sure the control unit is NOT connected to any power. |
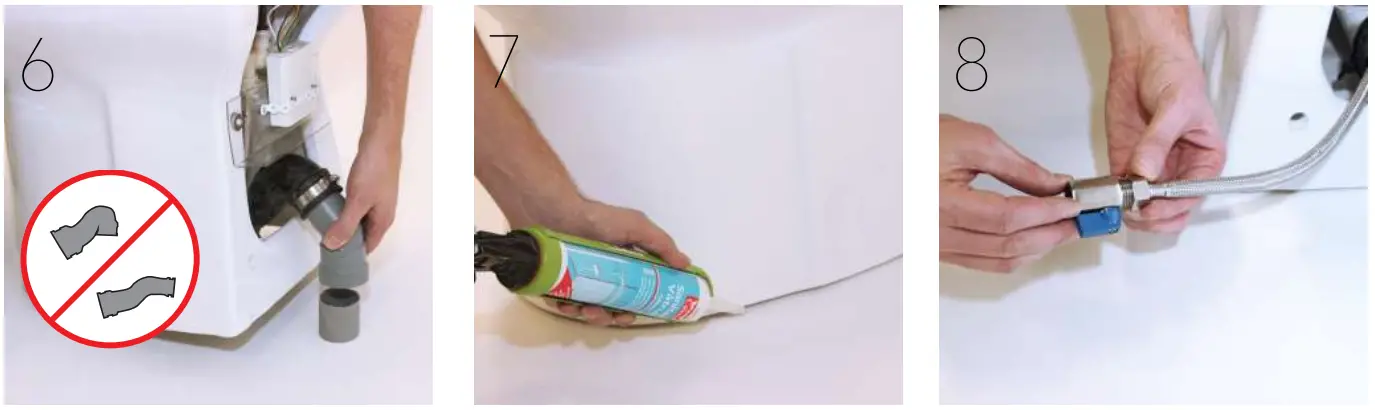 | ||
| Put the WC in place. Use the small plastic plates to balance the WC if the floor is uneven. | Glue the WC in place with transparent silicone. | The very last step of the installation is connection the water. Test-flush the WC before first usage. |
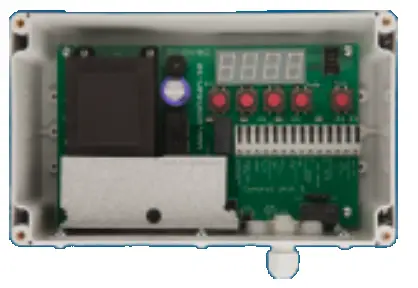
Manage the Control unit
 Starts to flush the bowl. Adjust time depending on water pressure and until cleaning satisfaction.
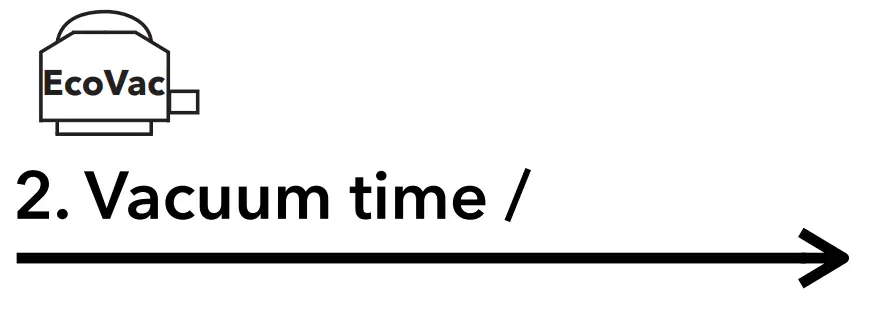 Vacuum time indicates the number of seconds the vacuum turbine is on.
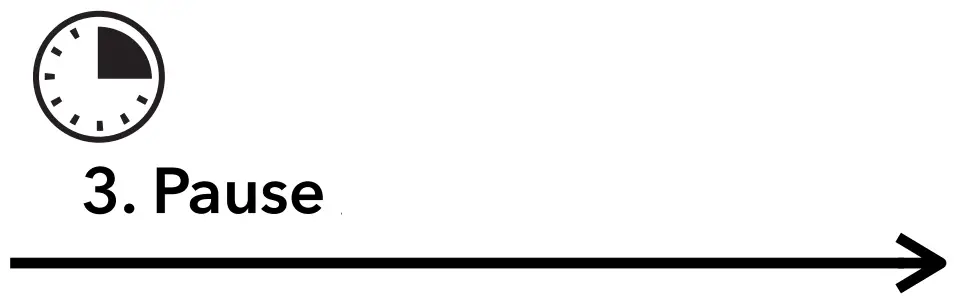 A pause is necessary for the vacuum to shut off completely before the refill of the bowl begins. The pause should not be shorter than the vacuum time.
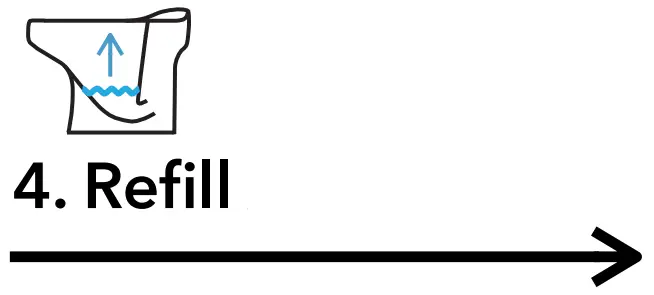 The number of sec the bowl refills with water. It is correct when the water level is 1,5 cm above the outlet hole..
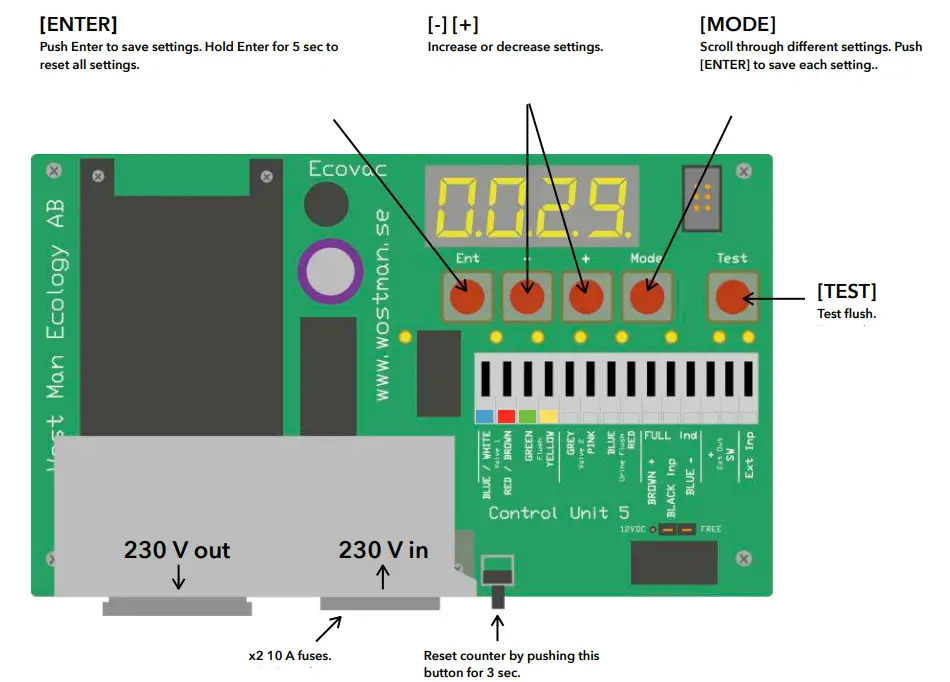
Adjust the settings in the Control unit
The control unit is completely reset and all settings need to be adjusted according to the modell below. Test flush your EcoVac before first usage to make sure all the settings are correct. The owner is responsible for the settings and the management of the Control unit.
| Setting | EcoVac BASE | EcoVac EXTEND | |
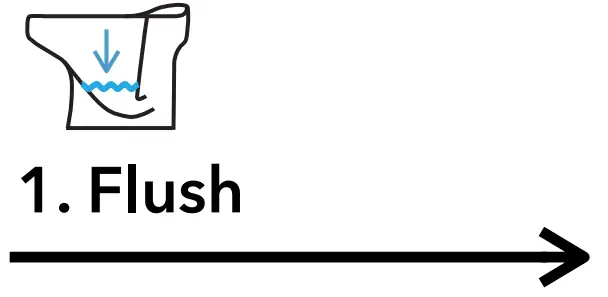
1. Flushing time  | 1-2 Sec | 1-2 Sec | |
2. Vacuum time  | Straight / falling pipes: 0-15 m = 3 sec 15-30 m = 5 sec | Straight / falling pipes: 0-15 m = 3 sec 15-10 m = 5 sec | X meters = distans between WC and vacuum turbine. (Not hight difference. |
Vertical / rising pipes: 0-15 m = 4 sec 15-30 m = 6 sec | Vertical / rising pipes: 0-15 m = 4 sec 15-10 m = 6 sec | Hight difference may not exceed 2 m with rising pipes.) | |
3. Pause  | The pause is always 3 seconds. | The pause is always 3 seconds. | Ex: 6 Sec vakuum time = 6-7 sec Pause. |
| 4. Refill | 2-4 seconds. | 2-4 seconds. | Until water level is 1,5 cm above outlet hole. |
Mount the Control unit
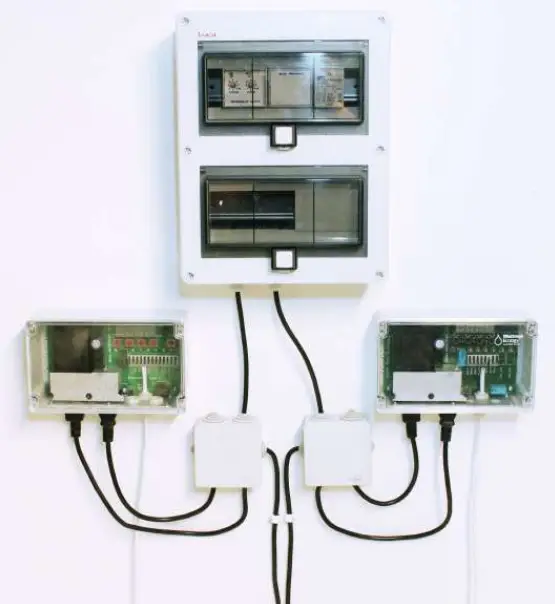 The picture above shows an example of control units for two EcoVac mounted next to the power central.
Recommendations:
– The control unit should be placed in a dry and accessible place. Preferably inside the house, by the power central. (It should not be put next to the vacuum turbine (BASE) or the vacuum unit (EXTEND). It should be easy to find and make changes to the settings if necessary (and you should de able to hear the alarm signal.)
– Tank alarm should be installed on the septic tank. This should also be taken into consideration during wiring.
– Wire the control unit without RCD (Residual current device) since the vacuum turbine (BASE) is often placed in a moist, locked place under ground and do not have constant power.
– Connect the signal cable to the WC before you connect the control unit to any power.
– One extra single phase cable should be installed at this point from the power central to the tank. This cable should be installed with constant power for the frost guard and heat cable. (OBS. don’t use three phase cable). EKKY 3×1,5 mm.
– Make sure to use the supplied seal strip for the lid on the Control unit.
This manual should be saved!
EcoVac Seat Manual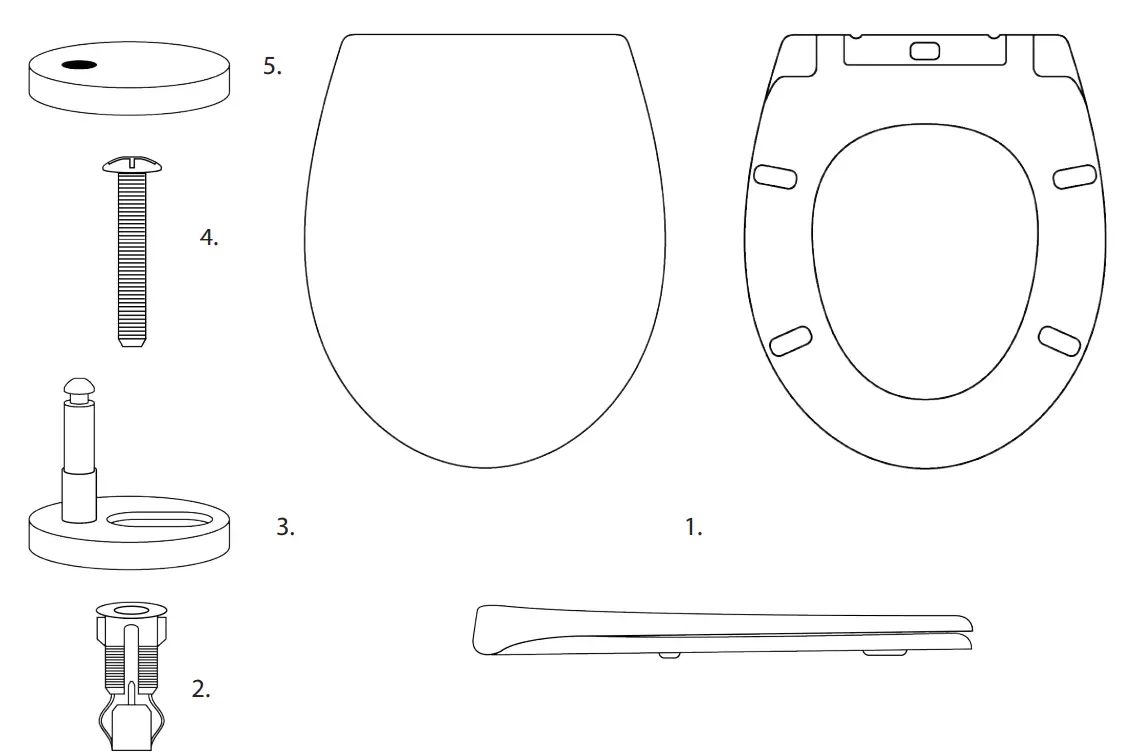
Whats included:
- EcoDry seat in white plastic
- Expanding part
- Screw holder part
- Screw
- Stainless steel cover
What you need:
- Flat head or cross head screwdriver
- Knife or scissors
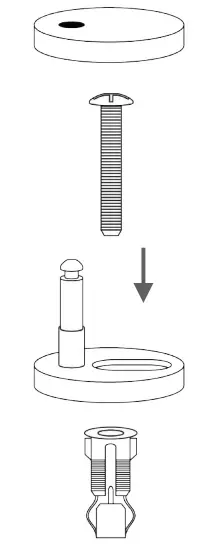
- Observe the order in which the parts should be assembled. Don’t put the stainless cover in place until step 4.

- Assemble the parts and cut off one of the ”wings” holding the upper and lower part of the expanding part together, using a knife or scissors.

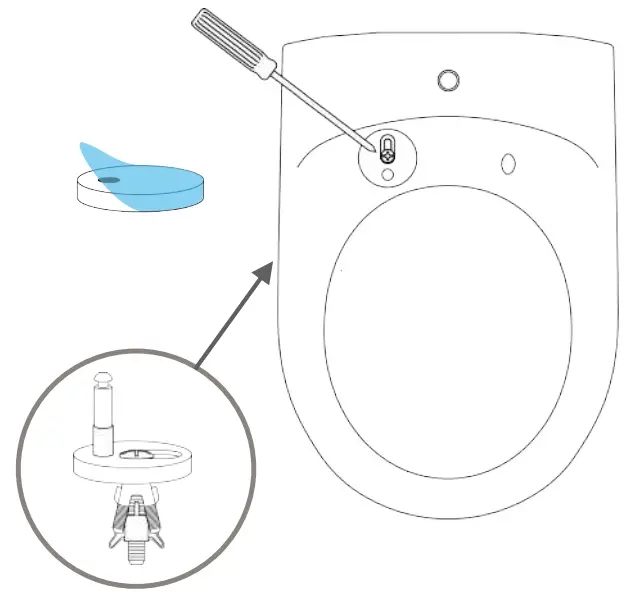
- Push the part in place in the seat hole and make sure it is centered and in line with the seat. Screw in place until the expanding part is expanded fully according to the illustration. Remove the blue protecting film from the stainless cover and put it in place.

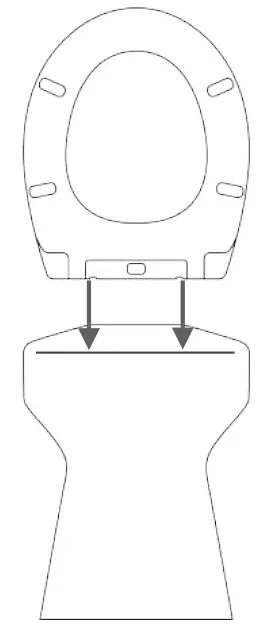
- Hold the seat upright when putting in in place and push gently. To remove the seat, push the ”button” in the middle of the hinge and gently lift the seat in an upright position.