ROYAL Knife Sharpening Kit Instruction Manual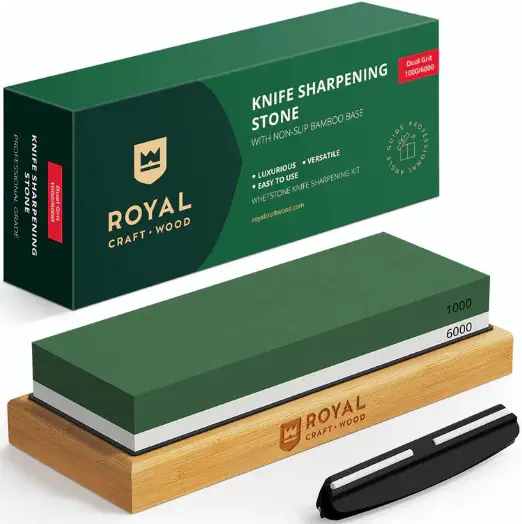
ARRANGE
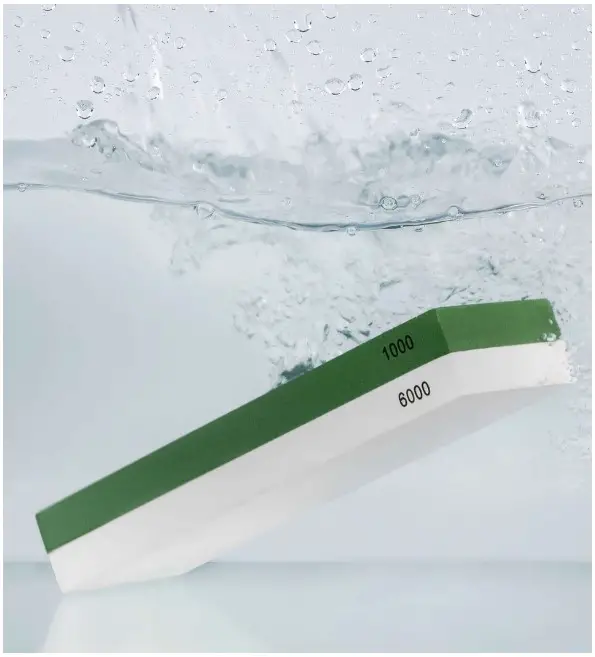
In a water tank, sink, or bowl, fully immerse the sharpening whetstone for roughly 10-12 minutes each time before use.
![]() Tip
Tip
It’s crucial that you keep the sharpening stone wet for optimal use.
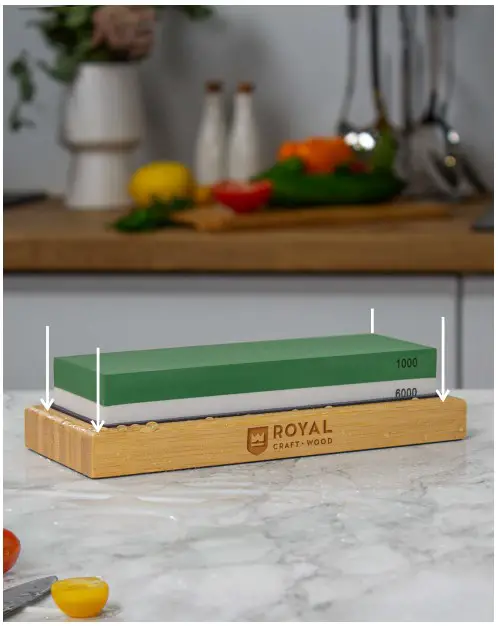
Then fix the stone onto the silicone base and secure it in place onto the non-slip bamboo base.
In our two-sided whetstone you will find two unique grits, each provides a different type of service depending on how much and what type of care your knife needs.
It’s recommended that you begin with the coarse green grit and finish with the smooth white grit for proper use.
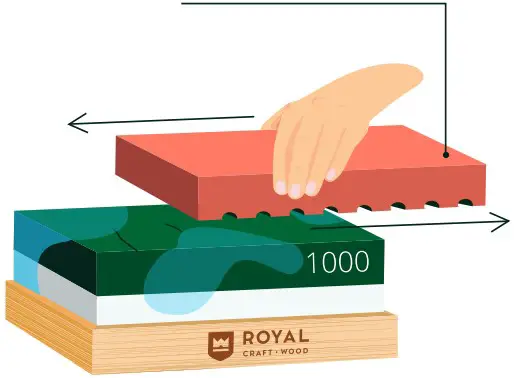
The rough textured green grit #1000 serves in restructuring your knives’ worn out edges.
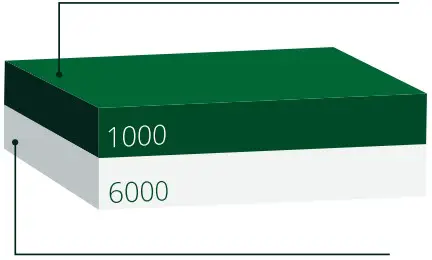
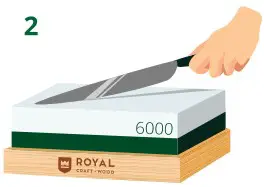
The smoother, top grit #6000 (white side) is meant for honing the blade, polishing, and removing small blemishes.
It’s recommended that you begin with the coarse green grit and finish with the smooth white grit for proper use.
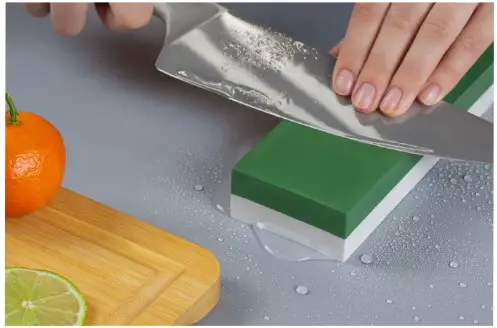
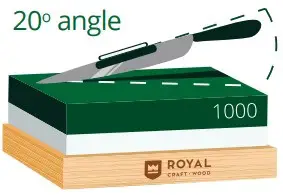
KEEP THE RIGHT TILT
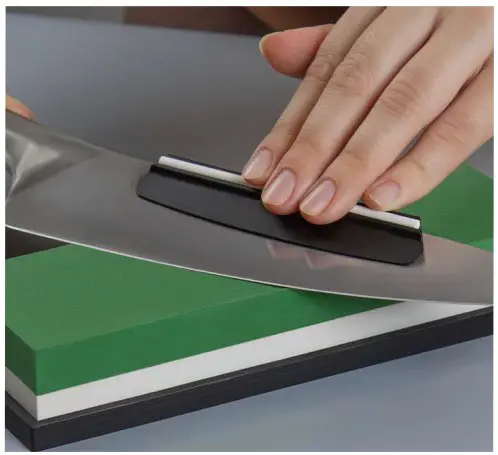
To treat your knife accordingly, hold the knife diagonally at a 15-20 degree angle as you run it back and forth across the stone.
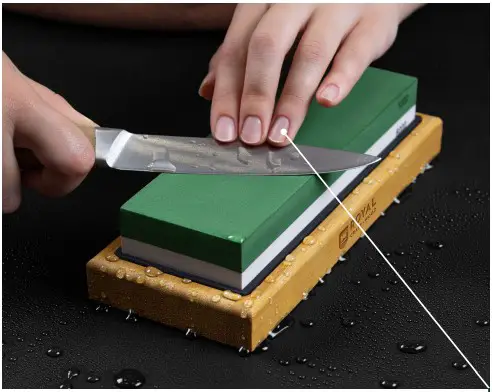
For optimal sharpening, use your other hand to press your fingers against the flat side of the knife to ensure a stable and even filing of your blade.
![]() Tip
Tip
For optimal sharpening don’t be afraid to apply a little pressure as you sharpen and check out the accompanying angle guide for help.
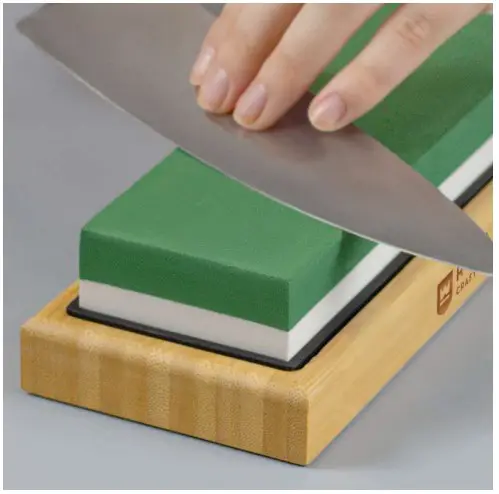
GREEN GRIT-1000 SIDE
Made for sharpening.
Start with the green sharpening side by placing 2-3 fingers from your other hand, on the blade and gently apply pressure as you glide along the edge.
Keep in mind, where you apply pressure is where you’ll be sharpening so be sure to apply to your desired area for optimal use.
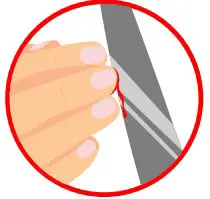
Apply pressure evenly as you run the knife forward and relax as you pull back. Notice you will feel a subtle burr along the edge as you sharpen.
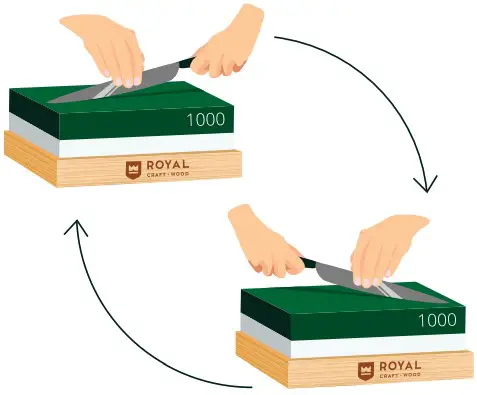
It’s advised you reverse the blade once you notice a burr appear and deploy more pressure on the upward stroke to get rid of the burr.
![]() Tip
Tip
Depending on your knife’s dullness you might need anywhere from 15-30 minutes to sharpen your blade to your liking.
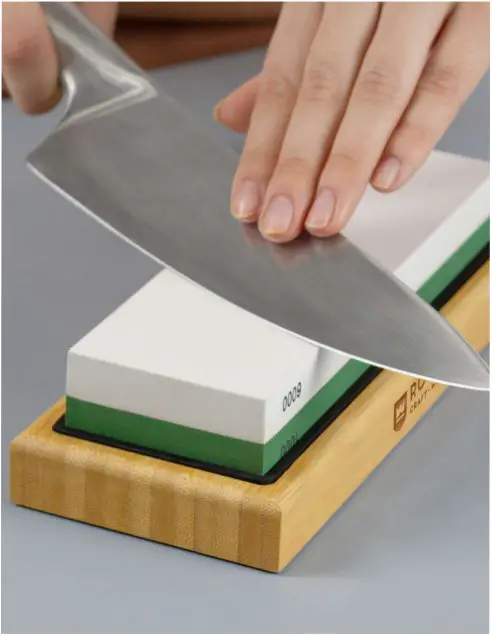
WHITE GRIT-6000 SIDE
Made for honing.
Repeat the same process as for the green grit surface for honing your blade on the White Grit-6000 side for polishing and removing small blade blemishes.
TRY OUT YOUR BLADE
For testing whether you’ve achieved your desired sharpness, test your knife out on a fruit or vegetable such as a tomato or lemon.
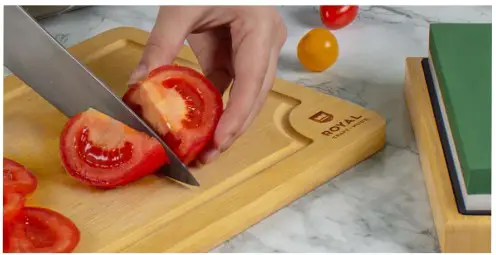
See if you notice any resistance, if so repeat steps 2 (p. 6) and 3 (p. 7-9), if not then you’re set to go!
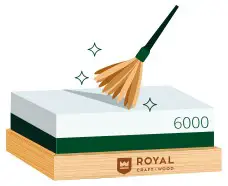
UPKEEP
For proper stowaway, be sure to clean the face of the whetstone with a soft brush and then set to dry.
Be sure to sanitize your knife post-sharpening as well by applying dishwashing soap to your sink sponge and glide it along the flat face of either side of the knife.
Be mindful not to go near the newly honed edge. And then lay it out to air-dry and store thereafter.
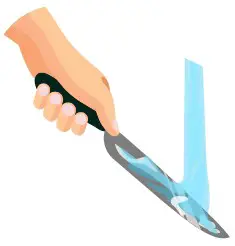
STONE MAINTENANCE
After continual use you may start to notice your stone develop grooves which can impede its honing and sharpening abilities. To address the developing grooves, use a low-grit stone repairer.
- Position the flat low-grit stone fixer against the whestone.
- Run it back and forth along to file down and create a new sharpening layer.
ANGLE GUIDE
- Position the angle guide in the proper spot on the knife blade
- With both hands hold the angle handle and back of the knife accordingly
- Run the blade with the surface of the whetstone and incorporate the proper angle. Use to ensure proper angle sharpening while moving your knife along the whetstone.
MORE TIPS & TRICKS
Believe it or not, honing and sharpening are entirely different things, however understandably are often confused.
Sharpening involves strengthening your blade’s edge and cutting power, while honing simply polishes and straightens your blade’s edge to remove any blemishes it might have.
- The use of a whetstone is crucial to prevent your knife from going dull as they often do when they fold over with use. For optimal use and ensured lasting quality of your knives a whetstone is more favorable.
- It’s important to never sharpen the knife blade flat against the stone, ensure you angle it properly or you’ll end up scratching your knife’s surface and weakening its edge. This often results in your knife chipping or breaking at its edge, so beware.

- For optimal use, make sure you keep your whetstone moist while sharpening.
Sprinkle some water onto your stone occasionally while in use and be sure to never wash or wipe away the slurry, grainy water that forms on the stone. This mixture is crucial to the filing process.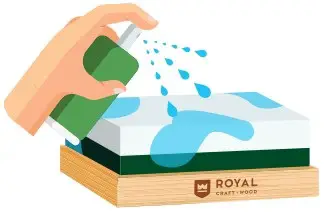
- It’s also important to keep in mind that following the process in order is key. Sharpening on the 1000-grit surface preps it for the next process on the honing 6000-grit to finish it off.
This ensures a nicely sharpened and polished edge each time.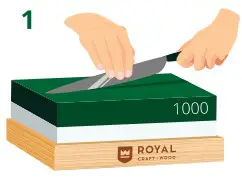
STONE USE:
 FOR BEGINNERS
It’s advised you employ the whole whetstone for sharpening and honing, and making long strokes while at it.
 FOR MORE SKILLED SHARPENERS
You can split the whetstone into quadrants and focus each session per quadrant by rotating the stone 180* for consecutive sharpening.
That way your stone surface remains more even with each sharpening and will require less maintenance down the road.
THANKS FOR READING
Check out these additional sharpening stone tools.
CLICK ON THE IMAGES BELOW TO VISIT OUR SITE.