WAVESSHARE Li-ion Battery HAT User Manual

OVERVIEW
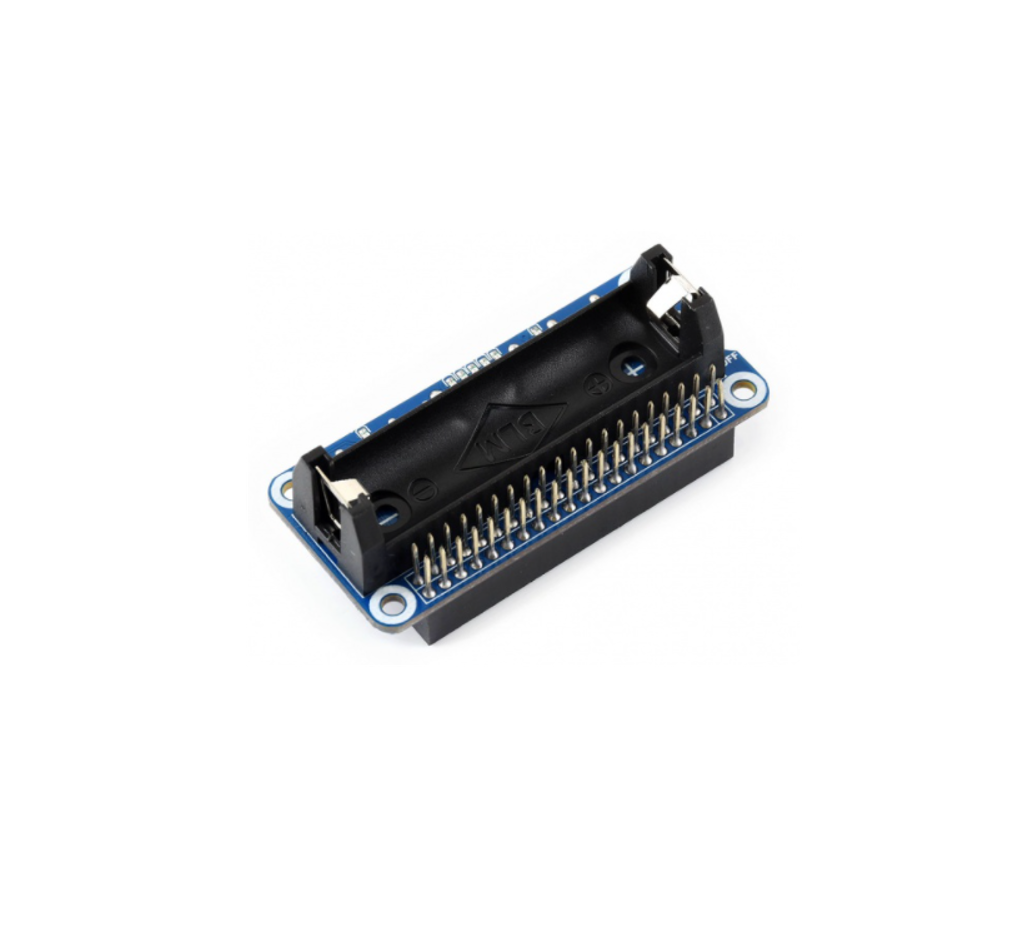
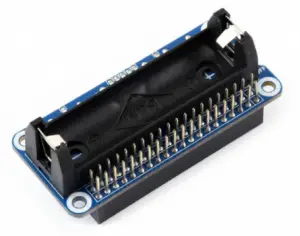
The Li-ion Battery HAT integrates SW6106 power bank management chip, allows providing 5V regulated power supply to your Pi from a 14500 battery, makes the Pi
becomes a portable device. It will charge the battery as well, supports bi-directional quick charge. This module integrates ion battery protection circuit to protect it from over charge/discharge, over current and short.
The SW6016 is a highly integrated power management IC for fast charge power bank application, it integrates 4A switching charger, 18W synchronous boost, PD/QC/FCP/PE/SFCP fast charge protocol, fuel gauge and power controller.
SPECIFICATION
| Operating voltage | 5V |
| Applicable battery | 3.7V 14500 lithium battery (4.2V when full charged) |
| Dimension | 65mm × 30mm |
| Mounting hole size | 3.0mm |
INTERFACE
| Interface | Description |
| USB Type-C | Battery charge/Power output interface |
| USB Type-A | Power output interface |
| Micro USB | Battery charge interface |
USING
- Insert Li-ion Battery HAT to your Raspberry Pi. Turn on the power switch to power on your Raspberry Pi, turn off to power
- Except directly insert the Li-ion HAT, you can also connect USB Type-A interface of Li-ion HAT to USB port of Raspberry Pi to power Raspberry
- Warning LED is reverse polarity indicator, if it lights on, please take out the battery, change the direction and re-mount it. Note that you must turn off power before change the If you find that there is not power after change battery, connect a USB cable and charge it for a while.
- There are 5 LEDs for capacity
LED states when discharging.
Capacity LED1 LED2 LED3 LED4 LED5 80~100% On On On On On 60~80% On On On On Off 40~60% On On On Off Off 20~40% On On Off Off Off 5~20% On Off Off Off Off 1~5% Flicker Off Off Off Off 0% Off Off Off Off Off LEDs states when charging
Capacity LED1 LED2 LED3 LED4 LED5 100% On On On On On 80~99% On On On On Flicker 60~80% On On On Flicker Off 40~60% On On Flicker Off Off 20~40% On Flicker Off Off Off 0~20% Flicker Off Off Off Off LEDs states when charging
- Quick Charge LED is quick charge indicator. Quick charge is only supported when use quick charge charger. If you use common 5V charger, it could not quick
- This module uses rechargeable battery, 14500 battery, nominal voltage 3.7V, full charge 4.2V, discharge voltage 3V. Note: can not use AAA battery which doesn’t support recharge
- Discharge time is based on current capacity of battery. 800mA could power Raspberry Pi 3B+ (The consumption of Pi 3B+ is larger than Pi 3B) for about 50min, power Pi Zero W for about 2~3h. (no-load state)
- The module can be soldered for bigger capacity battery. But we don’t recommend you do that if you are not good at soldering. Note that soldering the HAT yourself will lose warranty.


