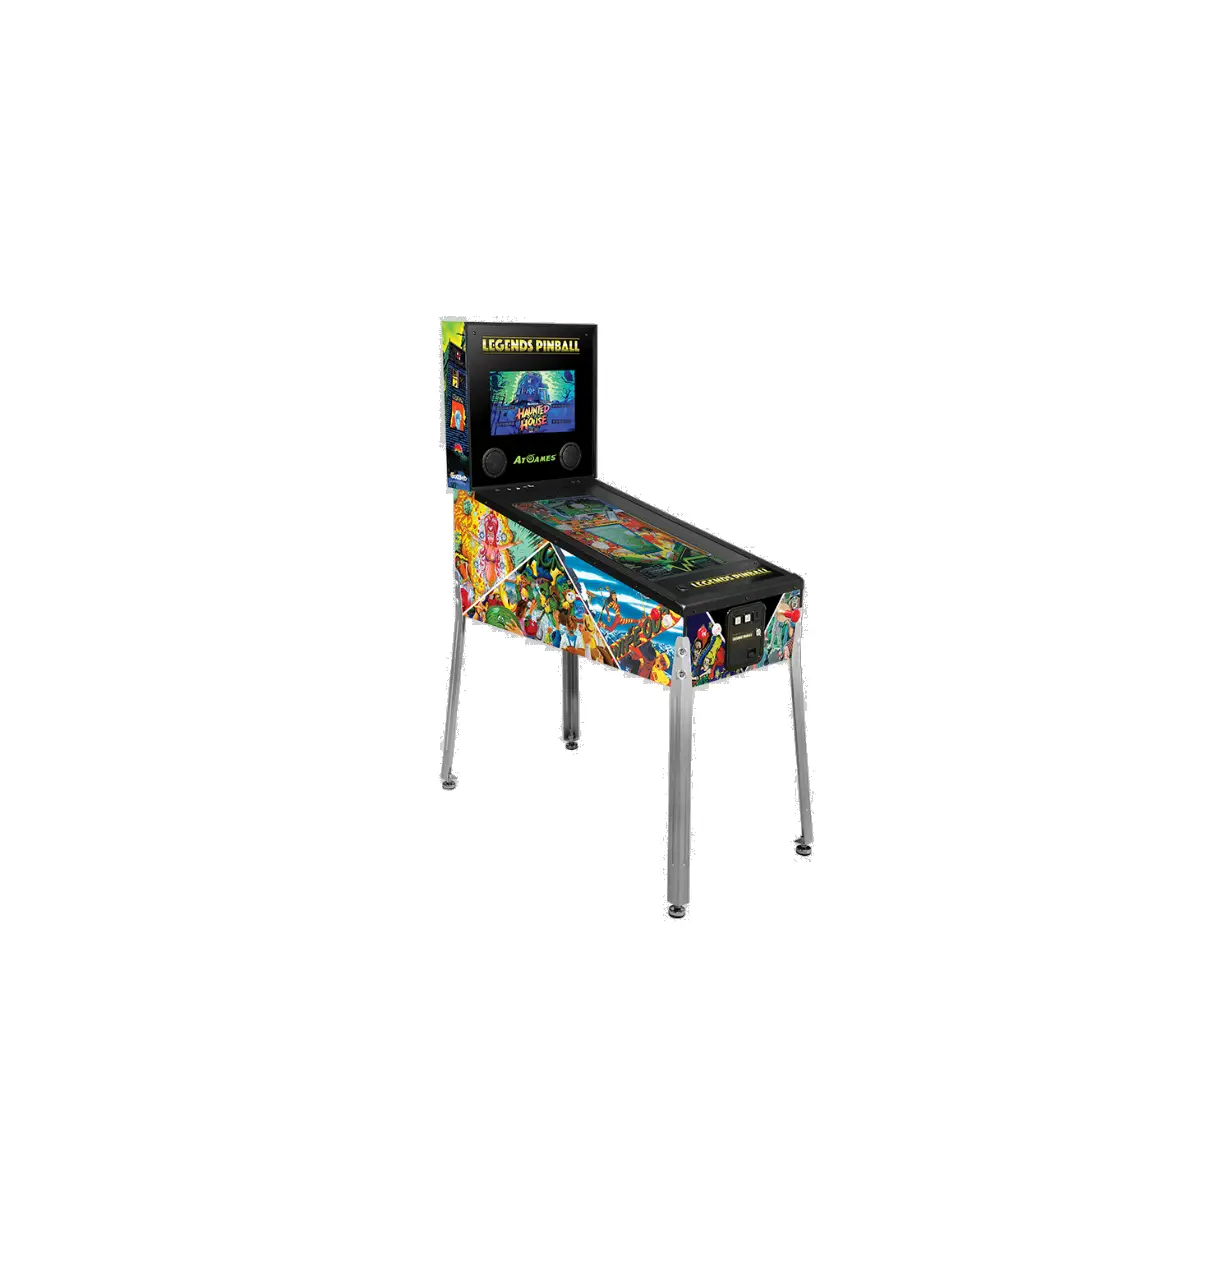
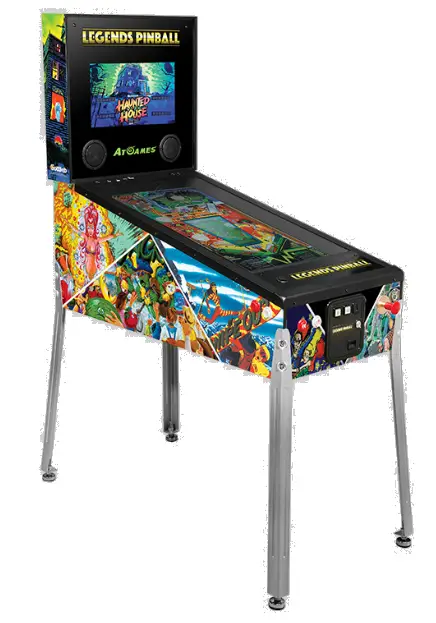
AtGames HAA300HV Legends Pinball
TOOLS/PARTS REQUIRED
TOOLS/PARTS INCLUDED
- LED marquee

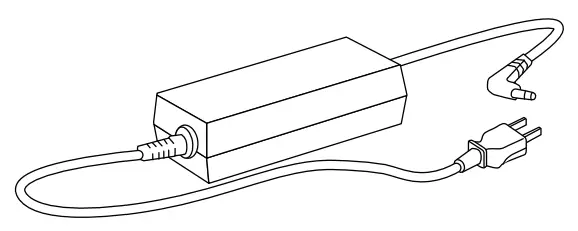
- Power adapter

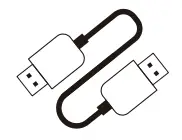
- Type A USB cable male to male

- 128MB MicroSD card (pre-installed)

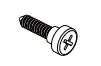
- Screw x2 – Type 1
wall mounting only
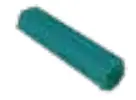
- Plastic anchor x2
wall mounting only

TOOLS/PARTS NEEDED BUT NOT INCLUDED
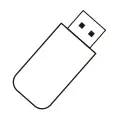
- USB drive

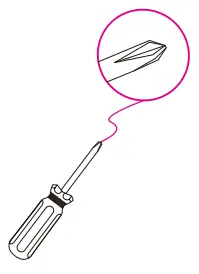
- Phillips head screwdriver

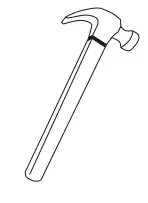
- Hammer
wall mounting only
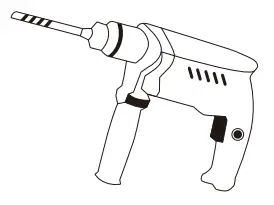
- Drill
wall mounting only
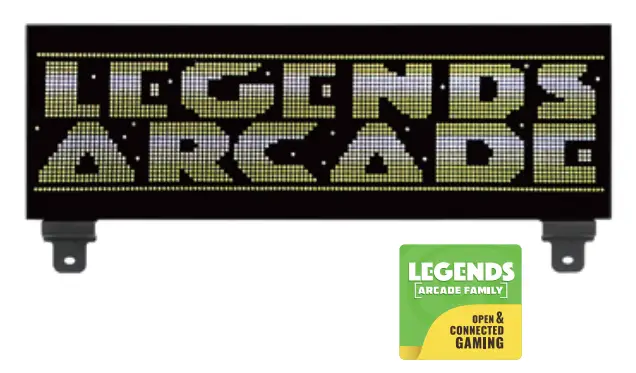
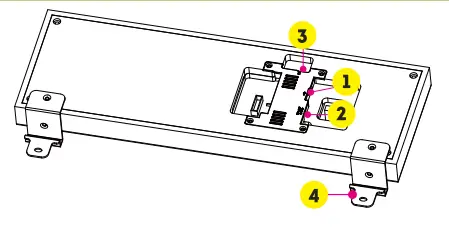
LEGENDS BITPIXEL HV FEATURES
- USB Port
- Power Input
- Micro SD Slot
- Legends Pinball Mounting Brackets

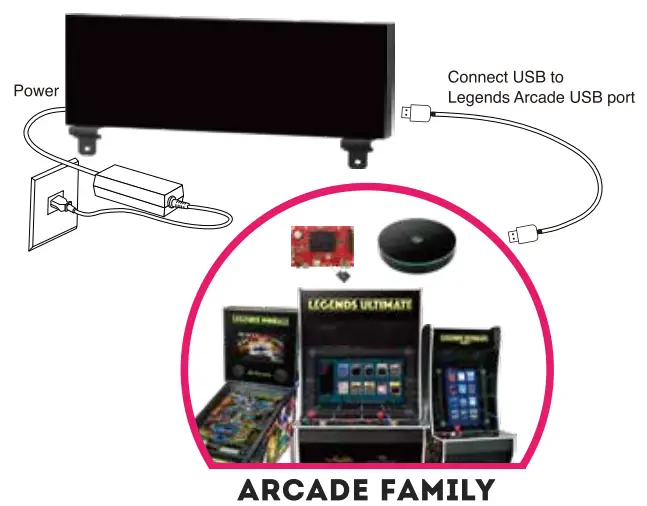
CONNECTION DIAGRAM
ASSEMBLY STEPS
GENERAL SETUP AND LEGENDS PINBALL INSTALLATION
Note: For usage with other Legends Arcade Family devices, skip the Legends Pinball-specific mounting steps and follow steps 2 and 3, as well as Step 6 onward.
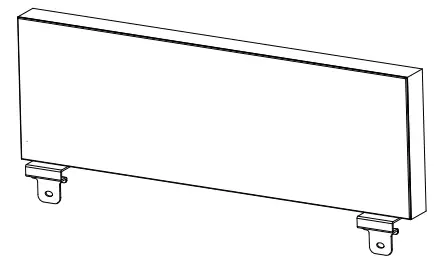
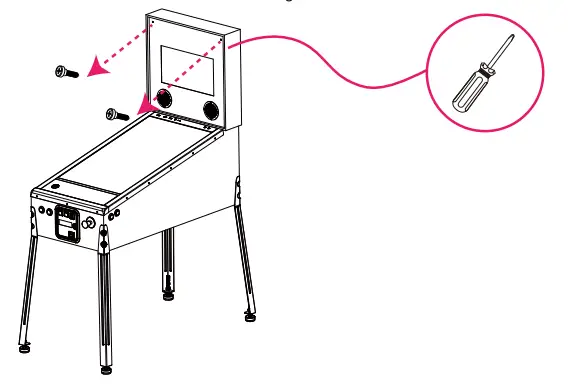
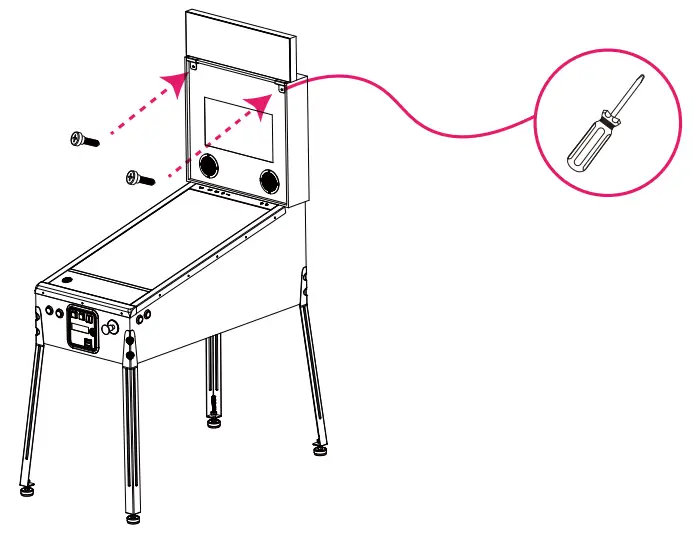
Step 1. Please remove the screws from the Legends Pinball.
Step 2. Plug the Type A USB cable Male to Male into the USB port 1.
Step 3. Plug the included AC adapter into the Power Input 2
Step 4. Put the BitPixel HV on the Backglass.
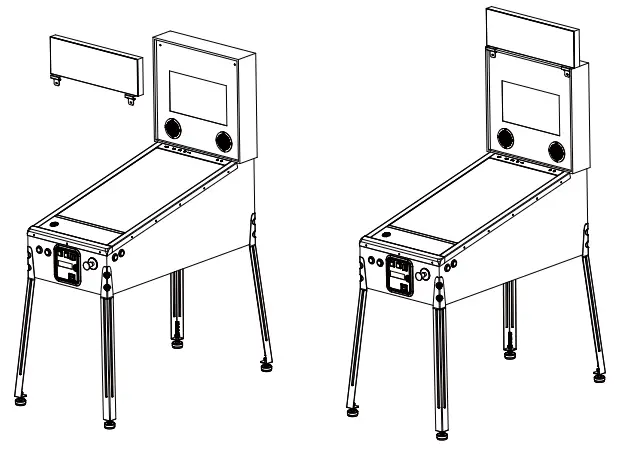
Step 5. Insert screws to the Backglass of Legends Pinball.
Step 6. Power on the Legends Arcade. Insert a USB drive into the Legends Arcade’s USB port.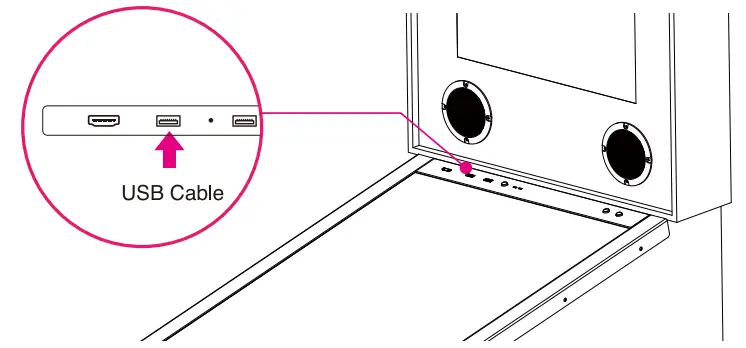
Note: If you already have a FlashDriveX-formatted USB drive inserted, set up, and mounted, you can proceed to Step 9.
Step 7. Go to the SETTINGS tab and select FlashDriveX.
Step 8. Format and mount your USB drive.
Note: Minimum USB 2.0 and 16GB recommended.
Step 9. Go to the AppStoreX tab and install the PixelcadeX app to your USB drive. If you have already installed the PixelcadeX app, you can skip this step.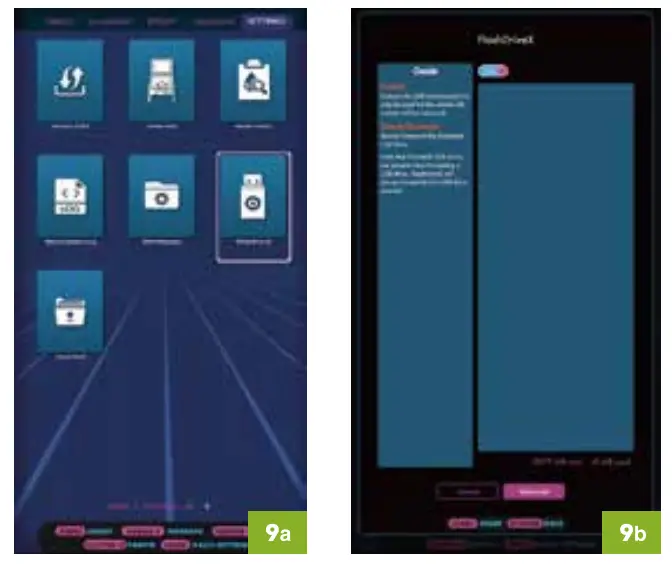
Step 10. Go to the AppStoreX tab and select (a) and launch the PixelcadeX app (b).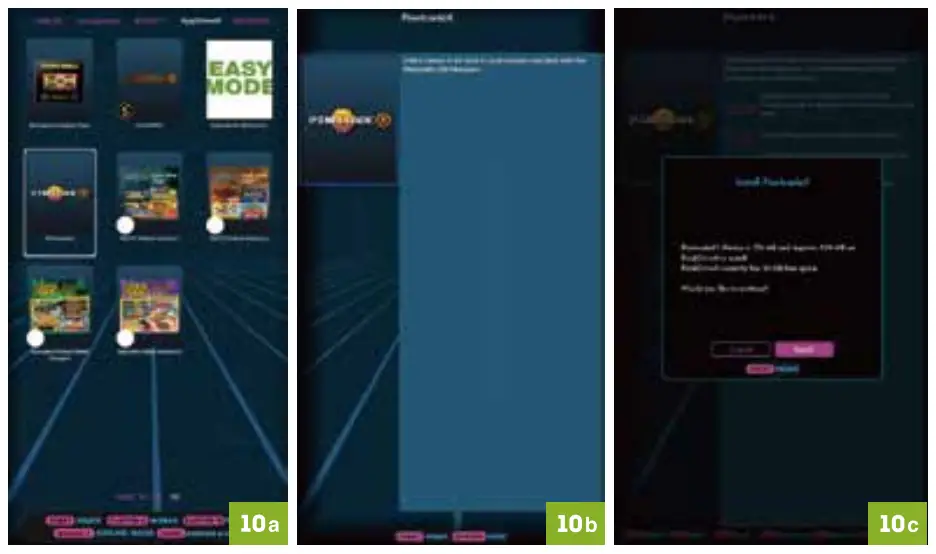
Step 11. Once your Legends Arcade device establishes communication with the BitPixel HV, it will display marquees or text for most built-in highlighted and selected games and menu items.
Step 12. Each time your Legends Arcade device, launch the PixelcadeX app to communicate with the BitPixel HV.
GENERAL SETUP AND LEGENDS PINBALL INSTALLATION
Note: Remove the Legend Pinball mounting brackets before attaching to wall.

Step 1. Mark the positions of the two holes on the left and right sides of the BitPixel HV on the wall and drill four 6mm holes. Take out both plastic anchors and hammer them into the holes you just drilled. Take the two Type 1 screws and fasten them onto the two plastic anchors.
WALL MOUNTING INSTALLATION

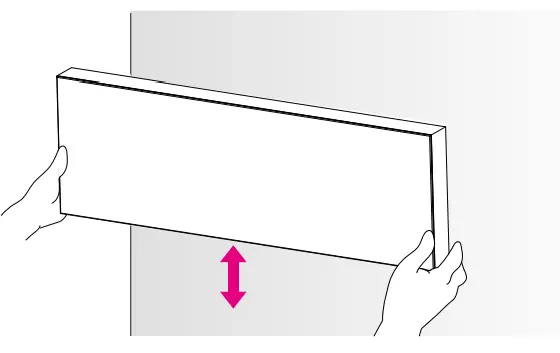
Step 2. Slide the Bit Pixel HV slowly downward on the exposed screw heads until it is secured in place.
For the additional setup steps after wall mounting, please refer to Step 2 – 14 in the GENERAL SETUP AND LEGENDS PINBALL INSTALLATION section.
Note: The included USB cable is optimized for use with the Legends Pinball and may not be long enough for wall mounting installation. Please use a Type A USB cable male to male of the appropriate length (not included).
WARRANTY INFO
The manufacturer warrants this product to be free and clear of defects in the materials and workmanship, under normal residential use and conditions, for a period of thirty (30) days from the original date of product receipt. Shipping and handling fees are to be paid for by the customer. To make a warranty claim, please submit a service request here: [email protected]
Standard warranty coverage for the AtGames Legends BitPixel does not apply to and is considered invalid due to misuse, improper maintenance, self-repair, tampering, invasive hardware modifications of any kind, or non-manufacturing related causes. Exchanges due to damages or dysfunction caused by shipping must go through the authorized retailer/reseller where the product was purchased.
Note: Standard warranty services are valid with receipt from an authorized US retailer or AtGames E-Store. Purchases through third-party sellers and resellers, or those entities outside the US, do not fall under the standard warranty program. For warranty support, please contact the third-party seller or reseller where you purchased the product. Please find the latest AtGames Warranty policy at: https://www.atgames.net/arcades/warranty
SAFETY NOTICE
- Do not submerge the device in water or expose it to extreme heat or to strong magnetic fields. Doing so may cause permanent damage to your device.
- Always use a dry towel to clean the device.
- Transformers are suitable for indoor use only. Transformers and power supplies for toys are not intended to be used as toys, and the use of these products by children shall be under the full supervision of parents.
FCC STATEMENT
This equipment has been tested and found to comply with the limits for a Class B digital
device, pursuant to Part 15 of the FCC Rules. These limits are designed to provide reasonable protection against harmful interference in a residential installation. This
equipment generates, uses and can radiate radio frequency energy and, if not installed and used in accordance with the instructions, may cause harmful interference to radio communications. However, there is no guarantee that interference will not occur in a
particular installation. If this equipment does cause harmful interference to radio or television reception, which can be determined by turning the equipment off and on, the user is encouraged to try to correct the interference by one or more of the following measures:
- Reorient or relocate the receiving antenna.
- Increase the separation between the equipment and receiver.
- Connect the equipment into an outlet on a circuit different from that to which the receiver is connected.
- Consult the dealer or an experienced radio/TV technician for help.
Changes or modifications not expressly approved by the party responsible for compliance could void the user’s authority to operate the equipment.
CAN ICES-3 (B)/NMB-3(8)
For technical support please email:
[email protected]

Content and images are for reference only and subject to change.
Made in China