alza ergo APW-EGET8300 Control Panel
OVERVIEW
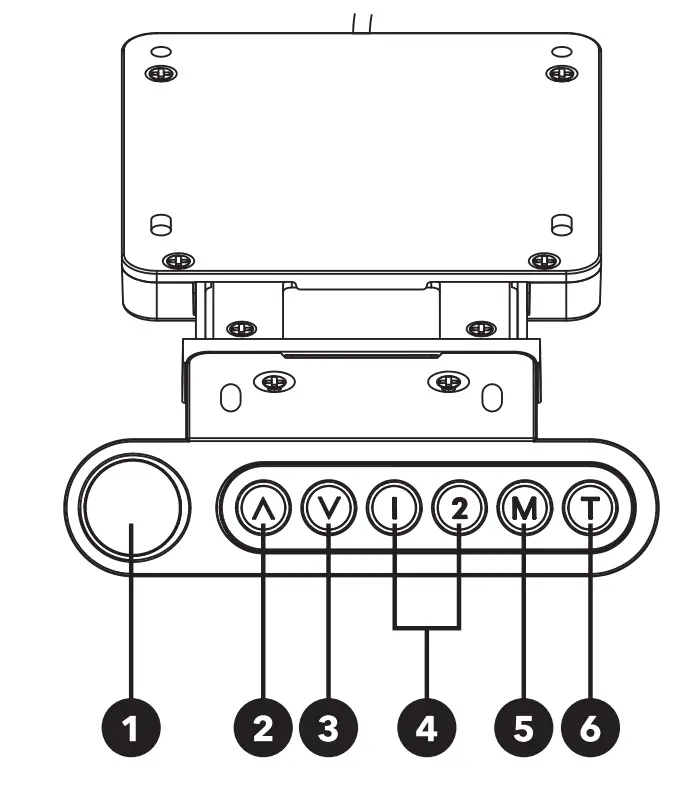
- Display Shows the desk height and other additional functions
- Up Adjustment of the desk height upwards
- Down Adjustment of the desk height downwards
- Preset 1/2 Setting the desk height to one of two positions saved by the user.
- Lock/Presets Unlock/Lock the control panel and save presets
- Timer Setting the prompt to change the working position
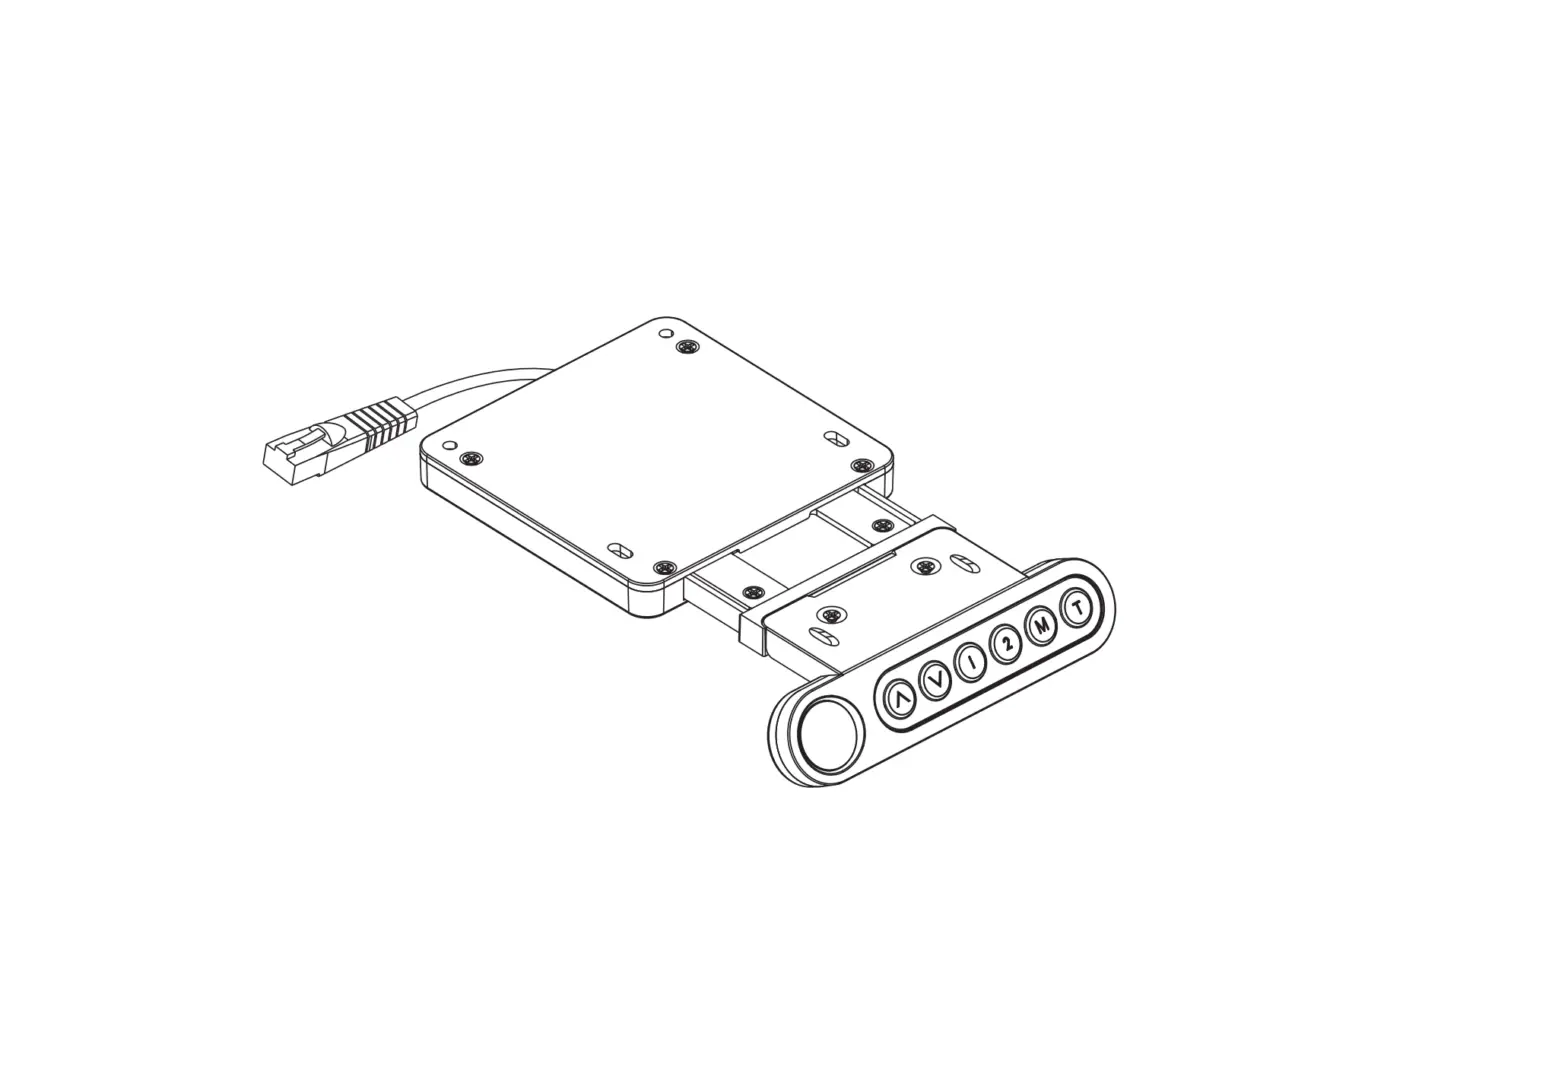
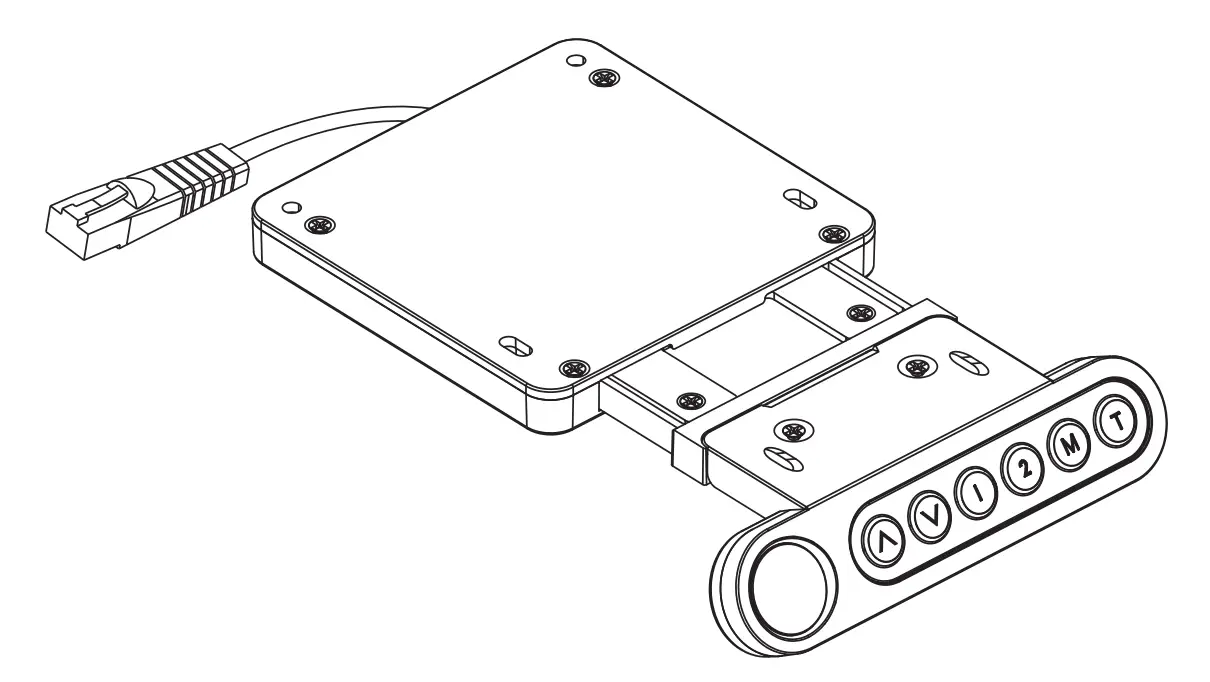
USING THE CONTROL PANEL
Plug the end of the control panel cable into the input port on the desk. Control panel lock If you wish to prevent changes to the settings, hold down the M button for 3 seconds to lock the control panel. The control panel lock is active when the display shows—.
The control panel lock can also be activated automatically after 1 minute – see more in “Control panel lock settings” below in the manual.
Press and hold the M for 3 seconds to unlock the control panel. The display shows the current height of the desk.
Note: After 1 minute of inactivity, the control panel lock automatically activates.
Setting the height of the desk
To change the height of the desk press and hold the button up or down until that desk reaches the desired height.
Presets
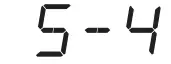
Press the button M to save the height in one of the presets. The S- on the display starts flashing. While S- is flashing, press one button, either 1 or 2. Each of the preset buttons allows you to save one user-defined height.
Press the corresponding button to recall saved height preset. Note: You can stop any movement of the desk top by pressing any button (except the T button).
Reset
If you are using the control panel for the first time, or if you have not used it for a long time, we recommend that you reset the system before using it again.
To reset, press the buttons up and down at the same time. An alert sounds and the display shows ,ST. The desk top lowers to the lowest possible height and then rises a little. The display shows the
current height of the desk. An alert sounds and the reset process is successfully completed. Never release the buttons until thesecond alert sounds.
Timer
The timer notifies the user to change the working position.
Press the button T to set the timer. The display shows “0.5”. Press repeatedly the button T to set the required timer time between 30minutes to 2 hours. Each press of the button T extends the timer by 30 minutes. When the setting is completed, the display flashes for a few seconds, and when the desk height is displayed, the set time is saved and the countdown starts. An icon showing the timer setting appears in the upper corner of the screen.
When the set time has elapsed, an alert sounds five times.
If you need to cancel the timer, press repeatedly the button T until the desk height appears on the display and the timer icon disappears.
Unit Change
The display of the units on the control panel display is preset to centimeters .
press and hold the T button for 3 seconds to change the units. the unit changes to inch, Repeat the procedure to change the units back to centimeters.
Power save mode
The control panel automatically switches to power save mode after 10 minutes of in activity . the display turns off.
press any button to wake.
SETTINGS
| Setting | Description | Factory default | Values range |
| Setting the minimum desk height | 62 cm | 62-118 cm |
| Setting the maximum desk height | 72 cm | 72-128 cm |
| Adjust the sensitivity of the anti-collision sensor when the board moves upwards | 4 | 0 up to 8 |
 | Adjust the sensitivity of the anti-collision sensor when the board moves down | 4 | 0 up to 8 |
| Setting the sensitivity of the gyroscopic sensor | 4 | 0 up to 8 |
| Adjusting the thickness of the desk top for correct display of the desk height | 0.0 | 0 up to 5 cm |
| Control panel automatic lock setting | 0 | 0 (off)1 (on) |


Procedure to change settings
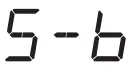
- To enter the settings, press and hold the M and T button simultaneously for 5 seconds until an alarm sounds and S-1 starts flashing on the display.
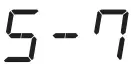
- Select the required setting (S-1 to S-7) using the buttons up and down and confirm by pressing the M button.
- The display shows the factory settings and using the up and down buttons set the required value of the setting.
- To save the setting press the M button. The display shows X-S if saved successfully and X-F if unsuccessful.
- You can exit the settings at any time using the T button or wait 8 seconds until the display shows the height of the desk.
Note: The setting ends automatically after 10 seconds of inactivity.
The desk height shown does not include the thickness of the tabletop.
TROUBLESHOOTING
The desk shows the messages that may appear on the control-panel display and their solutions.
If the message persists, contact support.
| Message | Description | Solution |
| The automatic control panel lock is active. | Hold the M button for 3 seconds. | |
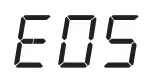
 | The system requires a reset. | Reset. |
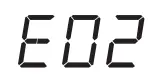
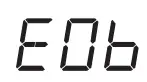
 | The system has diagnosed an unspecified electronic error. | Disconnect the desk from the power supply and then reconnect. |
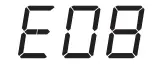
 | Different leg heights | Reset. |
 | Control panel connection error | Disconnect the desk from the power supply and check the control panel connection. |
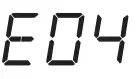
 | The system detected a collision. | Remove all objects impeding movement. |
 | The system has diagnosed an unspecified electronic error . | Disconnect the desk from the power supply and then reco nnect. If the problem persists, replace the control box. |
 | The system detected a collision. | Remove all objects impeding movement . |
| The control panel is not placed/connected correctly. | Make sure that the control panel is properly connected ac cording to the instructions in this manual or that it is placed on a flat surface. | |
| The control panel cable end has been pulled out. | Plug in the end of the control panel cable and make sure that it cannot be easily pulled out. | |
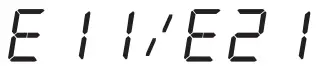 | Motor connection error | Check connections or replace cables. E11 corresponds to cable M1, E21 corresponds to cable M2. |
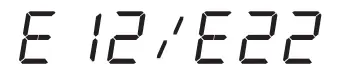 | The system has diagnosed an unspecified electronic error. | Disconnect the desk from the power supply and then reconnect. If the problem persists, replace the control box. |
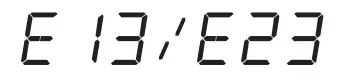 | Defective motor cable | Check connections or replace cables. E13 corresponds to cable M1, E23 corresponds to cable M2. |
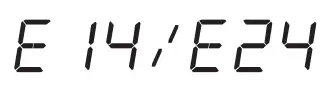 | Defective distribution cables | Check connections or replace cables. E14 corresponds to cable M1, E24 corresponds to cable M2. |
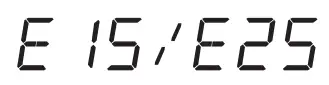 | Short-circuit | Replace motor . E15 corresponds to cable M1, E25 corresponds to cable M2. |
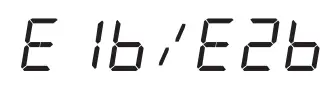 | The desk top is too laden and the motor does not manage the weight of the top . | Remove items from the desk top and try again. Always remove all heavy objects from the desk top before adjusting it. |
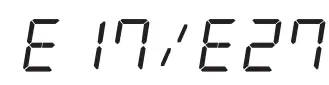 | The desk top is moving in the wrong direction. | Check connections or replace cables. E17 corresponds to cable M1, E27 corresponds to cable M2. |
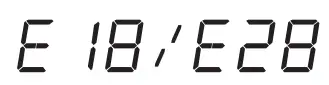 | Desk overload | Remove items from the desk top and try again. Always remove all heavy objects from the desk top before adjusting it. |
 | Memory error | Disconnect the desk from the power supply and then reco nnect. If the problem persists, replace the control box. |
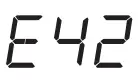
 | Anti-collision system sensors error | Replace the control box. |
 | System overheating | Allow the system to cool. Do not change the desk height for about 18 minutes. |
This product meets all of the related basic EU regulation requirements.
The EU declaration of conformity is available on www.alzashop.com/DoC.
This product sold in the European Union meet the requirements of Directive 2011 /65/EU on the restriction of the use of certain hazardous substances in electrical and electronic equipment (RoHS).
The use of the WEEE Symbol indicates that this product should not be treated as household waste. By ensuring this product is disposed of correctly, you will help protect the environment. For more detailed information about the recycling of this product, please contact your local authority, your household waste disposal service provider, or the shop where you purchased the item.
“For indoor use only ” Symbol indicates that the product is not in-tended for out door use.

![]()