VULCAN Penn Elcom Launches
INCLUDED IN KIT

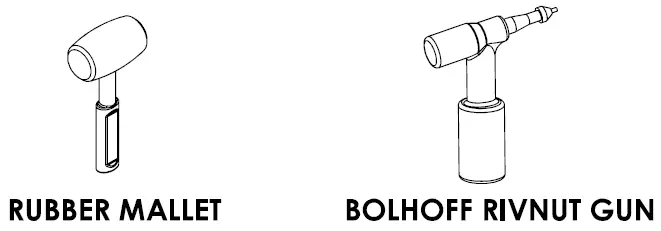
ADDITIONAL TOOLS REQUIRED
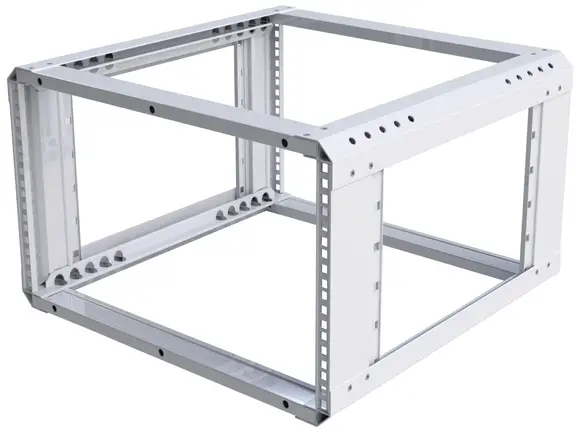
ASSEMBLY INSTRUCTIONS
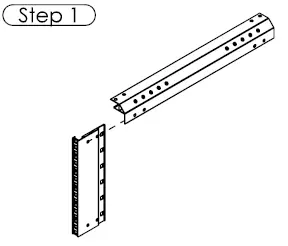
- Insert the first vertical rail into the front-to-back rail, ensuring that the fixing holes align.

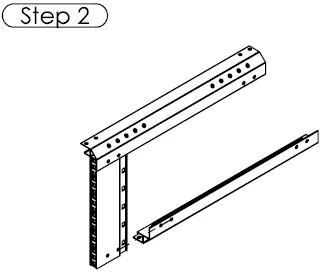
- Side a second front-to-back rail onto the vertical rail, ensuring that the fixing holes align.

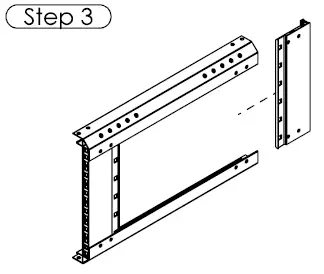
- Simultaneously slot the next vertical rail into both ends of the front-to-back members.

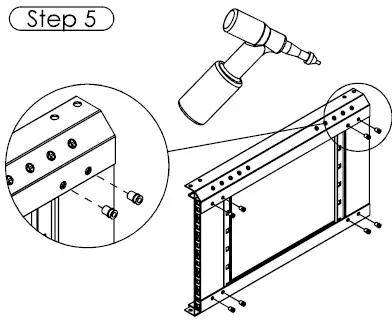
- Tap gently with a rubber mallet against a flat surface, ensuring parts sit square and all fixing holes are aligned.

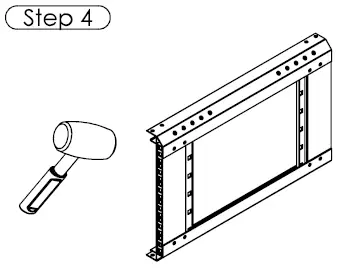
- Fasten all four parts together with 8 x M5 Rivnuts, using a Bolhoff Rivnut gun.

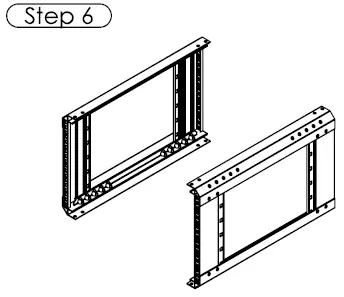
- Repeat steps 1-5 for the opposite side assembly.

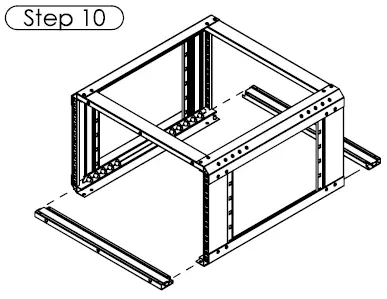
- Slot the first horizontal rail into both side assemblies.

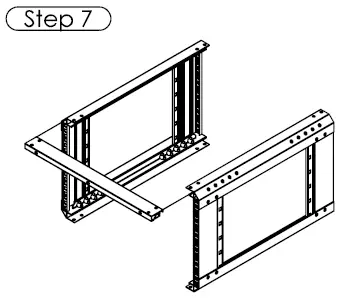
- Slot the opposite horizontal rail into both side assemblies.

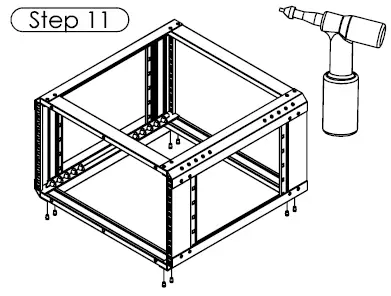
- Fasten the first two horizontal rails to the side assemblies with 8 × M5 rivnuts, using a Bolhoff Rivnut gun.

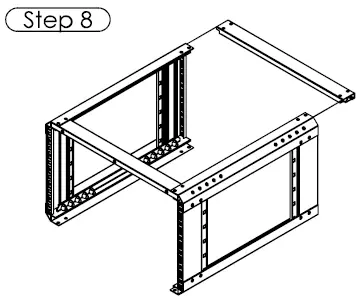
- Slot the next two horizontal rails into the side assemblies.

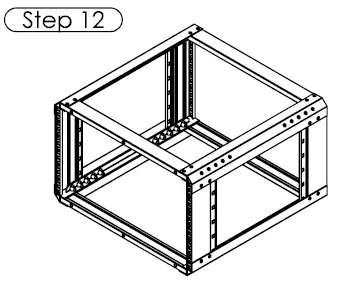
- Fasten the two horizontal rails to the side assemblies with 8 x M5 revenues.

- Check that all rivets are present and set (8 per face).