hama 179557 SAT Finder Instruction Manual
Operating instruction
Safety instructions
- Protect the product from moisture.
- Do not leave the SAT finder permanently installed between the SAT dish and the receiver.
- Take proper safety precautions when working on the roof (risk of falling). If in doubt, contact a qualified technician and do not attempt to mount the product yourself!
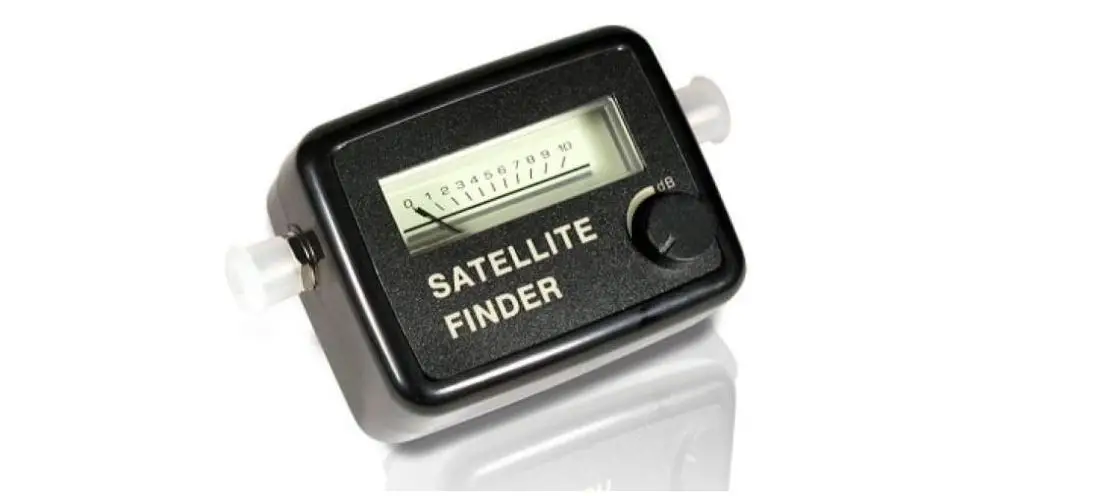
Adjusting the SAT system for the best possible reception using the SAT finder
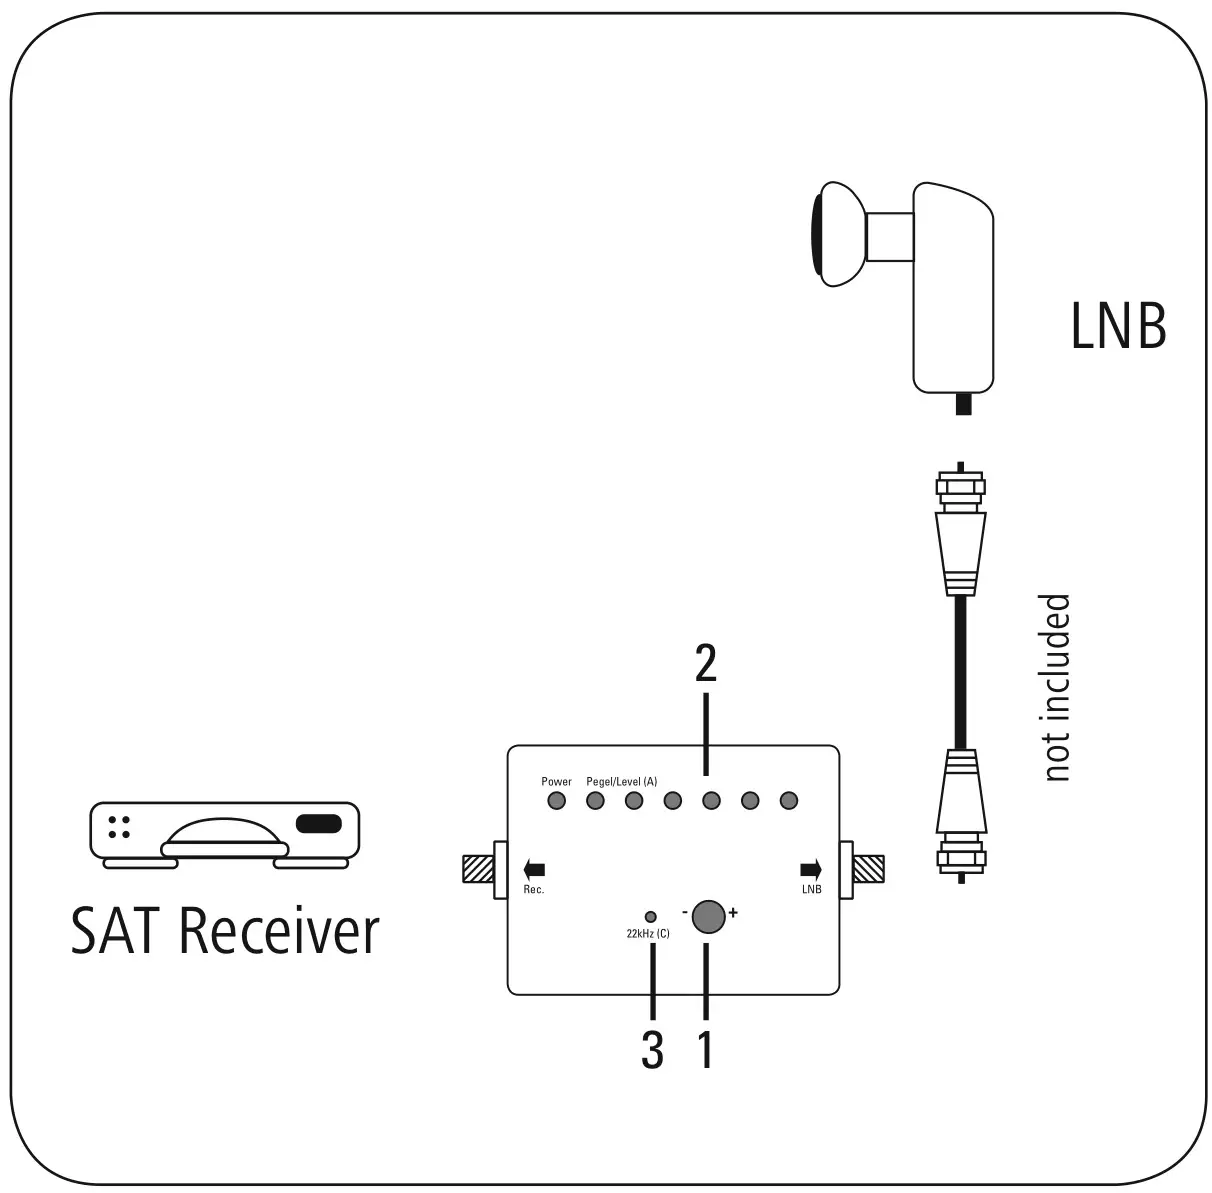
- Disconnect the SAT receiver from the power supply and connect the SAT finder as shown with the short F cable (not included) between the LNB and receiver.
- Reconnect the receiver to the power supply, select a channel.
- Using a protractor and compass, roughly adjust the SAT antenna (SAT dish) according to the desired satellites. Search for the proper satellite by turning and panning the SAT antenna.
- If the LEDs give a full reading (2), turn the sensitivity adjuster (1) in the anti-clockwise direction until only 2 to 3 LEDs light up.
- Now finely tune the antenna until as many red LEDs (2) light up as possible
- The “22 kHz” LED (3) lights up when the 22 kHz signal is transmitted.
- Tighten the antenna fasteners.
- WARNING: The set value can change again when the screws are tightened.
- On your receiver, check if the desired satellite can now be received.
- You can now remove the SAT finder and reconnect the LNB and the receiver
![]()
Hama GmbH & Co KG
86652 Monheim/ Germany
Service & Support
![]() +49 9091 502-0
+49 9091 502-0
![]()
All listed brands are trademarks of the corresponding companies. Errors and omissions excepted, and subject to technical changes. Our general terms of delivery and payment are applied.


