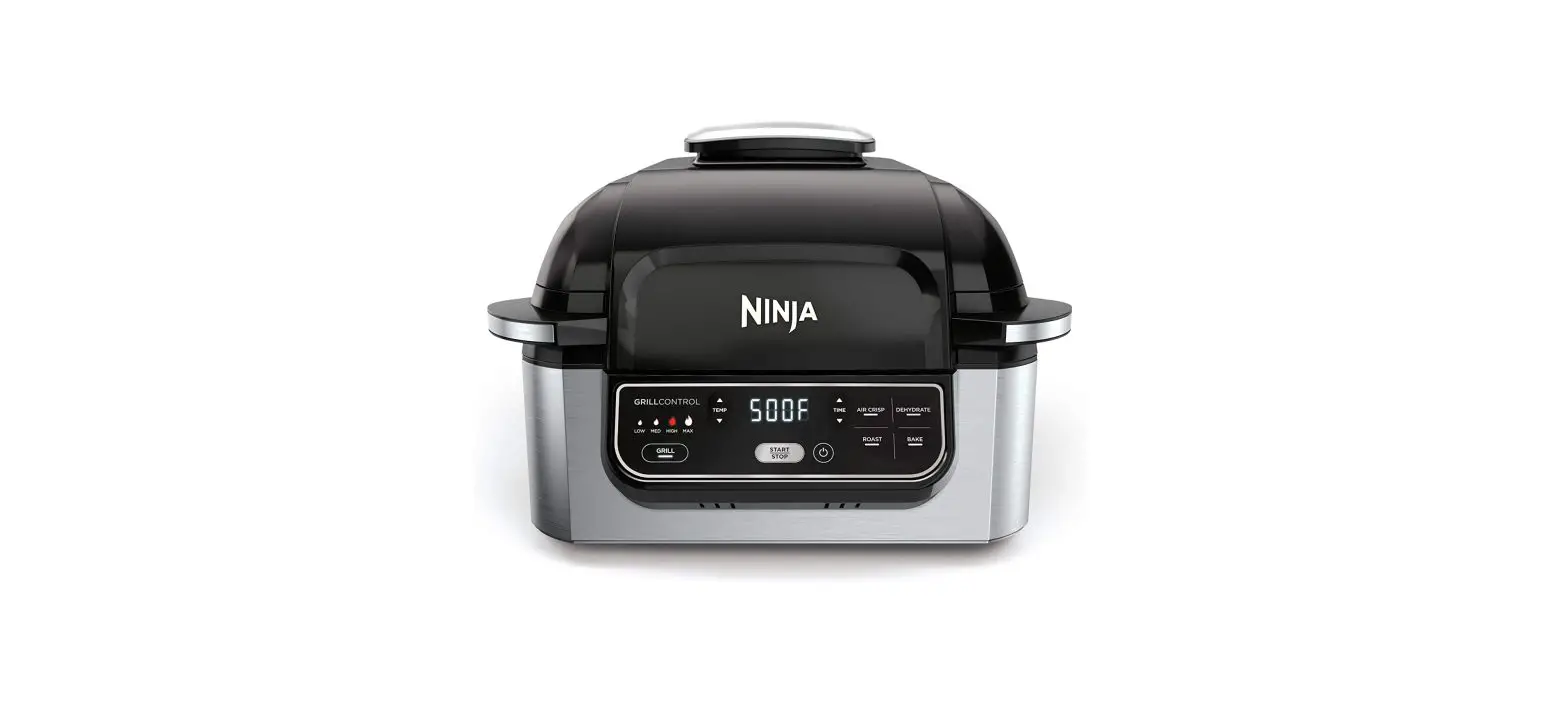
NINJA Foodi AG301 5-In-1 Indoor Electric Countertop Grill with 4-Quarts Owner’s Manual
Here’s what’s in the box
- Foodi Grill

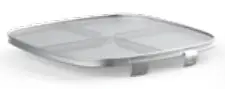
- Splatter Shield

Must always be installed when unit is use. - Recipe Book

- Quick Start Guide

- Owner’s Guide

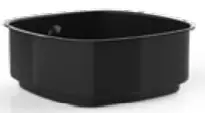
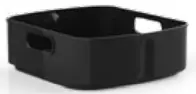
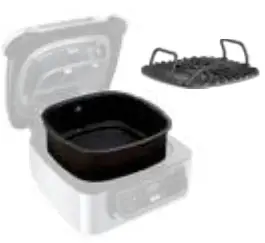
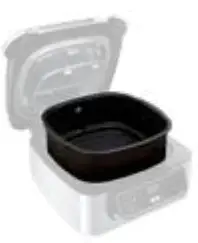
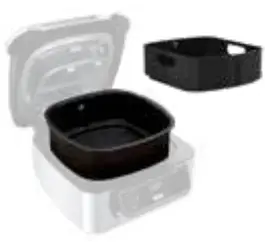
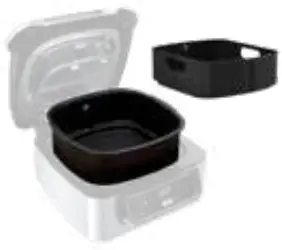
- Removable Cooking Pot

Must always be installed when unit is in use. Cook directly in the pot when roasting or baking - Grill Grate

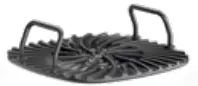
Use in the cooking pot for best grilling results. - Crisper Basket

Use in the cooking pot for best air crisping results. - Cleaning Brush with scraper tip

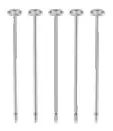
- Kebab Skewers

Use when grilling meat and vegetable kebabs


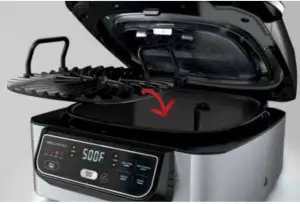
Preheat for better results
For best grilling results, preheat the Foodi Grill before adding food. It may take about 8 minutes. Adding food before or during preheat may lead to overcooking.
Grilling 101
Use your Ninja Foodi Grill to grill indoors—to get even char, grill marks, and juicy flavor.
- Grill Grate

Unique design promotes optimal airflow for even cooking, crisping, and charring. - Want juicier meat?

After grilling, remove meat and let rest at least 5 minutes before cutting it.


Tips & Tricks
Grill
- The oil matters

For less smoke, we recommend using oils with a high smoke point like canola, coconut, avocado, vegetable, or grapeseed oil instead of olive oil. - Don’t overcrowd

Evenly arrange and space out ingredients in a single layer to ensure consistent browning and even charring - Batch cooking

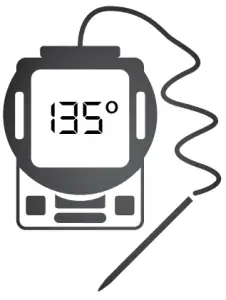
Empty the fat/oil from the bottom of the pot if batch cooking more than twice. For best results, allow the unit to run for three minutes between batches to reheat the grill grate. - Check your food temp

The Foodi Grill cooks quickly, so monitor doneness with a food thermometer. Internal food temperature continues to rise as food rests, so remove it 5°F before target temperature is reached.


Air Crisp
- Shake, shake, shake

When air fry crisping, check food and shake crisper basket frequently for even browning. Remove food at desired level of brownness. - Use oil for crispiness

For best results with fresh vegetables, use an even, light coating of canola oil. - Don’t overcrowd

Evenly arrange and space out ingredients to ensure consistent browning - Secure your food

Secure light food with toothpicks so it won’t be blown around by the fan.


Bake/Roast
Convert traditional recipes

Use the Bake or Roast function to prepare foods typically cooked in the oven. Reduce the temperature by 25°F. Check food often to avoid overcooking.
Dehydrate
- Prevent oxidation

Fruits like apples and pears brown quickly when cut. To prevent oxidation, soak them in water with a squeeze of lemon juice for 5 minutes. - Trim the fat

Before dehydrating meat, make sure to trim off all fat, as it does not dry out and could spoil. - Pasteurize jerky

Finish off dehydrated meats and fish by using the Roast function at 330°F for 1 minute.


Cleaning Instructions
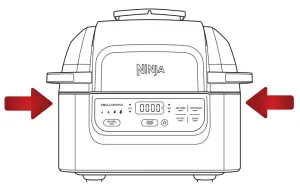
- Allow base to cool before moving the unit, as the sides will be hot after cooking.

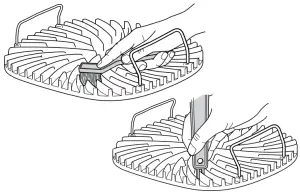
- Use cleaning brush to help clean the accessories. The opposite end of the brush is a scraper to help remove baked-on food.

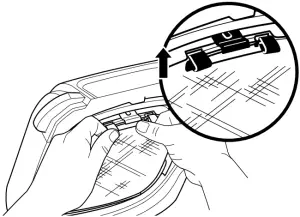
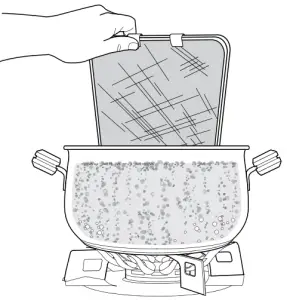
- Remove splatter shield after it cools and clean after each use. Soak overnight and use cleaning brush to help remove baked-on grease from the frame and front tabs
- Deep clean the splatter shield by putting it in a pot of water. Once water comes to a boil, leave inserted for 10 minutes. All parts are dishwasher safe.

Using your grill’s functions
| FUNCTION | ACCESSORY USED | TEMP | TIME |
 |  |
|
|
 |
|
|
|
 |  |
|
|
 |  |
|
|
 |  |
|
|
 Adjust temp between Low and Max. Refer to the previous page or the Inspiration Guide for which settings to use.
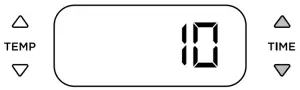
 Adjust temp between 300°F–450°F.
 Adjust temp between 250°F–500°F.
 Adjust temp between 250°F–400°F.
 Adjust temp between 105°F–195°F.
PREHEAT
PRE will appear, and the blinking bars will show preheating progress. Once preheated, “Add Food” will display.
Do not add food before preheating is complete.
Grill preheat can take approximately 8 minutes because of the grill grate’s high density.
Air Crisp, Roast, and Bake preheat takes approximately 3 minutes.
If you just used a different function, and the grill grate is at room temperature when you place it in the unit, “Add Food” may appear on the screen immediately. We recommend allowing the grill grate to heat up for at least 6 minutes before placing ingredients on it.
More flavor. Less smoke.
After countless hours of recipe testing, our chefs have paired your favorite foods with a recommended temperature setting that will maximize grill flavors while minimizing smoke. We’ve also created a list of popular ingredients with our recommended cooking directions.
- LOW (400°F)

Best for bacon, sausages, and calzones, and when using thicker barbecue sauces. - MED (450°F)

Best for frozen meats and marinated food. - HIGH (500°F)

Best for steaks, chicken, and burgers - MAX (up to 510°F)

Best for veggies, fruit, fresh/frozen seafood and pizza.


FOR LESS SMOKE, WE RECOMMEND USING OILS WITH A HIGH SMOKE POINT—LIKE
CANOLA, COCONUT, AVOCADO, VEGETABLE, OR GRAPESEED OIL—INSTEAD OF OLIVE OIL.
If you choose to cook ingredients at a higher temperature than recommended, it may result in more smoke.
Grilling Cheat Sheet
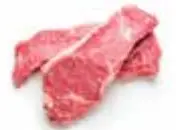
- New York Strip Steaks 2 steaks (14–16 oz. each, 1 ¼ in. thick)

Patdry. Rub with 1 teaspoon canola oil. Season with salt and pepper.
HIGH 9–11 mins
Frozen:MED 18–24 mins
Flip halfway through cooking. - Boneless Chicken Breasts 4 breasts (7–9 oz. each)
Pat dry. Rub with 1 teaspoon canola oil. Season with salt and pepper.
HIGH 14–18 mins
Frozen: MED 22–26 mins
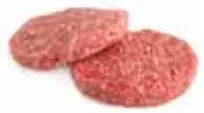
Flip halfway through cooking. - 80% Lean Burgers 4 patties (4 oz. each)

Season with salt and pepper.
Store-bought: HIGH 4–6 mins
Handmade: HIGH 5–9 mins
Frozen: MED 10–15 mins
Flipping not necessary - Salmon 4 fillets (5–6 oz. each)

Pat dry. Rub with 1 teaspoon canola oil. Season with salt and pepper.
MAX 7–9 mins
Frozen: MAX 10–13 mins
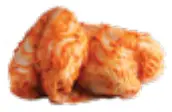
Do not flip during cooking. - Fresh Bone-in Chicken Thighs 4 thighs (7–9 oz. each)

Pat dry. Rub with 1 teaspoon canola oil. Season with salt and pepper.
HIGH 23–26 mins
Frozen: MED 25–28 mins
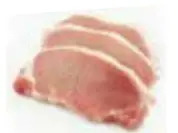
Flip halfway through cooking. - Boneless Pork Chops 4 chops (8 oz. each)

Pat dry. Rub with 1 teaspoon canola oil. Season with salt and pepper.
HIGH 14–16 mins
Frozen: MED 20–23 mins
Flip halfway through cooking. - Hot Dogs (4 hot dogs)

Whole
HIGH 3–5 mins
Flip halfway through cooking. - Sausages 6 sausages (3–4 oz. each)

Whole
LOW 8–12 mins
Frozen: LOW 10–14 min
Flip halfway through cooking. - Shrimp 1 lb Jumbo (16–18 count)

Pat dry. Rub with 1 teaspoon canola oil. Season with salt and pepper.
MAX 3–5 mins
Frozen: MAX 4–6 mins
Do not flip during cooking. - Bone-In Marinated/ Barbecue Chicken Thighs 4 thighs (7–9 oz. each)

MED 18–21 mins
LOW 20–25 mins if using a thick sauce
Flip 2 to 3 times while cooking. - Boneless Marinated/ Barbecue Chicken Breast 4 breasts (7–9 oz. each)

MED 16–19 mins
LOW 19–24 mins if using a thick sauce
Flip 2 to 3 times while cooking. - Pineapple (6–8 slices or spears, 2 in. thick)

MAX 7–9 mins
Flip gently several times during cooking. - Peppers & Onions (1 pepper, 1 onion)

Cut in 1-in. slices
MAX 11–13 mins
Stir gently several times during cooking. - Yellow or Green Squash 3–4 each

Cut in quarters lengthwise. Toss with canola oil. Season with salt and pepper.
MAX 12–16 mins
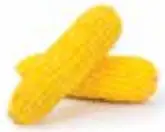
Flip several times during cooking. - Fresh Corn on the Cob (4 ears)

Brush lightly with canola oil. Season with salt and pepper.
MAX 10–13 mins
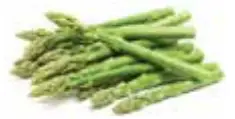
Flip halfway through cooking. - Fresh Asparagus (1 bunch)

Toss with canola oil. Season with salt and pepper.
MAX 5–7 mins
Spread evenly on grill grate. Do not flip.


Sneak a Peek
Lift the hood while cooking to check on or flip food. Unit will automatically pause cooking when hood is lifted and resume when it is closed.


