UNISENSE EP Electric Potential Microelectrodes
Important! Test sensor upon receipt!
This electrode has been successfully tested prior to shipping, however some electrodes suffer from rough transportation. Therefore, it is important that you test the microelectrode upon arrival.
Replacement of defective electRodes
Unisense will replace the electrode if it does not meet the specifications below, provided that:
- A test is performed upon receipt without breaking the seal
- The complaint is given to Unisense within two weeks from receipt of the equipment.
GuaRanteed lifetime
Unisense guarantees the Electric Potential Microelectrode a minimum lifetime of 3 months on condition of correct storage and use according to the manual.
individual electRode calibRation is RequiRed
Our electrodes are handmade and as the electrode signal relies on the actual half cell potentials of the electric potential and reference electrodes, some variation must be expected.
siGnal amplification
Unisense Electric Potential Microelectrode should be connected to a Unisense amplifier such as a UniAmp series instrument or the Field Microsensor Multimeter
standaRd electRic potential micRoelectRodes aRe functioninG coRRectly if (at Room tempeRatuRe):
- The signal stabilizes within 1 – 2 minutes after the Electric Potential and the reference electrodes are placed in the same beaker with tap water.
- The signal is in the range between -100 and +100 mV if used with a Unisense REF-RM reference electrode.
- If used with a different reference electrode this signal may be different but as long as the signal is stable, the microelectrode is working correctly.
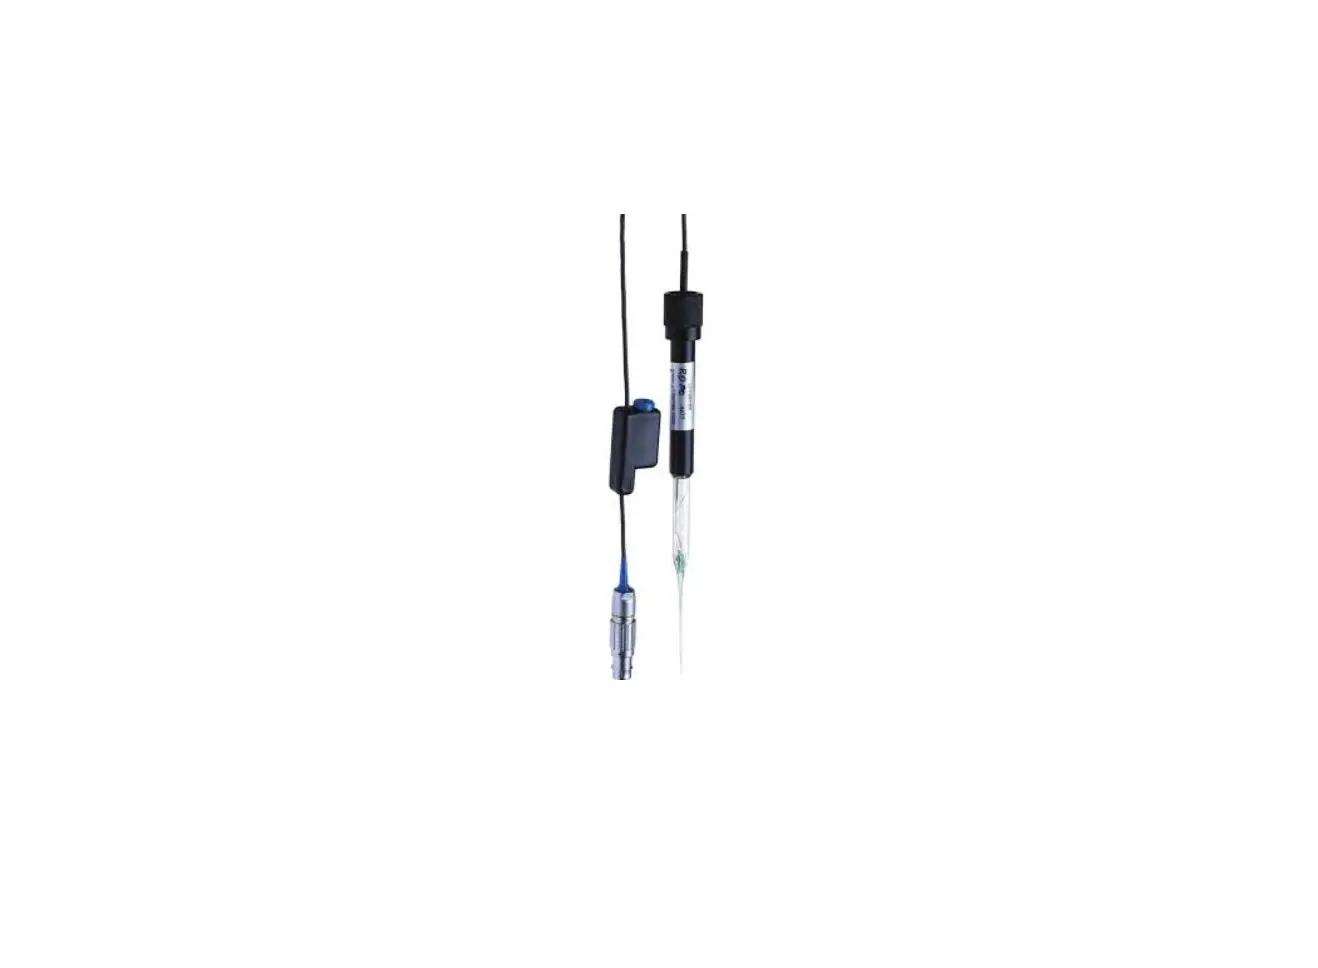
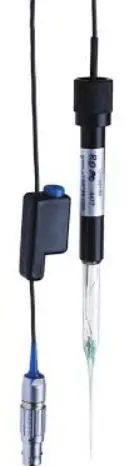
ELECTRIC POTENTIAL MICROELECTRODES
Unpacking
- Remove the grey shock-absorbing plastic net and inspect the microelectrode visually.
Leave the microelectrode in the protection tube for testing.
CONNECT THE ELECTRIC POTENTIAL (EP) MiCrOELECTRODE TO THE AMPLIFIER
- Connect the EP microelectrode connector to a mV channel on the amplifier
- If working with a Multimeter or Field Multimeter, set the sensor as Redox (RD) and mV as the unit in the software. With a UniAmp instrument, EP sensor and mV are automatically selected.
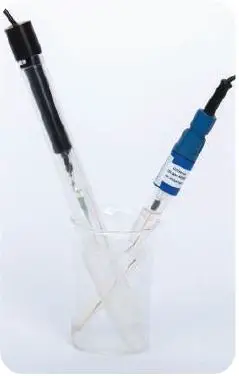
TEST THE EP MiCROELECTRODE
- Remove the lower piece of tape and the rubber stopper from the protection tube and pour the storage liquid into a vial or beaker.
- This liquid is 1M KCI and may be saved for later use.
- Place the EP microelectrode in a beaker with tap water.
- Place the reference electrode in the same beaker.
- Check the signal.
APPROVE THE SENSOR
- Compare the EP microelectrode response to the specifications given on the previous page. If necessary, see Troubleshooting in the Electric Potential Microelectrode manual or contact support (see below).
STORAGE
When not in use, store the microelectrode in the protection tube at 5 – 35°C.
EP microelectrodes must be stored in a 1M KCI solution.
NOTE! The EP microelectrode must always be stored with the tip immersed in 1 M KCl.
USEFUL TOOLS

For support go to
www.unisense.com/support/ or contact [email protected]

Get the full manuals for all sensors, equipment & software at www.unisense.com/manuals/.


 Electret Electrostatic User Manual")


