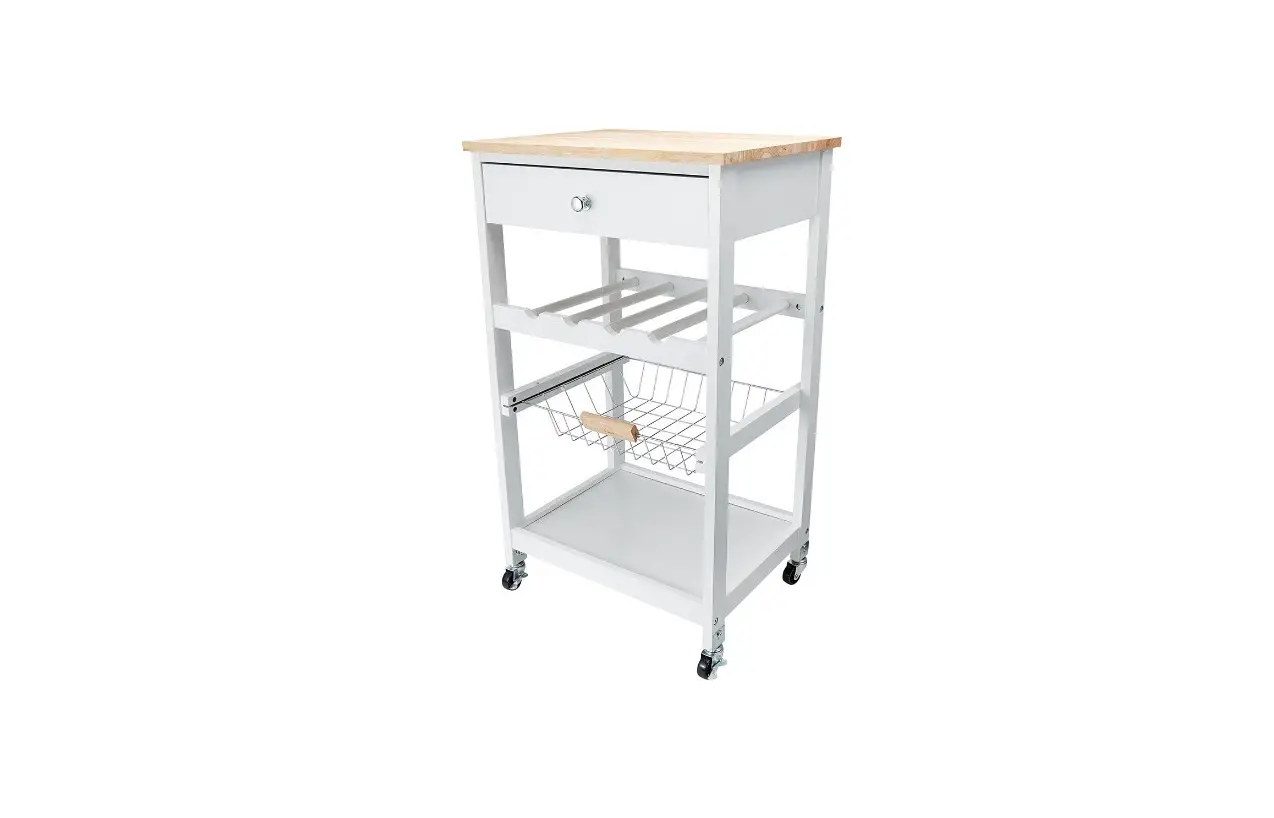
Kmart Kitchen Bench Prep Trolley Instruction Manual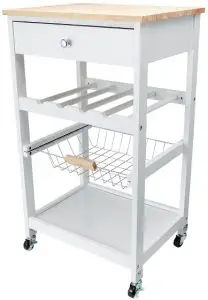
CARE INSTRUCTIONS
WIPE CLEAN WITH SOFT DAMP CLOTH. DO NOT USE SCOURERS,ABRASIVES OR CHEMICAL SOLVENTS. CHECK AND TIGHTEN ALL PARTS REGULARLY. STORE IN A DRY PLACE AND KEEP AWAY FROM DIRECT WATER AND SUNLIGHT. FOR INDOOR AND DOMESTIC USE ONLY.
WARNING: DO NOT STAND, SIT OR LEAN ON THE TROLLEY.USE ONLY ON A FLAT SURFACE.WHEN USE THE TOP AS A CHOPPING SURFACE,LOCK ALL WHEELS AND PLACE THE TROLLEY AGAINST WALL OR OTHER FIXED UNIT TO AVOID UNINTENDED MOVING.DO NOT USE UNTIL ALL SCREWS, BOLTS AND KNOBS ARE FIRMLY SECURED.THIS PRODUCT CONTAINS SMALL PARTS AND SHARP POINTS, KEEP AWAY FROM CHILDREN AND BABIES. ADULT ASSEMBLY REQUIRED. FAILURE TO FOLLOW THESE WARNINGS COULD RESULT IN SERIOUS INJURY.
MAXIMUM SAFE LOAD: 10KG FOR TOP PANEL, 2KG FOR DRAWER,3KG FOR WINESHELF,3KG FOR WIRE BASKET,3KG FOR BOTTOM SHELF.
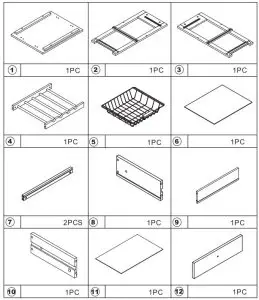
Hardware List
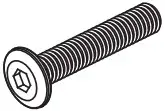
| A | 6 *30mm | 6PCS |
 | B | 15*9mm | 6PCS |
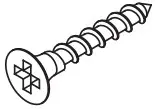
 | C | 6*30mm | 10PCS |
 | D | 4*35mm | 4PCS |
 | E | Handle | 1PCS |
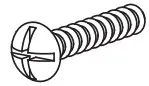 | F | 4*16mm | 1PCS |
 | G | 6*40mm | 8PCS |
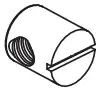 | H | 10*10mm | 8PCS |
| I | Allen key | 1PCS |
 | J | Drawer Stopper | 2PCS |
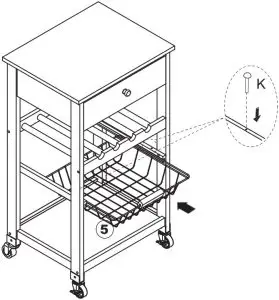
| K | Metal Pin | 2PCS |
 | L | 6*27mm | 4PCS |
| M | Nut | 4PCS |
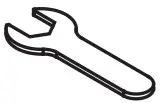 | N | Wrench | 1PCS |
| O | Wheel without stopper | 2PCS |
 | P | Wheel with stopper | 2PCS |


- Do not tighten the screws fully during assembly.
- Fully tighten screws after the final assembly steps.


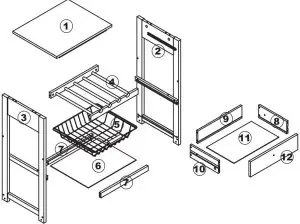
Assembly Instructions
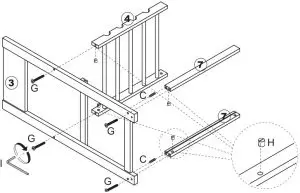
- Step 1: Put H onto board 4&7 into the corresponding position (as per diagram). Put part C on to frame 3 into the corresponding position as per diagram. Attach frame board 4&7 onto frame 3 with screw G. Tighten with Alley key I.

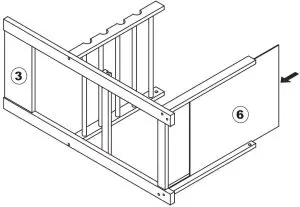
- Step 2: Attach board 6 on to board 7 from step 1.

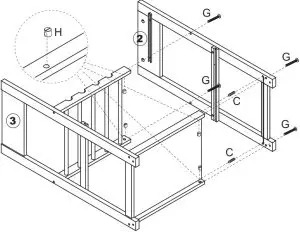
- Step 3: Put H onto board 4&7 into the corresponding position (as per diagram). Put part Con to frame 2 into the corresponding position as per diagram. Attach frame 2 into board 4&7&6 from step 2 with screw G.

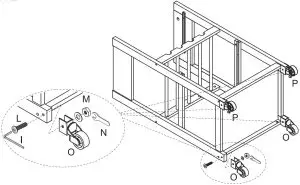
- Step 4: Attach part O & P onto the legs with screw M&L. Tighten with Alley key I. Kindly reminder. Part O is the wheel without stopper. Part P is the wheel with stopper.

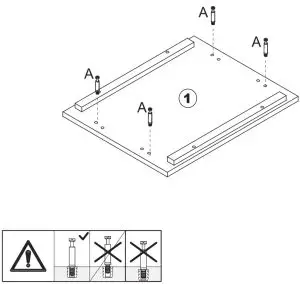
Note: use part N onto the nut M to align the part L,tighten with Alley key I. - Step 5: Attach A onto Board 1.

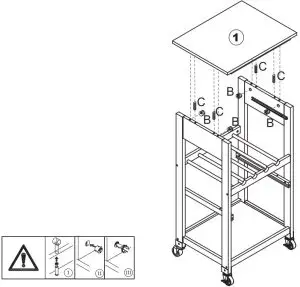
- Step 6: Attach board 1 from step 4 onto frame 2&3 from step 4 with screw B & C.Ensure all part align.

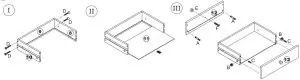
- Step 7: Attach board 8 &10 onto board 9 with part D. Put board 11 onto board 8 &10. Fix part A onto board 11, and fix part E onto Board 11 with screw F. Attach board 12 to board 8 &10 with part B&C.

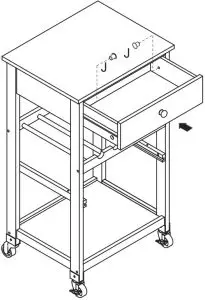
- Step 8: Put drawer from step 7 onto trolley from step5,when drawer put into 1/3, then fix J into the Corresponding position as per diagram as diagram.

- Step 9: Put part 5 onto trolley from step 8, then fa K into the corresponding position as per diagram.

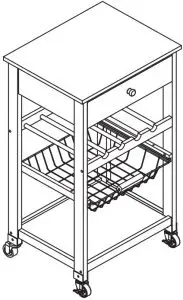
- Step 10: Finish the assembly.