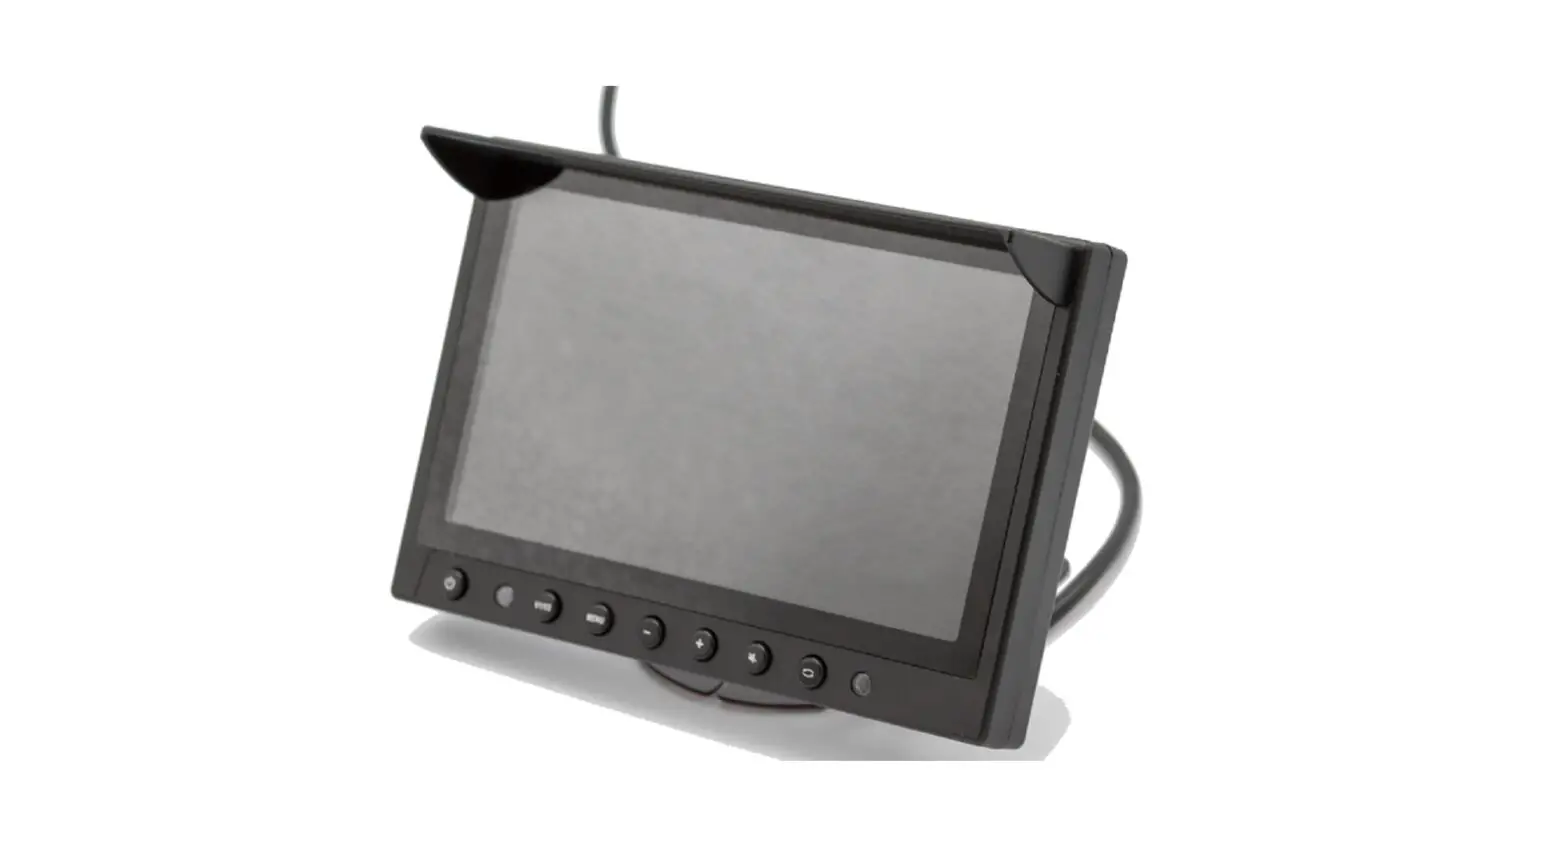
ADISES MLCDF7-T 7-inch Color Liquid Crystal Display User Manual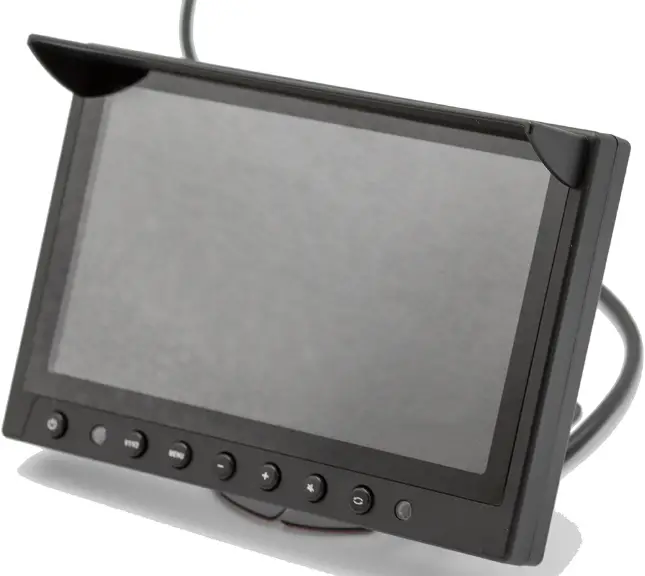
Welcome
Thank you for purchasing our product.
This user’s manual is designed to be a reference tool for your system.
Please read the following safeguard and warnings carefully before you use this series product.
Please keep this user’s manual well for future reference.
Important Safeguards and Warnings
The following section describes how to use this product correctly and how to prevent dangers and property loss in using it. Before using this product, read this Manual carefully and comply with it strictly. Keep this Manual properly after reading.
Electrical safety
All installation and operation here should conform to your local electrical safety codes.
We assume no liability or responsibility for all the fires or electric shock caused by improper handling or installation.
Transportation security
Heavy stress, violent vibration or water splash are not allowed during transportation, storage and installation.
Installation
Do not apply power to the product before completing installation.
Always follow the instruction guide the manufacturer recommended.
Qualified engineers needed
All the examination and repair work should be done by the qualified service] engineers.
We are not liable for any problems caused by unauthorized modifications or attemped repair.
Environment
This series product does not have the waterproof capability. It is for indoor use only.
This series product should be installed in a cool, dry place away from direct sunlight,
inflammable, explosive substances and etc.
Please keep it away from the electromagnetic radiation object and environment.
Please keep the sound ventilation.
Do not allow the water and other liquid falling into the product.
Daily Maintenance
Please shut down the device and then unplug the power cable before you begin daily
maintenance work.
Always use dry soft cloth to clean the device.
If there is too much dust, please use the water to dilute the mild detergent first and then use it to clean the device.Finally use the dry cloth to clean the device.
Accessories
Be sure to use all the accessories recommended by manufacturer.
Before installation, please open the package and check all the components are included.
Contact your local retailer ASAP if something is broken in your package.
General Introduction
Front Panel
The front panel is shown as bellow, See Finger 1-1.
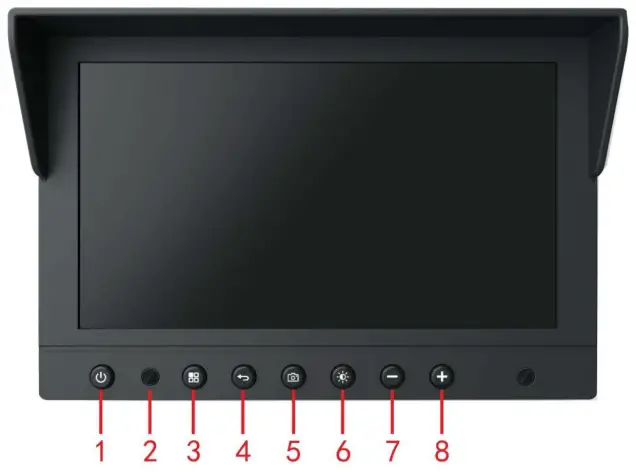
Sheet 1-1 Front panel definition
| SN | Name | Function |
| 1 | POWER | Power on-off button |
| 2 | Power indicator light | The indicator light is on the screen power is on. |
| 3 | Menu | Call up the menu interface |
| 4 | Back | Return to the menu interface step by step |
| 5 | Snapshot | Picture capture |
| 6 | Brightness | Adjust the brightness of 1st to 5th gear |
| 7 | – | Decrease volume |
| 8 | + | Increase volume |
Cable Connection
Please refer to Finger 1-2 for cable connection information.
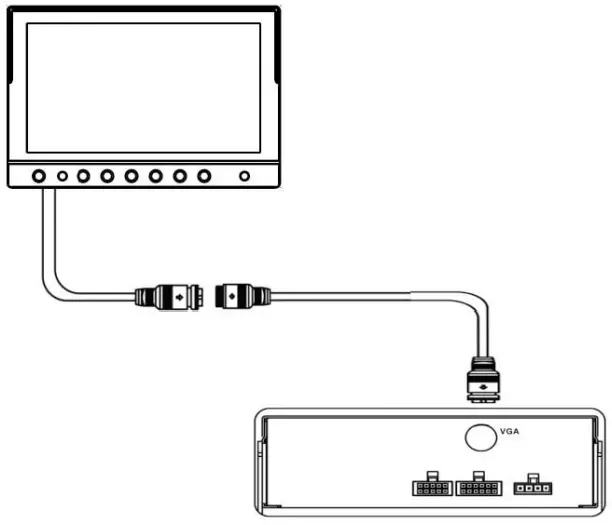
Please refer to the following Finger1-3 for detailed definition.

Sheet 1-2 Definition
| SN. | Definition | SN. | Definition |
| 1 | 12V+ | 6 | VGA_B |
| 2 | GND | 7 | VGA_R |
| 3 | VGA_G | 8 | Uart_TX |
| 4 | Uart_RX | 9 | VGA_BS |
| 5 | Audio_In | 10 | VGA_VS |
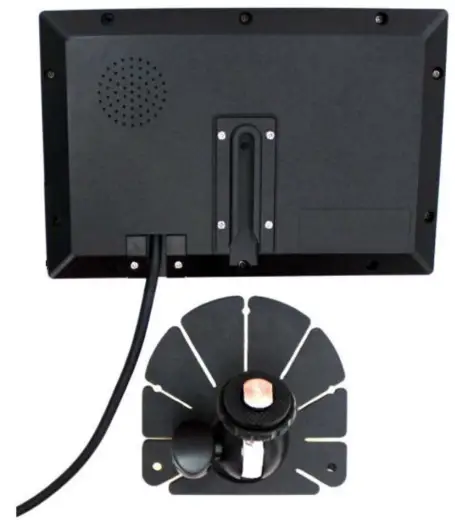
Bracket Installation(Optional)
Please follow the steps listed below for bracket installation information.
- Take the monitor and the bracket out of the box.See Finger 1-4.

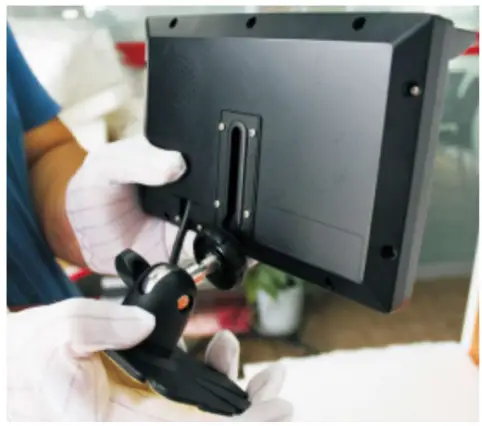
- Line up the bracket to the concave of the monitor. See Finger 1-5.

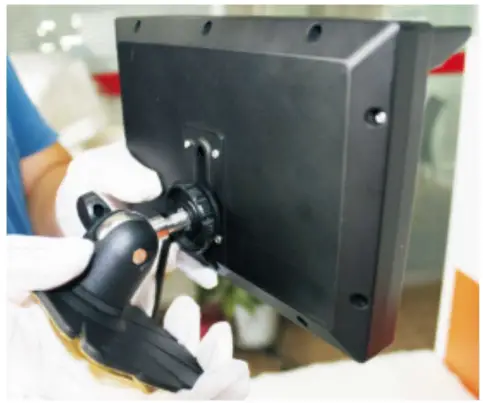
- Move the bracket along the slider to the proper position. See Finger 1-6.

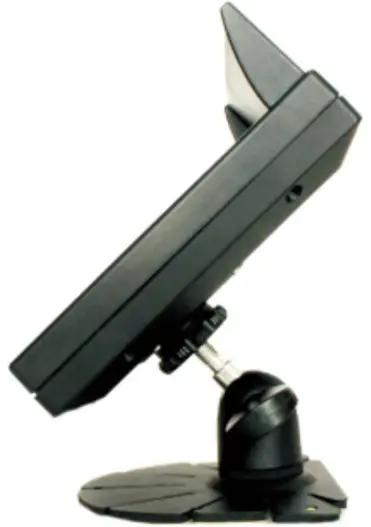
- Turn the black nut clockwise to secure the bracket. See Finger 1-7.

Specifications
Please refer to the following sheet for specification information.
| Name | Specifications | |
| System | Resolution | 1024*600 |
| Video Input | VGA input(1024*768, 1024*600, 800*600, 800*480) | |
| Operation Mode | Multitouch to control, button control. | |
| Touch Screen Type | Capacitive screen, 10 touch point to | |
| control.Hand gesture slides, zoom in/out. | ||
| Button Amount | 7 | |
| Power Protection Circuit | Misconnect power positive and negative mend will not result in device damage. | |
| Audio | 1-channel audio input (5Vpp) | |
| Speaker output (8Ω 1W) | ||
| General | Voltage | DC 12V±10% |
| Power Consumption | ≤6W (At the highest brightness status) | |
| Working Temperature | -20℃ ~ +65℃ | |
| Working Humidity | 0~90% | |
| Air Pressure | 86kpa-106kpa | |
| Net Weight | 450g | |
| Screen Dimensions(mm) | 181.4mm×121.6mm×27.7mm | |
| Default Cable Length (mm) | 1000mm |


