Quick Start Guide
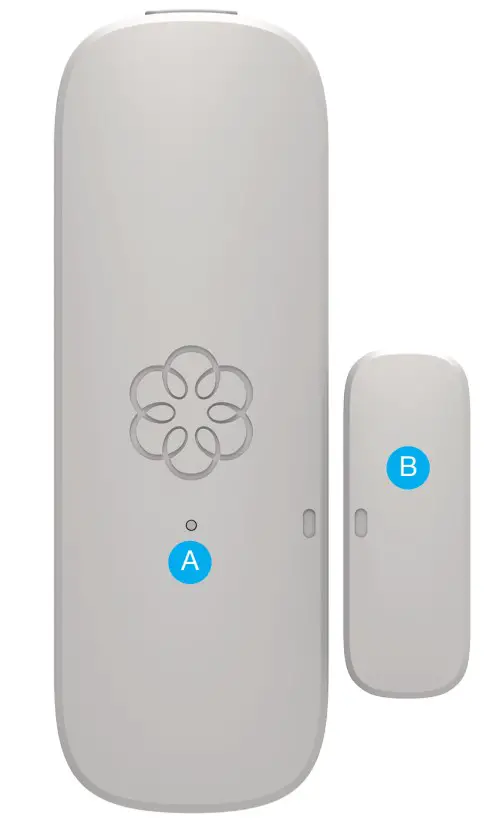
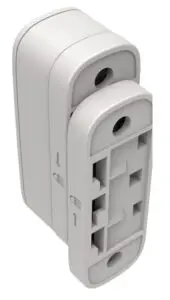
Key Features
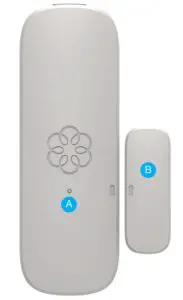
A. Status indicator light
B. Magnet tab
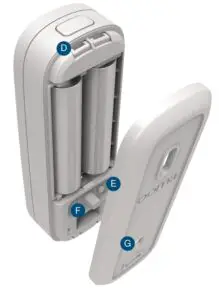
D. Quick release button
E. Pairing button
F. Tamper sensor
G. Mounting plate
Step 1 Install the App
To get started, download and install the Ooma Home Security app on your iOS or Android device.
The app can be found at: ooma.com/app
When the app is installed, log in using your Ooma phone number and My Ooma password. If you forgot your password, reset it at: my.ooma.com
Complete the initial setup in the app.


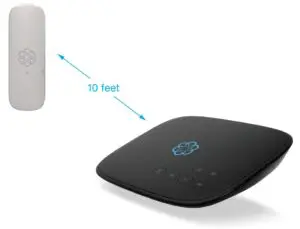
Step 2 Pair Your Sensor
For the best pairing performance, hold your sensor within 10 feet of your Telo.
In the mobile app, press the “Add Sensor” button on the Dashboard. Select the type of sensor you would like to pair Follow the instructions on your screen to pair your sensor.
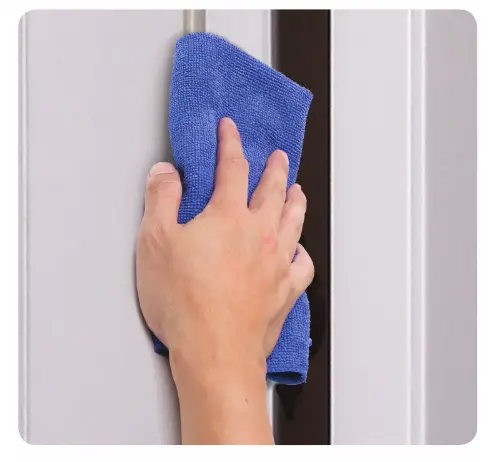
Step 3 Mount Your Sensor
If you are using the included adhesive pads to mount your sensor, use a damp cloth to wipe the surface where you are placing your sensor.
Using the included adhesive pads or screws, mount one piece of the sensor onto the moving part of your door or window, and then mount the other onto your door or window frame. These pieces should be mounted so that when the door or window is closed the dots are no more than 3/4 inch apart.
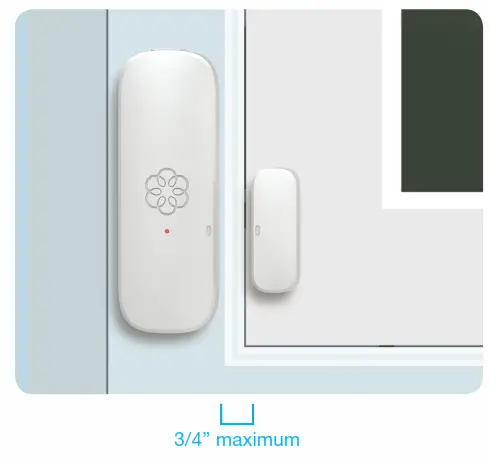
Top view
Keep the front side of both pieces even with each other if possible.
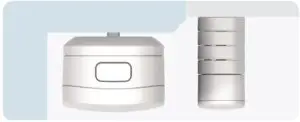
If needed, attach additional risers (included) to raise the height of the magnet tab.
To get the best perfromance from your sensor, mount the two pieces of the sensor such that they separate either vertically or horizontally when the door or window opens.

If they separate laterally, the sensor may not function properly.
Additional Information
Starting pairing mode
Your sensor automatically enters pairing mode when you insert the batteries. You can also press and hold the pairing button for five seconds to start pairing mode. Status indicator light blinks quickly when in this mode.
Checking battery level
Tap the pairing button to check the battery level. A long flash indicates that the battery is good. A slow blink indicates that the battery is low.
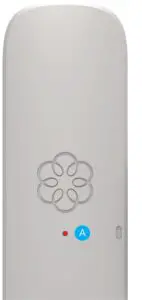
A. Status indicator reference
Pairing mode
Quick red flashes![]()
Battery good
Long red flash![]()
Battery low
Short red flashes![]()
Software update
Slow red double flashes![]()
Need Help?
Support articles
www.ooma.com/support
User manuals
www.ooma.com/userguide
Community forum
forums.ooma.com
Live customer care
1-888-711-6662 (US)
1-866-929-5552 (Canada)
Legal
For warranty, safety, and other legal information, visit ooma.com/legal
This device complies with part 15 of the FCC rules. Operation is subject to the following two conditions: (1) This device may not cause harmful interference, and (2) This device must accept any interference received, including interference that may cause undesired operation.
Ooma Door & Window Sensor User Manual – Optimized PDF
Ooma Door & Window Sensor User Manual – Original PDF


