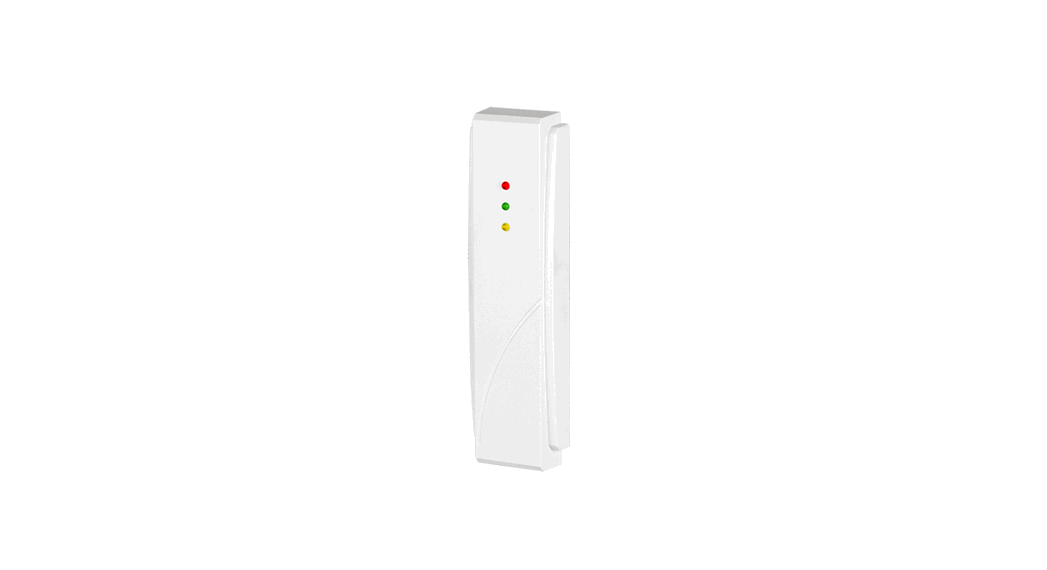
![]() INT-CR Proximity Card Arm or Disarm Device
INT-CR Proximity Card Arm or Disarm Device
Installation Guide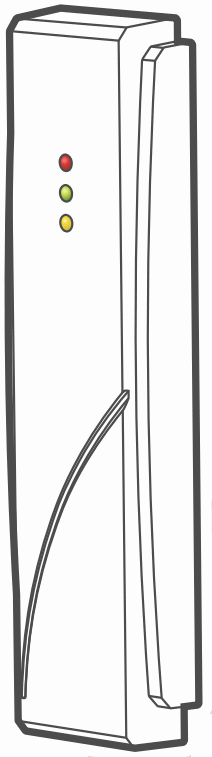
INT-CR Proximity Card Arm or Disarm Device
 Full manual is available on www.satel.eu. Scan the QR code to go to our website and download the manual.

The INT-CR device is used for arming / disarming partitions as well as clearing alarms using proximity cards. It is supported by the control panels of INTEGRA and VERSA series.
Installation
![]() The device should be installed by qualified personnel.
The device should be installed by qualified personnel.
Changes, modifications or repairs not authorized by the manufacturer shall void your rights under the warranty.
Disconnect power before making any electrical connections.
The device is designed for indoor installation.![]() If the device is installed on a metal surface, the card reading range will be reduced.
If the device is installed on a metal surface, the card reading range will be reduced.
The distance to another device with a proximity card reader should be at least 50 centimeters.
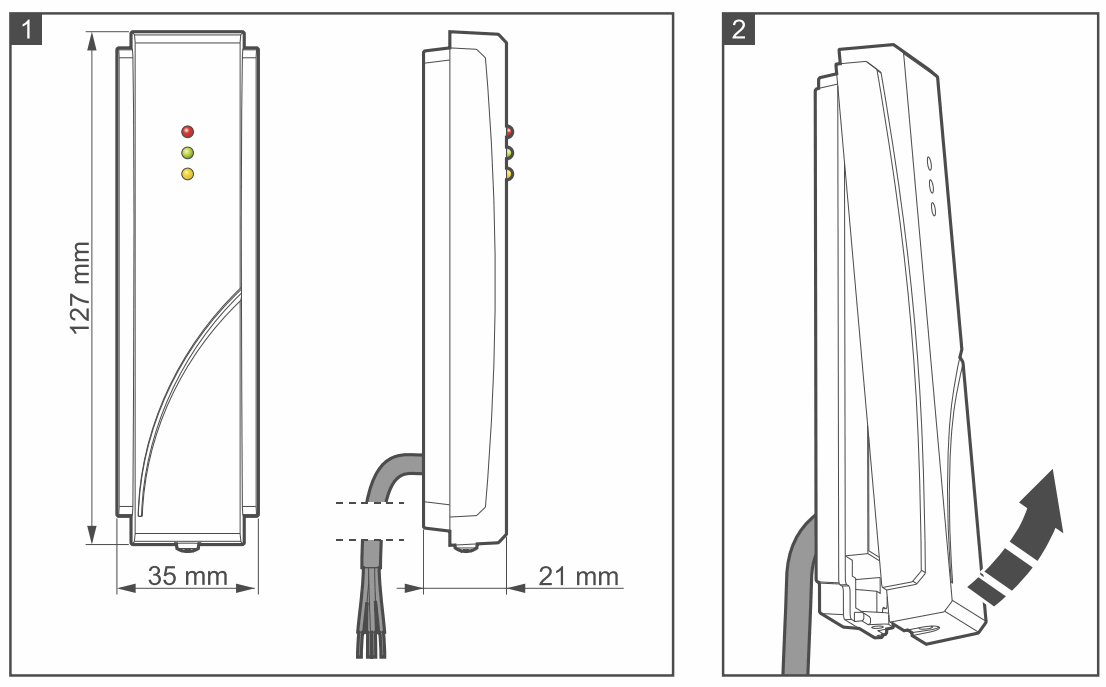
- Remove the device cover (Fig. 2).
- Place the enclosure base on the wall and mark the location of mounting holes.
- Drill the holes for wall plugs (anchors).
- Make a hole in the wall for the device cable and run the cable through it.
- Using wall plugs (anchors) and screws, secure the enclosure base to the wall. Select wall plugs specifically intended for the mounting surface (different for concrete or brick wall, different for plaster wall, etc.).
- Set the device address (see “Address setting”).
- Replace the cover and secure it with the screw.
- Connect the wires to the control panel screw terminals according to the table below. If the device cable is too short, you can use an unshielded non-twisted cable to extend it. If you use the twisted-pair type of cable, remember that CLK (clock) and DTA (data) signals must not be sent through one twisted pair of wires. The total length of the cable connecting the device to the control panel should not exceed 1000 meters (INTEGRA) / 600 meters (VERSA). If the distance to the control panel exceeds 300 meters, use an additional power supply to power the device.
Wire Function Terminals INTEGRA VERSA brown power #NAME? AUX / KPD white common round COM COM gray clock CK / CK1 / CK2 CLK green data DT / DT1 / DT2 DTA - Power on the alarm system.
- Start the identification function in the control panel (see the control panel installer manual). The device will be identified as INT-IT.
Address setting
An individual address (different from that in the other devices connected to the control panel bus) must be set in the module. Depending on the control panel:
- INTEGRA: set an address in the range from 0 to 31,
- VERSA: set an address in the range from 16 to 21,
To set the address, use the DIP switches on the device electronics board. The switches have numbers assigned to them. The number for OFF position is 0. The numbers assigned to the switches in ON position are presented in the table below. The sum of these numbers is the address set.
| Switch (ON position) | 1 | 2 | 3 | 4 | 5 |
| Number | 1 | 2 | 4 | 8 | 16 |
The declaration of conformity may be consulted at www.satel.eu/ce![]() When no longer in use, this device may not be discarded with household waste. Electronic equipment should be delivered to a specialized waste collection center. For information on the nearest waste collection center, please contact your local authorities. Help to protect the environment and natural resources by sustainable recycling of this device. Improper disposal of electronic waste is subject to fines.
When no longer in use, this device may not be discarded with household waste. Electronic equipment should be delivered to a specialized waste collection center. For information on the nearest waste collection center, please contact your local authorities. Help to protect the environment and natural resources by sustainable recycling of this device. Improper disposal of electronic waste is subject to fines.
![]() SATEL sp. z o.o. • ul. Budowlanych 66 • 80-298 Gdańsk • POLAND
SATEL sp. z o.o. • ul. Budowlanych 66 • 80-298 Gdańsk • POLAND
tel. +48 58 320 94 00
www.satel.eu


