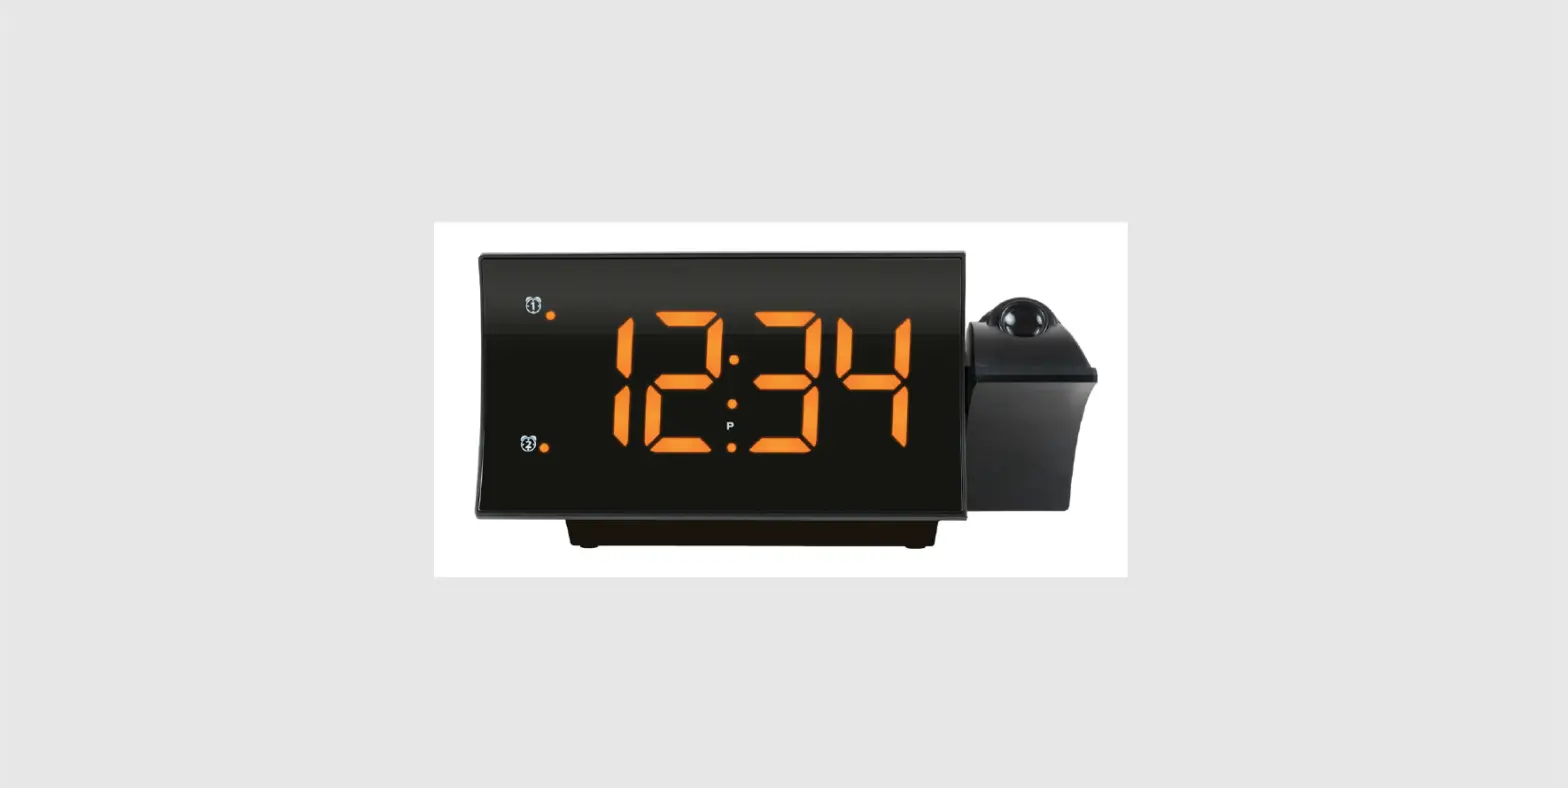
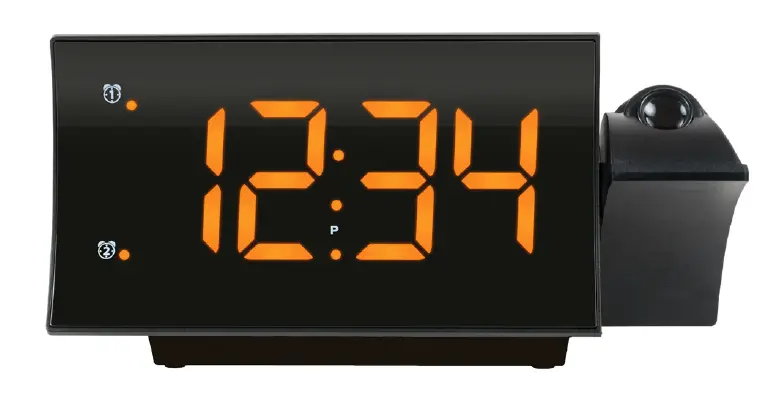
 La Crosse 817-2410B Projection Alarm Clock
Power Up
- Insert the 5.0 volt power adapter into an outlet, then into your clock. Optional: Insert a CR2032 battery (not included) for backup.
- Enter the Settings Menu to set Time.


- Hold the
 button to enter the Settings Menu.
 - Use the + / – buttons to adjust the values. Hold to adjust quickly.
- Press the button to confirm and move to the next item.
Settings Menu Order:
- Hour
- Minutes
- Snooze Duration (NO5) 5-60 minutes
Note: When setting the Hour, the “P” will show to indicate PM hours.
FM Radio
- Extend the antenna for best reception.
- Press the
 button to listen to the radio. ON will show briefly, followed by the frequency in MHz.
 - Use the + / – buttons to select station. Hold to search for next clear station.
- Press
 to view Volume Setting. Use the + / – buttons to adjust Volume (L1 – L16).
 - Press to turn radio off.
 button to listen to the radio. ON will show briefly, followed by the frequency in MHz.
Auto Scan and Store Station Presets:
- Press to listen to the radio
- Hold
 to automatically scan and set up to 20 stations.
Manually Store Station Presets:
- Press the button to listen to the radio. ON will show briefly.
- Use the + / – buttons to select station.
- Hold until P01 flashes. Press to store as Preset 1.
- Repeat steps 2 and 3 to set up to 20 Station Presets.
Note: You can change preset stations with the above instructions.
Listen to Preset Stations
- Press the button to listen to the radio.
- Press then the + / – buttons to select Preset S
Radio Sleep Timer
- When the radio is on, hold , the sleep time “05” (5 minutes) will show.
- Press repeatedly to select an option between 5 and 90 minutes. (05, 10, 15, 30, 45, 60, 75, 90, or OFF)
- The clock radio reverts to the time display automatically in a few seconds. Hold to see the sleep time remaining.
- From the normal display, press to deactivate the radio and sleep function before the sleep time has elapsed.
Time Alarm
This Projection Clock has a dual time alarm function. Use the following instructions to set your alarm times, choose your wake up sound (buzzer or radio), and alarm volume if you choose the radio option.
Set Alarms:
- Hold the
 button to enter the Alarm Settings.
 - Use the + / – buttons to adjust the values. Hold to adjust quickly.
- Press and release the button to confirm and move to the next item.
- Press the button anytime to save and exit.
Alarm Settings Order
- Alarm 1 Hour
- Alarm 1 Minutes
- Alarm 1 Wake sound: bu (buzzer) or rd (Radio)
- When rd (Radio) is selected: Alarm 1 HI/LO (volume)
- Alarm 2 Hour
- Alarm 2 Minutes
- Alarm 2 Wake sound: bu (buzzer) or rd (Radio)
- When rd (Radio) is selected: Alarm 2 HI/LO (volume)
Time Alarm
Activate/Deactivate Alarm 1 & 2:
- Press the button to activate or deactivate Alarm 1 and/or Alarm 2.
- The Amber LED Light next to the
 indicates that alarm is active.
 indicates that alarm is active.
Turn Off Sounding Alarm
When alarm sounds, press the![]() button once to stop the alarm for 24 hours when alarm is sounding.
button once to stop the alarm for 24 hours when alarm is sounding.
 once, the alarm will be silenced and come on again after the custom snooze duration selected.
Note: If your second alarm activates while the first alarm is sounding, or it is in the snooze mode, the second alarm overrides the first alarm (the first alarm is reset to come on the next day).
Projection
Projection ON/OFF:
When first powered on the projection will turn on automatically.
- Press the
 button to turn Projection Off, Dim or On again.
Projection Image Rotation
- Hold the button to turn Projection 180 degrees.
- Turn the Projection Wheel on the back of the Projection Arm to adjust the projected image 90 degrees.
- Rotate the Projection Arm forward or backward to project onto the wall or ceiling.
Note: The Projection Wheel will rotate to allow you to correctly orientate the time onto your wall or ceiling.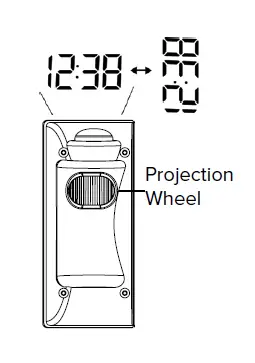
USB Charging
- Be sure to power your clock with the included USB (5V-1.2A) Power Cord.
- Connect your external device’s USB charging cable (not included) to the USB Charging Port.
- Charging times will vary.
- USB Power Output: 1A maximum current.
- Charge 1A devices or devices that are self- regulating.
Note: This clock was not designed to charge tablets or other devices requiring more than a 1A current.
Adjustable Backlight Select High or Low:
- Press thebutton to select High or Low backlight. Backlight will dim but does not turn off.
Adjust Low Brightness:
Rotate the Dimmer Wheel ![]() on the side of your clock to adjust the brightness of the Low setting. The High setting is not adjustable.
on the side of your clock to adjust the brightness of the Low setting. The High setting is not adjustable.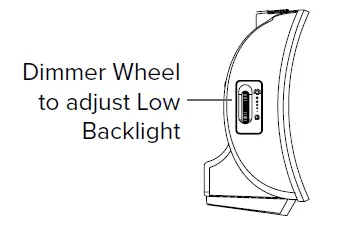
Stay in Touch
Ask questions, watch setup videos, and provide feedback on our social media outlets.
Follow La Crosse Technology on YouTube, Twitter, Facebook and Instagram.
Specifications
- Projection Alarm Clock (817-2410B)
- Power Requirements:
- 5V USB Power Cord (included)
- AS0601A-0501200USU USB
- Optional Backup: CR2032 battery (not included) The plug on the power adapter is intended to serve as the disconnect device, the socket-outlet shall be installed near the
- equipment and shall be easily accessible.
- Dimensions: 7.75” W x 1.97” D x 3.74” H
- (19.7cm W x 5.0cm D x 9.5cm H)
- USB output: 1A maximum current.
- Note: The clock’s USB port is only for power output, other USB cords cannot power the clock itself.
- Maximum Alarm Duration:
- Buzzer 5 minutes / Radio 1 hour
- Snooze Duration: 5-60 minutes programmable
WARNING:
This product can expose you to chemicals including styrene, which is known in the State of California to cause cancer. For more information, go to:
www.P65Warnings.ca.gov
Warranty Info
La Crosse Technology, Ltd. provides a 1-year limited time warranty (from date of purchase) on this product relating to manufacturing defects in materials & workmanship.
La Crosse Technology, Ltd,
2830 S. 26th St.
La Crosse, WI 54601
For Full Warranty Details, Visit:
www.lacrossetechnology.com/pages/warranty
FCC Statement
This equipment has been tested and found to comply with the limits for a Class B digital device, pursuant to part 15 of the FCC Rules. These limits are designed to provide reasonable protection against harmful interference in a residential installation. This equipment generates, uses and can radiate radio frequency energy and, if not installed and used in accordance with the instructions, may cause harmful interference to radio communications. However, there is no guarantee that interference will not occur in a particular installation. If this equipment does cause harmful interference to radio or television reception, which can be determined by turning the equipment off and on, the user is encouraged to try to correct the interference by one or more of the following measures:
- Reorient or relocate the receiving antenna.
- Increase the separation between the equipment and receiver.
- Connect the equipment into an outlet on a circuit different from that to which the receiver is connected.
- Consult the dealer or an experienced radio/TV technician for help.
Caution!
Any changes or modifications not expressly approved by the party responsible for compliance could void the user’s authority to operate the equipment.
All rights reserved. This manual may not be reproduced in any form, even in part, or duplicated or processed using electronic, mechanical or chemical process without the written permission of the publisher. This booklet may contain errors or misprints. The information it contains is regularly checked and corrections are included in subsequent editions. We disclaim any responsibility for any technical error or printing error, or their consequences. All trademarks and patents are recognized.


