Shenzhen Tongxin Youpin Technology F91 Magic Laptop User Manual
Thank you for purchasing and using this product. In order to bring you a better experience, please read the manual carefully and keep it for future reference.
Product Introduction

Product Features
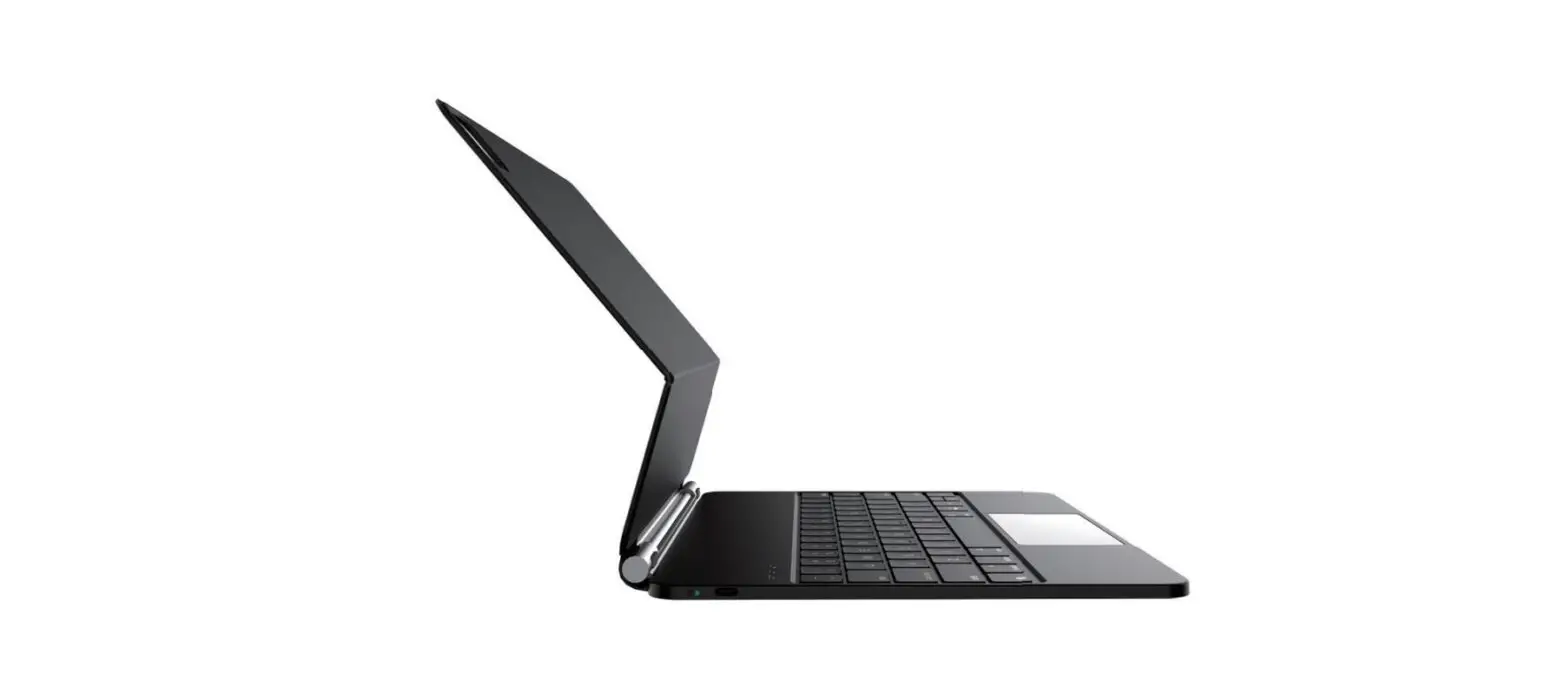
- Magnetic installation
- Slim design, easy to carry
- Multi-touch for easy operation
- Wireless oonnection
- Sleep function, saving energy
- Button backlighting, better experience
Maintenance
Store at room temperature. Charging with normal voltage. If no use for a lone time, you need to charge the keyboard every 2 months.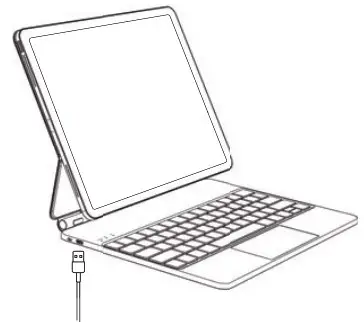
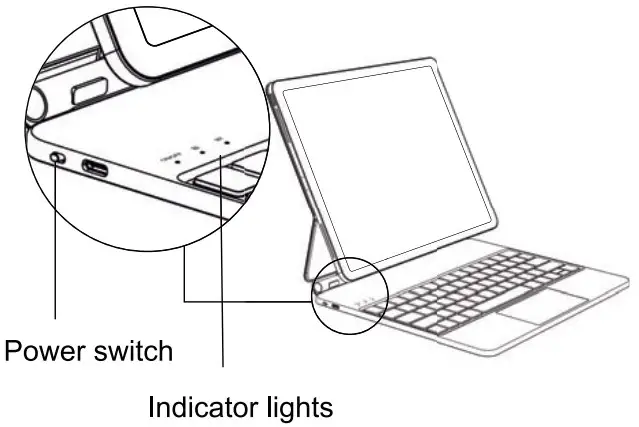
Power on and Power off

- Dial to “Green’ to power on
- Dial to “Red” to power off.
Product Parameter
- Model: F91 Magic Operating distance: z10m
- Size: 282mm”230mm”18mm Working current: <10mA
- Main material: PU+ABS+Aluminum alloy Charging time: < 2h
- Suitable for: 12.9 inch iPad Pro ( 3/ 4 / 5 )
- Product function: Keyboard input/multi-touch
- Standby time: * 30 days
- Connection mode: Bluetooth
- Battery capacite: About 500mAh
- Interfaœ type: Type-C
- Charging current: 240mA
Wireless Connection
- Slide power switch to green.The power LED turns off after 2 seconds of red light and the pairing LED blue light flashes.

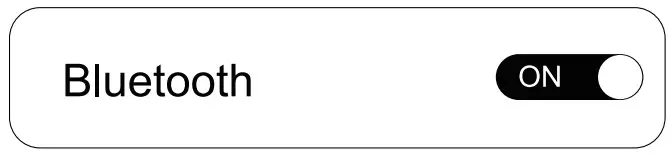
- Open the settings interface of your iPad, Turn on bluetooth, Leave Bluetooth on “ON” or green.

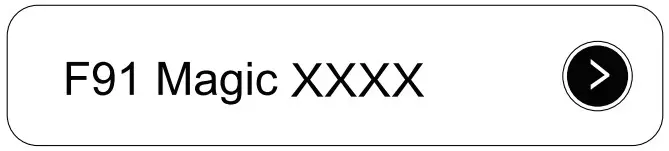
- Click “F91 Magic XXXX” in “Other electronic equipment”.Enter the window and click“ Pair”. Pairing sucoeeded , The blue light is constanly on.

* Notice:
- The next time you use the keyboard, your iPad will be automatically connected after pairing succeeded.
- If necessary, replace the connection to another iPad, Please find “F91 Magic XXXX” in the Bluetooth of the iPad connected, click the “ignore this device”.
- The “XXXX”of’F91 Magic XXXX”is your The keyboard’s own code.
lndicator Lights and other Description
- Low power state: The red light flashes
- Charging: The red light is constantly on
- Fully charged: The green light is oonstantly on
- Request pairing: The blue light flashes
- majuscule: The white light is constantly on; minuscule
- Resting: Keyboard standby for 10 minutes into sleep mode
- Go back to sleep: Press any key to connect back
- Most of the obstacles to use for unknown reasons can be solved by restarting the keyboard or iPad
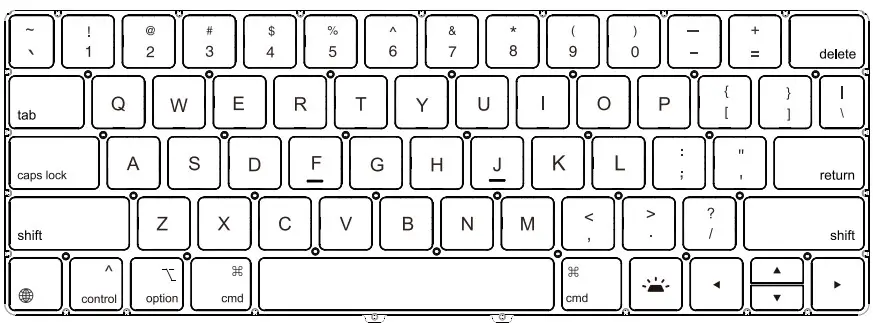
Keyboard Identification
IOS Touch Gesture
 Tap and hold: Press and hold with one finger Tap and hold: Press and hold with one finger | |
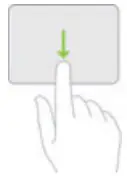 Open the Dock: Swipe the pointer across the bottom of the screen with a single finger. Open the Dock: Swipe the pointer across the bottom of the screen with a single finger. | |
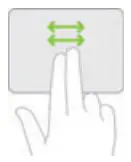 Scroll left or right: Swipe left or right with two fingers. Scroll left or right: Swipe left or right with two fingers. | 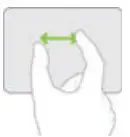 Zoom in: place two fingers close together, spread to zoom in, or pinch to zoom out. Zoom in: place two fingers close together, spread to zoom in, or pinch to zoom out. |
 Open the APP switcher: Swipe up with three f ingers, pause for a moment, and then lift your finger. Or pinch your fingers together, pause for a while and then lift your fingers. Open the APP switcher: Swipe up with three f ingers, pause for a moment, and then lift your finger. Or pinch your fingers together, pause for a while and then lift your fingers. | |
Shortcut Key
Fast switcing language and typewriting
- control + space Switching input method
- control + arrow Switch window
- control + tab Switch labels
- control + cmd + space Call up emotiœns and symbols
- cmd + Z Undo
- cmd + X Cut
- cmd + C Copy
- cmd + V Paste
- cmd + a Select all
- cmd + s Save
- cmd + F Find
- cmd + shift + 3 Capture all screens to file
- cmd + shift + 4 Capture the selected screen area to a file
 + H Go to the Home screen
 + spacebar search
- + app Switch apps
- + A Displays the Dock
 + +A Displays the app repository
- + Q Quickly open notes
- + S Siri
- + C control œnter
- + N Notification Hubs
- + M Displays keyboard shortcuts
- + ↑ 4 App switcher
- + ← Switch to the previous app
In the application:
- cmd + H Hide the current application window
- cmd + tab Go to the next reœntly used application
Text proœssing:
- cmd + B Toggles the bold display of the selected text
- cmd + right arrow Moves the cursor to the end of the current line
- cmd + left arrow Moves the cursor to the beginning of the current line
- cmd + down arrow Moves the cursor to the end of the document
- cmd + up arrow Moves the cursor to the beginning of the document
- option + right arrow Moves the cursor to the end of the next word
- option + left arrow Moves the cursor to the beginning of the precious word
- control + A Moves to the beginning of a line or paragraph
In the browser:
- control + tab Go to the next tab
- cmd + L Jumps to the address bar
- control + shift + tab Go to the previous tab
- cmd + = Enlarge page
- cmd + – Shrink page
Shortcut symbol
- option + R: ®
- option + G: ©
- option + =: ≠
- option + >: ≥
- option + < : ≤
- 5 option + ÷
- option + P: π
- option + V: √
- option + J: Δ
- A option +Z: Ω
- option + X: ≈
- option + M: μ
- option + S: β
- option + W:

- option + 5: ∞
FCC Caution
This device complies with part 15 of the FCC Rules. Operation is subject to the following two conditions: (1) This device may not cause harmful interference, and (2) this device must accept any interference received, including interference that may cause undesired operation.
Any Changes or modifications not expressly approved by the party responsible for compliance could void the user’s authority to operate the equipment.
Note: This equipment has been tested and found to comply with the limits for a Class B digital device, pursuant to part 15 of the FCC Rules. These limits are designed to provide reasonable protection against harmful interference in a residential installation. This equipment generates uses and can radiate radio frequency energy and, if not installed and used in accordance with the instructions, may cause harmful interference to radio communications. However, there is no guarantee that interference will not occur in a particular installation. If this equipment does cause harmful interference to radio or television reception, which can be determined by turning the equipment off and on, the user is encouraged to try to correct the interference by one or more of the following measures:
- Reorient or relocate the receiving antenna.
- Increase the separation between the equipment and receiver.
- Connect the equipment into an outlet on a circuit different from that to which the receiver is connected.
- Consult the dealer or an experienced radio/TV technician for help.
The device has been evaluated to meet general RF exposure requirement. The device can be used in portable exposure condition without restriction.


