
NETGEAR WAX202 Wi-Fi 6 AX1800 Dual Band Access Point
Installation
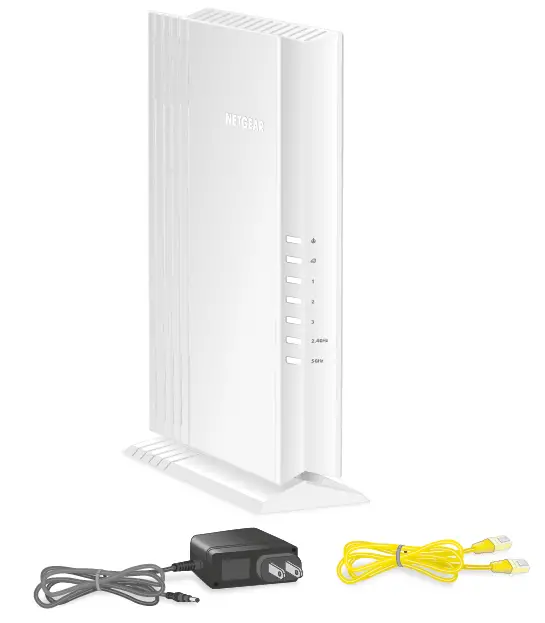
Note: The DC power adapter varies by region.
Connect and power up the WAX202
Step 1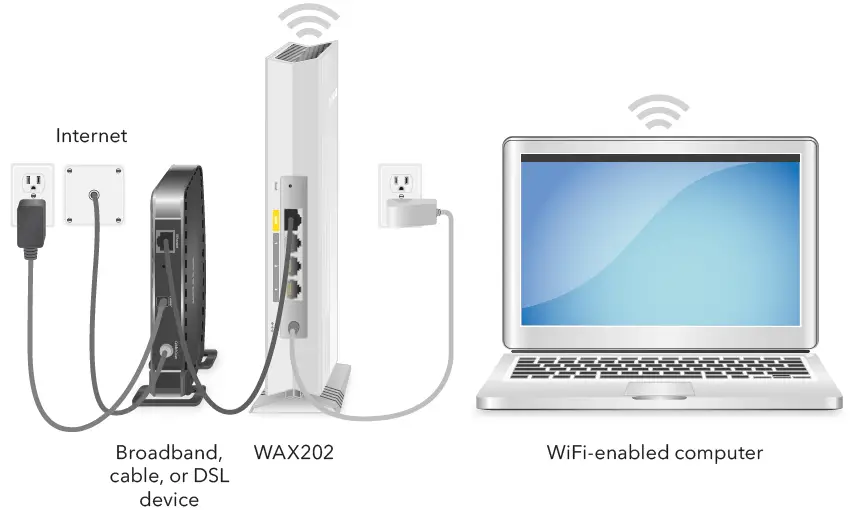
Join the default WiFi Network
Step 2
Log in via your web browser
Step 3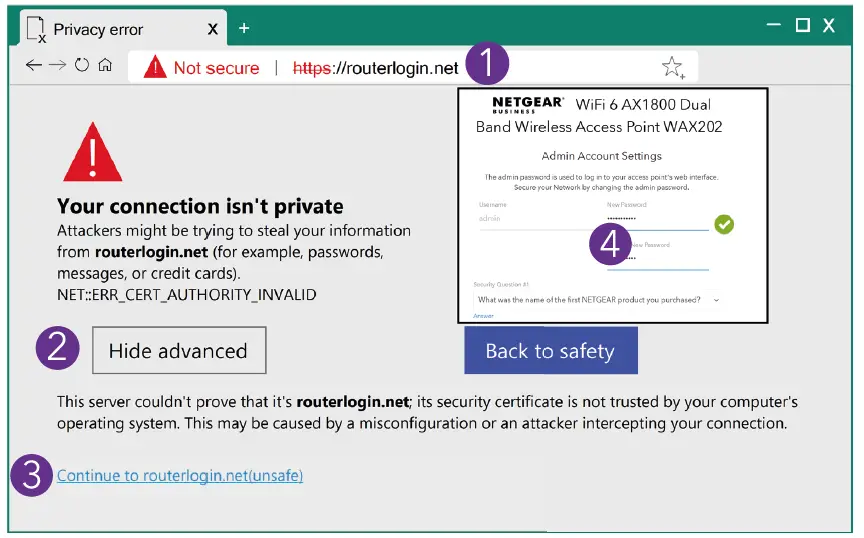
Note: This example uses the Google Chrome browser. Your browser might be different.
- Type https://www.routerlogin.net in the address field of your browser. Your browser might display a security message.
- Click the Advanced button.
- Click the Continue to routerlogin.net link.
- Follow the onscreen Setup Wizard prompts:
- Set a new admin password for local login.
- You can set a new WiFi network name (SSID) and WiFi password. If you do, reconnect with your new SSID and WiFi password to complete the setup.
Change the operation mode
Optional Step 4
If a device in your network already provides router functions, change to access point mode.
- When logged in to the WAX202, select ADVANCED > Advanced Setup > Router / AP / Bridge Mode.
- Select the AP Mode radio button and click the Apply button.
References
 English - NETGEAR Communities
-
NETGEAR Support | NETGEAR
-
Router Login & Setup | NETGEAR
-
NETGEAR Privacy Policy | NETGEAR
-
Regulatory | NETGEAR
-
NETGEAR Terms and Conditions | NETGEAR
-
NETGEAR - Common Account Management
-
Download Center | Support | NETGEAR
-
Download Center | Downloads and Documentation | NETGEAR
-
Router Login & Setup | NETGEAR


