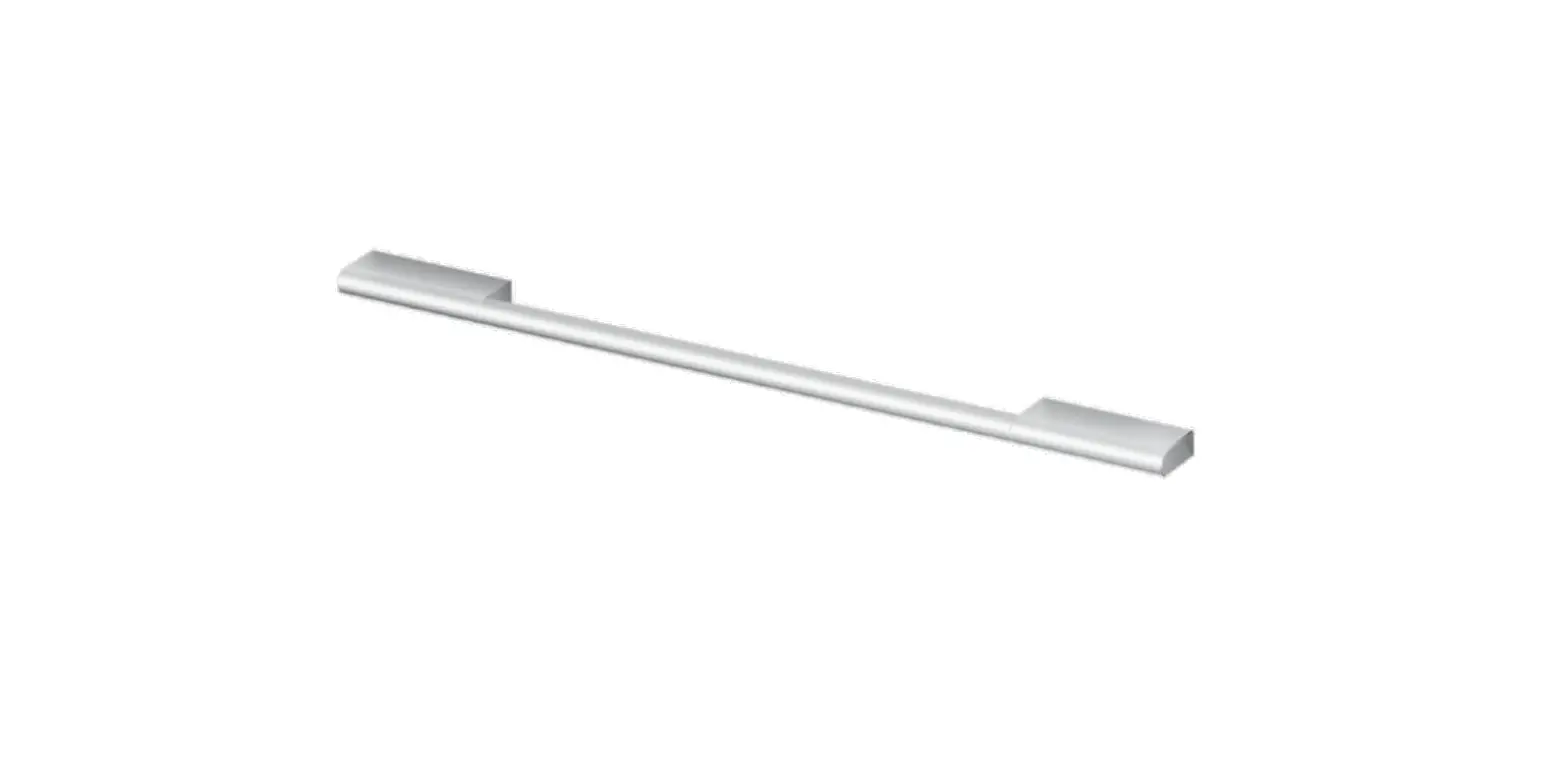
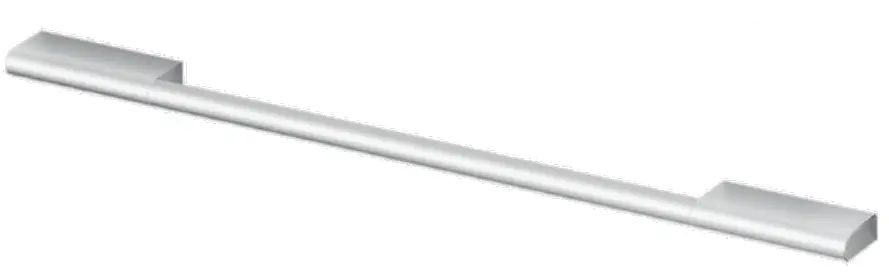
FISHER PAYKEL AAHP3DWDDSXP Professional Round Flush Handle
SAFETY & WARNINGS
| |
 | Cut Hazard Failure to use caution could result in injury.
|
- For products that are not front-mounted, installation must be carried out by a Fisher & Paykel trained and supported service technician.
- Ensure all packaging is removed and disposed of responsibly.
- Installation of this product requires basic mechanical skills.
- Ensure product is installed with the correct tools to avoid personal injury or damage to the appliance.
- Take care not to scratch the door with the supplied Hex key when tightening the screws
COMPONENTS REQUIRED
Supplied
|
|
|
|
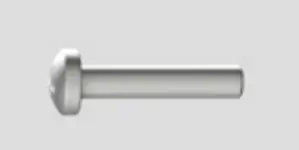 M6x25mm pan head screw (2
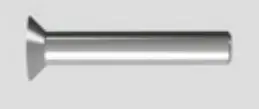 M6x25mm countersunk 5mm hex screw (2)
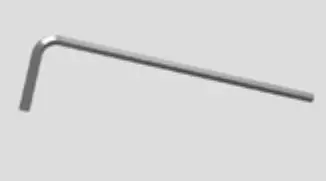 5mm hex key (1)
Not supplied
|
|
|
|
 Powered driver
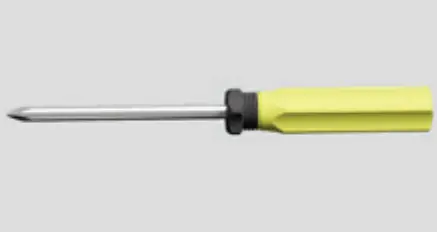 Crosshead driver
 Tape measure
 Level
LevelFITTING HANDLE TO PANEL
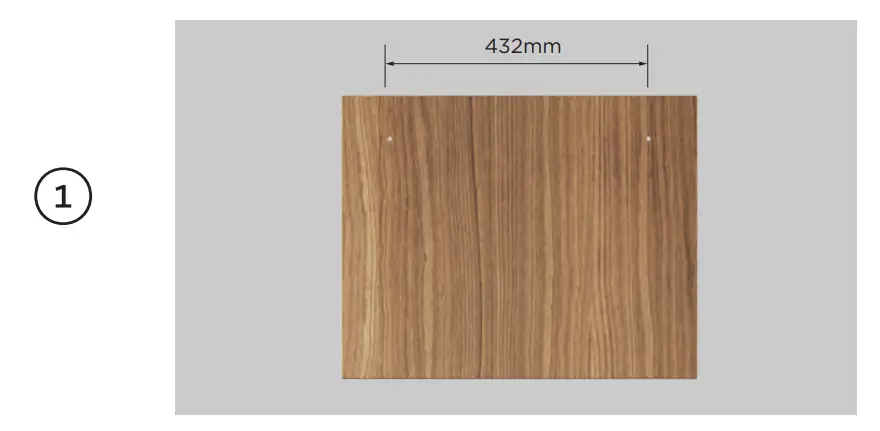 | Custom panel installations: Mark the handle location on the panel. Ensure distance between holes is 432mm. |
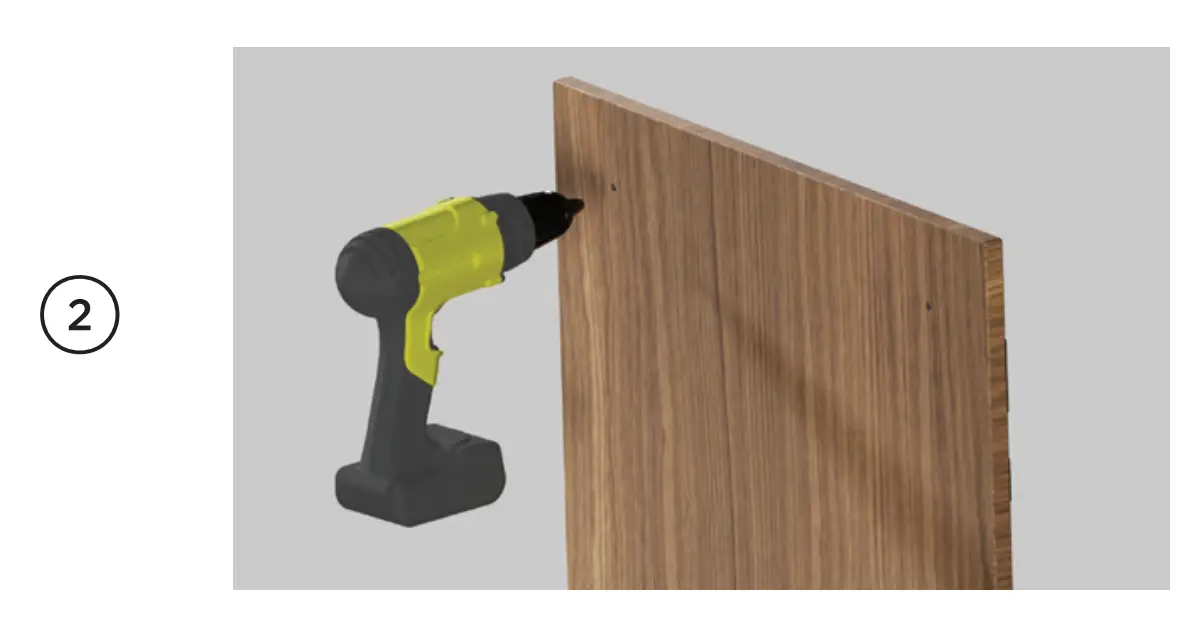 | Custom panel installations: Drill the holes using a 7mm drill bit. Counterbore from the rear. |
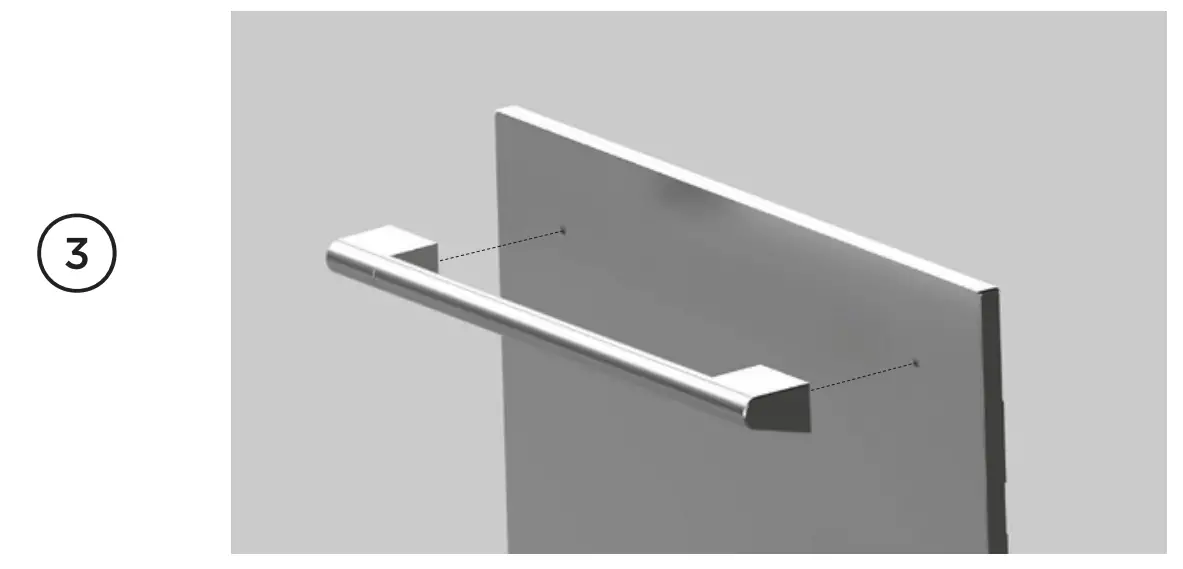 | Align handle to the holes. |
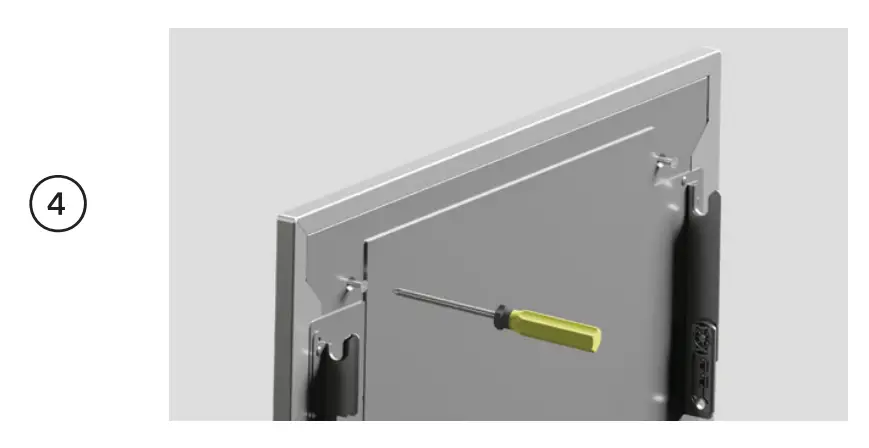 | Secure handle by loosely tightening the screws using a crosshead driver. Do not overtighten. Custom and Dishwasher panels: Countersunk screw DishDrawer panels: Pan head screw |
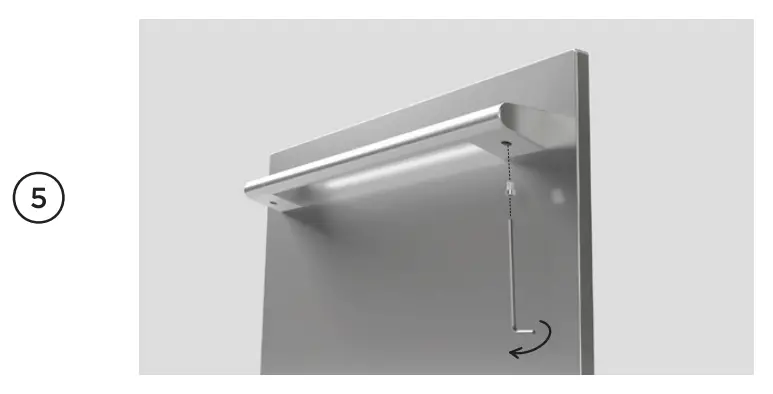 | Use a level to confirm the handle is aligned. Tighten using the supplied hex key. |
CUSTOMER SUPPORT
For more information, visit www.fisherpaykel.com


