![]() Quick
Quick
Start Guide
TASKA HandGen1, Gen2
Medium (7¾”) & Large (8¼”) V2.1
Check
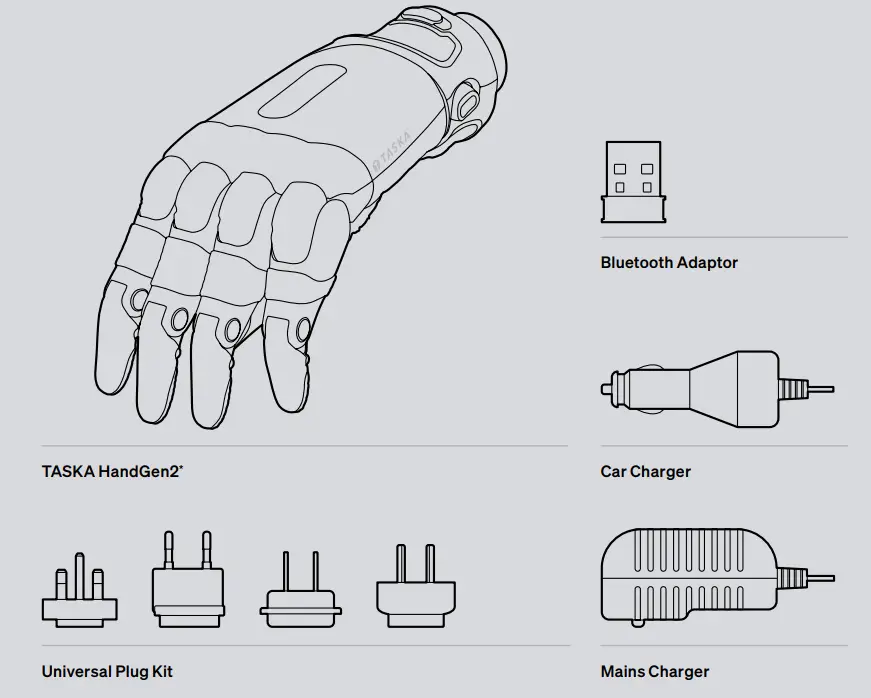
* Image shows Quick Disconnect Wrist fitting.
Items shown are not to scale.
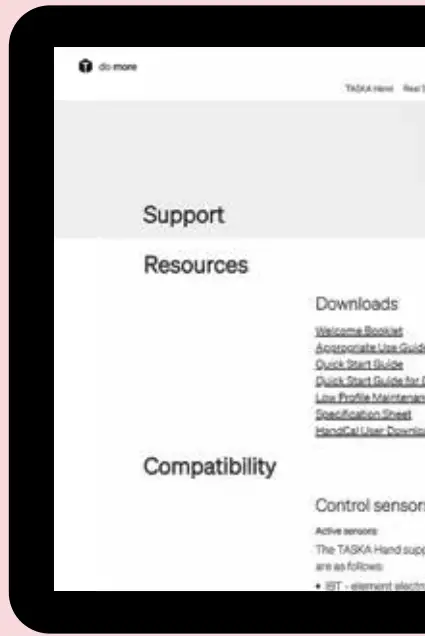
Download
Software for users
To be directed to the download page for your TASKA user software, please enter the link below:
taskaprosthetics.com/support
A free app is also available for mobile which allows configuration of button and EMG grip sets as well as troubleshooting sensor issues.
To download please visit the store on your device and search TASKA Prosthetics.
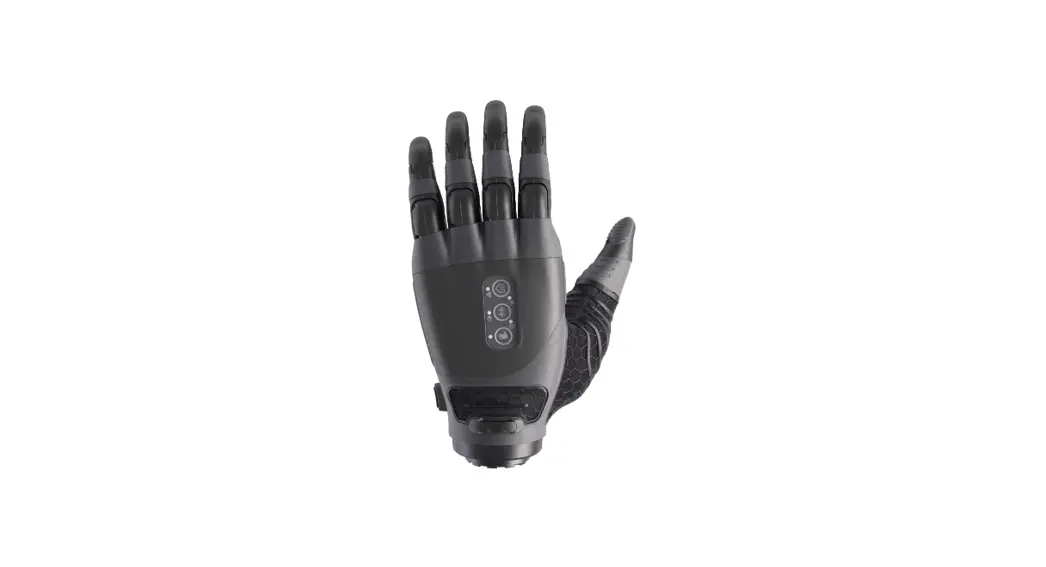
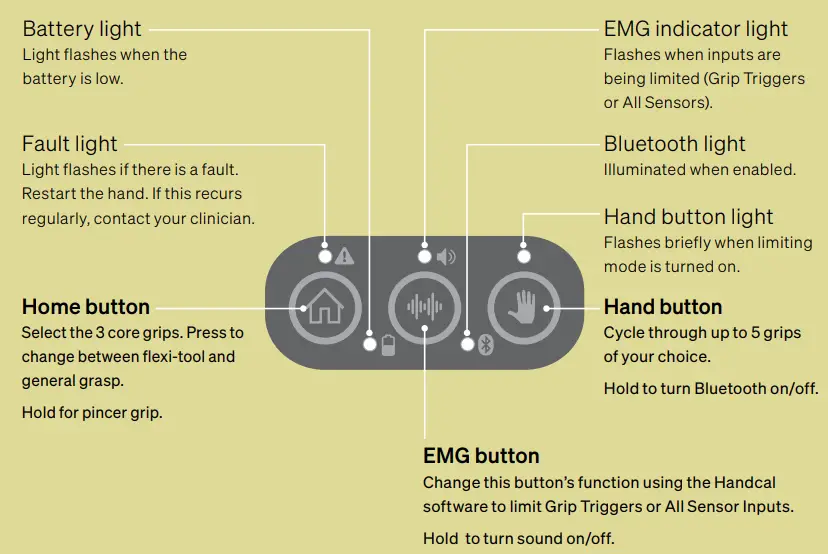
Control
Grip Cycle Buttons
For more information on the grip cycle buttons visit taskaprosthetics.com
Connect
(TASKA HandGen1)
Connecting the hand
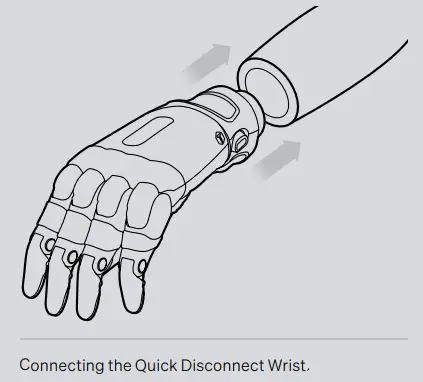
If your TASKA Hand has been supplied with a Quick Disconnect Wrist, it is easy to attach and remove the hand.
To attach the hand:
- Align the wrist connection of the hand with the socket.
- Push them together. You will hear a click when the hand has locked to the socket.
To remove the hand:
- Rotate the hand and socket in opposite directions and pull the hand gently away from the socket.
- When the rotation has reached the correct point, the hand will release from the socket.
Low Profile Wrist
If your TASKA Hand has been supplied with a Low Profile Wrist, the hand may only be installed or removed by a trained clinician. Do not attempt to attach or remove the hand yourself.
Connecting the hand
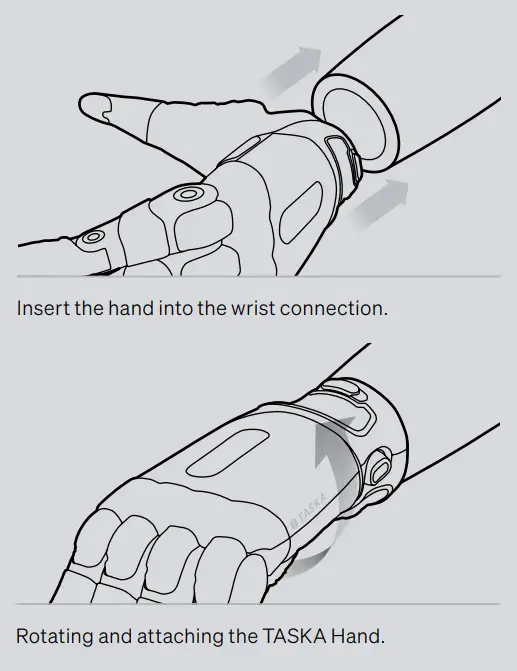
If your TASKA Hand has been supplied with a Quick Disconnect Wrist, it is easy to attach and remove the hand.
- Insert the hand into the wrist connection on your socket.
- Rotate the hand towards you 45° until it clicks into place.
- Test the connection by rotating the hand in the other direction. The wrist should rotate normally (click) and feel secure.
- Your TASKA Hand is ready for use.
![]() If your hand is fitted with a Seal Ring, clean this and the sealing surface on your socket’s wrist connection with a soft damp cloth to remove any dirt before connecting. Refer to the Appropriate Use Guide for more on caring for your wrist.
If your hand is fitted with a Seal Ring, clean this and the sealing surface on your socket’s wrist connection with a soft damp cloth to remove any dirt before connecting. Refer to the Appropriate Use Guide for more on caring for your wrist.
(TASKA HandGen2 continued)
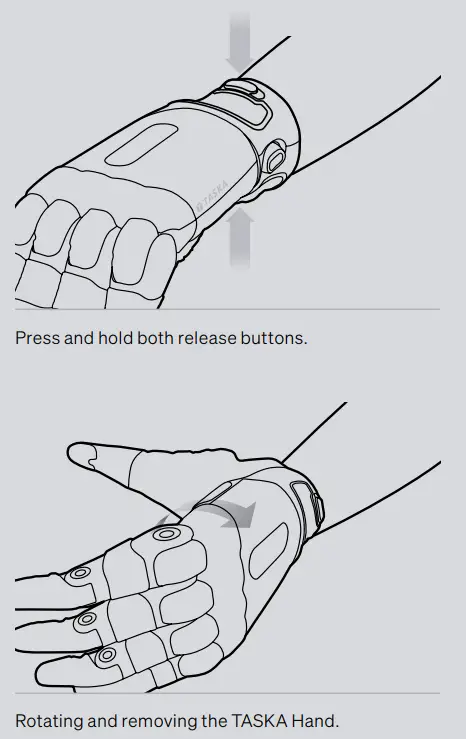
Disconnecting the hand
- Press and hold both release buttons.
- While holding down both buttons, rotate the hand away from you 45° until you feel resistance. This turn will be smooth and without audible clicks.
- Remove the hand.
Low Profile Wrist
If your TASKA Hand has been supplied with a Low Profile Wrist, the hand may only be installed or removed by a trained clinician. Do not attempt to attach or remove the hand yourself.
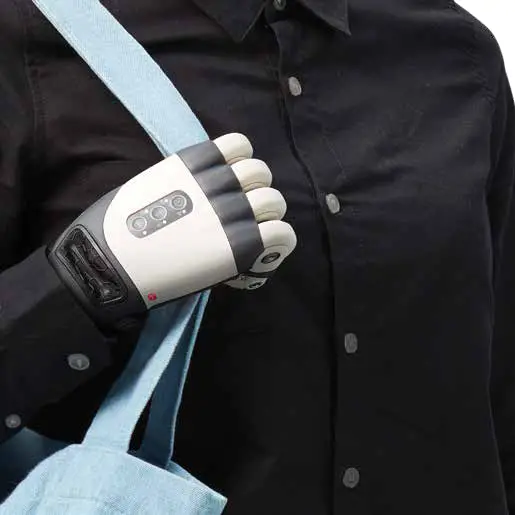
Power
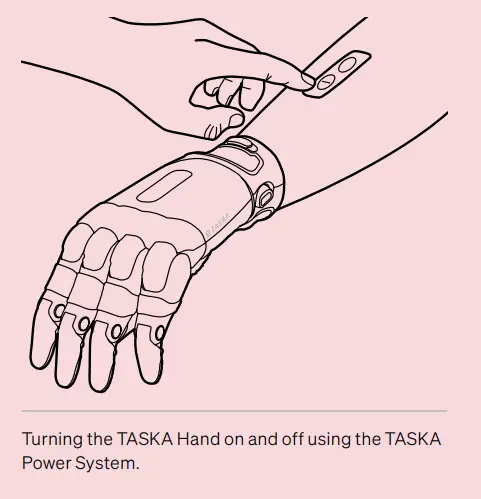
Turning the hand on and off
There is a button on the socket that turns your TASKA Hand on and off. Your hand requires to open fully when being powered on. Ensure there is no restrictions in the movement to ensure the best possible calibration of your hand.
To turn on your hand, press the button once. As the hand turns on, two of the lights on the back of the hand will flash briefly and the fingers will open when the hand is ready.
![]() If using your TASKA Hand with an elbow or another power system, please refer to the relevant user manual for operation.
If using your TASKA Hand with an elbow or another power system, please refer to the relevant user manual for operation.
Charge
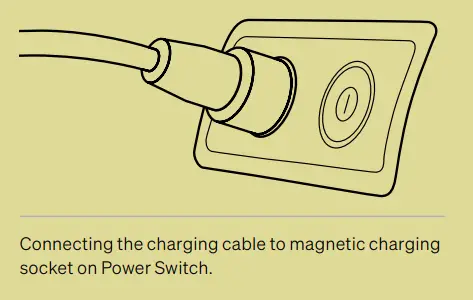
Battery charging
Remove the hand and arm socket from your residual limb before charging the hand. The charging point is a magnetic socket next to the power button.
To charge the hand:
- Place the magnetic end of the charge cord on top of the charging socket. These will automatically align.
- Connect the charger to either a wall socket for the Mains Charger, or a vehicle power outlet for the Car Charger which does not exceed 12V. During charging, the charger light will change to red. Once complete, the light will change to green.
![]() Only use the chargers provided by TASKA to charge your TASKA Batteries.
Only use the chargers provided by TASKA to charge your TASKA Batteries.
do more
Additional resources
As you become more skilled using your TASKA Hand, you will want to further explore what it can do and learn how to use it more for your daily activities. We provide a range of resources to help you get the most value out of your TASKA Hand:
- Instructional videos.
- Clear, step-by-step training guides.
- News on our social media channels.
Find us on @TaskaGlobal and engage with the TASKA community. - Apps for your mobile device, laptop, or desktop computer for customising your hands operation.
For support and advice on using the TASKA Hand, you should first contact the clinician who worked with you to fit and familiarise you with the hand. For further support or help in using your TASKA Hand, visit taskaprosthetics.com
![]() Please refer to the Appropriate Use Guide for full detailed guidelines on safe use of the TASKA Hand.
Please refer to the Appropriate Use Guide for full detailed guidelines on safe use of the TASKA Hand.
![]() TASKA Prosthetics, 10 Nelson St,
TASKA Prosthetics, 10 Nelson St,
Riccarton, Christchurch 8011, NZ.![]() EMERGO EUROPE
EMERGO EUROPE
Prinsessegracht 20
2514 AP The Hague
Netherlands


