JUNIPER Cloud-Ready EX and QFX Switches with Mist

Product Information
The Cloud-Ready EX and QFX Switches with Mist are switches that can be onboarded using either the Mist AI mobile app or a web browser. The onboarding process is intended for new switches and applies only to cloud-ready EX and QFX switches. The Mist AI mobile app allows you to claim devices by focusing the camera on the QR code, while onboarding using a web browser requires you to enter an activation code or claim code. The rack installation and power-on procedures vary slightly for each switch.
Product Usage Instructions
This guide walks you through the simple steps to get a new cloud-ready EX or QFX switch up and running in the Juniper Mist AI cloud portal. You can onboard one or more switches using your computer, or a single switch using your mobile phone.
We show you how to complete two different ZTP-based onboarding methods:
NOTE: The procedures in this quick start guide are intended for new (greenfield) switches. For onboarding (adopting) existing, in-service (brownfield), switches into Mist, see Adopting a Juniper EX Switch.
For onboarding procedures using the Junos OS CLI, see the applicable hardware guide on the Juniper Mist Supported Hardware page.
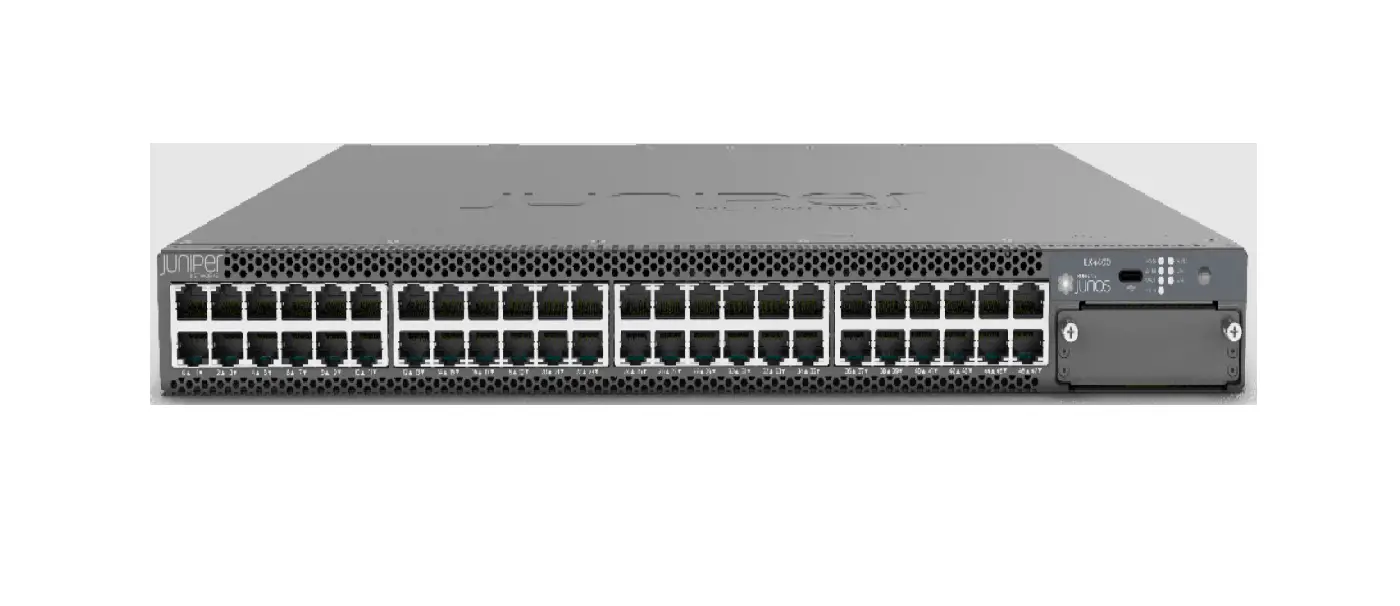
Cloud-Ready Switches
The Juniper Networks® Cloud-Ready Switches come ready to install and manage using the Juniper Mist Cloud portal at https://manage.mist.com. Your switch is cloud-ready if it has a QR claim code on the front or back panel.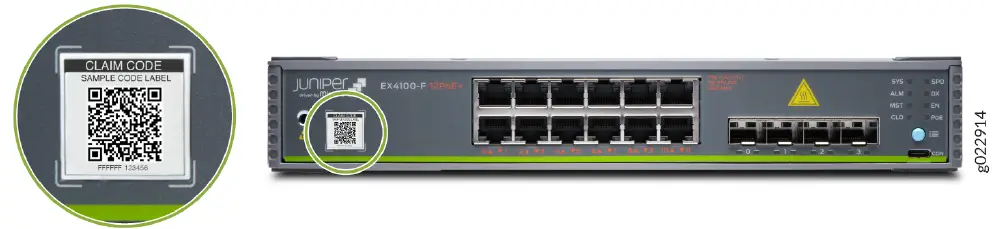
Onboard One Switch Using the Mist AI Mobile App
- Download and install the Mist AI app from the Google Play Store or Apple App Store.
- Open the Mist AI app and log in using your account credentials. If you do not have an account, create one.
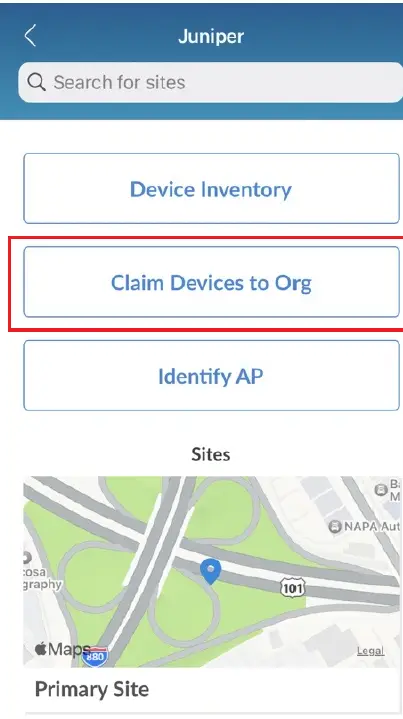
- Select your organization.
- Tap Claim Devices to Org and focus the camera on the QR code.
The app automatically claims the switch and adds it into your organization’s inventory.
- Review the MAC address.
- Select the new switch. Then tap Primary Site and tap Assign.
- Proceed to Step 2: Up and Running on page 4 to complete the onboarding process.
Onboard One or More Switches Using a Web Browser
- Log in to your account at https://manage.mist.com/. If you do not have an account, create one.
- Go to Organization Inventory Switches and click Claim Switches.
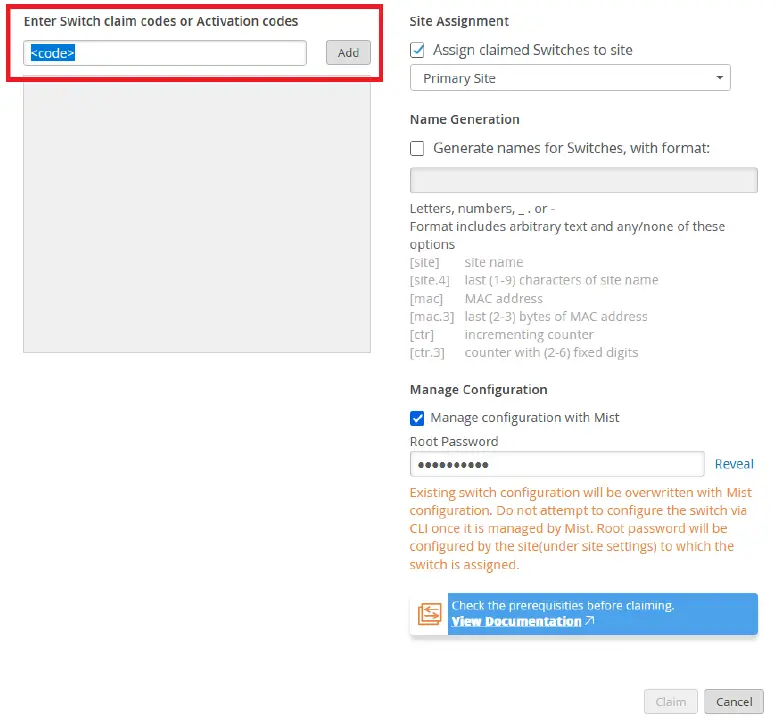
- Enter the Activation code or Claim code.

- Confirm that Assign claimed Switches to site is checked and Primary Site appears below the checkbox.
- Select Manage configuration with Mist.
- Enter a Root Password. This password becomes the root password on each claimed switch.
- Click Claim. If you claim multiple switches, expect a slight delay for the Switch Claim Results window to pop up. Review the information and Close the window.
- View your new switch or switches on the Inventory page. Expect to see the status as Disconnected.
- Proceed to Step 2: Up and Running on page 4 to complete the onboarding process.
Up and Running
Install the Switch in a Rack
The rack installation and power-on procedures vary slightly for each switch. For instructions specific to your switch, see the applicable hardware guide on the Juniper Mist Supported Hardware page.
Connect to the Network and Power On the Switch
NOTE: Some tasks in the following procedure require you to configure or connect to services in your local network. We do not provide instructions for configuring or locating these services.
- Ensure that a DHCP server is reachable.
In addition to providing an IP address to the switch, your DHCP server must provide the following information:- A default gateway address
- An NTP server address
- A DNS server address
- The switch’s local domain name
- Open ports TCP 2200 and TCP 443 on your firewall to allow inbound and outbound communication between the switch and the Mist cloud portal.
- Connect an Ethernet cable to any traffic (revenue) port on the switch and to your local network.
- Connect power to the switch.
- Wait for a few minutes for the switch to boot completely.
Congratulations! The switch should now appear as green/connected in the Mist portal. You’ve successfully onboarded your cloud-ready switch.
Keep Going
What’s Next?
Use the Mist portal to configure and monitor your switch for operation in your network. The tables below provide links to more information.
| If you want to | Then |
| Learn how to use configuration templates | See Template-Based Configuration with Device and Port Profile |
| View and manage your Mist subscriptions | See Subscriptions and Activations |
| Learn about Wired Service Level Expectations (SLE) | See Wired Service Level Expectations (SLE) |
| Learn about EVPN multihoming deployment in the Mist Cloud | See EVPN Multihoming Deployment via Mist Cloud |
| Get an overview about campus fabric deployment | See AI-Driven Campus Fabric Quick Guide |
General Information
| If you want to | Then |
| See all documentation available for Wired Assurance | Visit Wired Assurance Documentation |
| Learn about Marvis | Visit Marvis Documentation |
| See all documentation available for Junos OS | Visit Junos OS Documentation |
| See product update information | Visit Product Updates |
| Monitor the health of your switch | See Switch Testing Tools |
Learn with Videos
| If you want to | Then |
| Learn how to get started with Wired Assurance on EX Series switches | Visit Getting Started with Wired Assurance on EX Switches |
| If you want to | Then |
| Learn about adopting (brownfield onboarding) an EX Series switch | Visit Adopting a Juniper EX Switch |
| See how you can install a campus fabric in three steps | Watch Three step Campus Fabric |
| See a demonstration of how to deploy a campus fabric at scale | Watch Demo – Deploying Campus Fabric at Scale with Juniper Mist |
Juniper Networks, the Juniper Networks logo, Juniper, and Junos are registered trademarks of Juniper Networks, Inc. in the United States and other countries. All other trademarks, service marks, registered marks, or registered service marks are the property of their respective owners. Juniper Networks assumes no responsibility for any inaccuracies in this document. Juniper Networks reserves the right to change, modify, transfer, or otherwise revise this publication without notice. Copyright © 2023 Juniper Networks, Inc. All rights reserved.
References
 Mist Systems
-
Mist Systems
 Junos OS Documentation | Juniper Networks
-
Mist Wired Assurance Documentation | Juniper Networks
-
Step 1: Begin | Juniper Networks
-
Juniper Mist Supported Hardware | Juniper Networks
 Adopting a Juniper EX Switch - Video - Mist
-
Marvis Archives - Mist
-
Product Updates Archives - Mist
-
EVPN Multihoming Deployment via Mist Cloud - Mist
-
Getting Started with Wired Assurance on EX Switches - Mist
-
Subscriptions and Activations - Mist
-
Switch Testing Tools - Mist
-
Template-based Configuration with Device and Port Profile - Mist
-
Wired Service Level Expectations (SLE) - Mist


