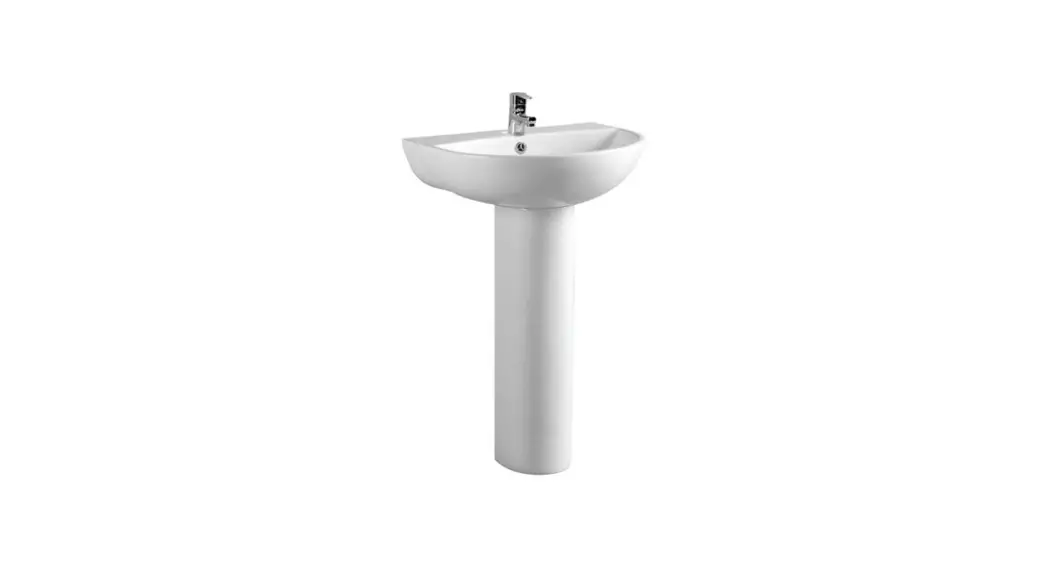
![]() B61625 Tap Hole Basin
B61625 Tap Hole Basin
Instructions
B61625 Tap Hole Basin
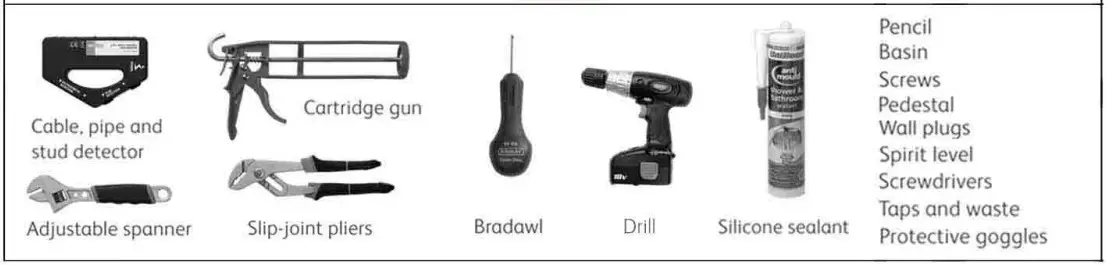
Tools
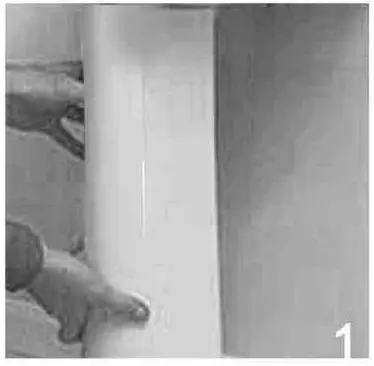
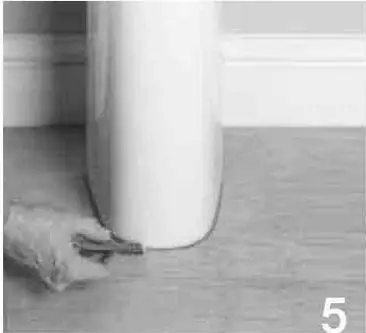
- Place the new pedestal for the basin approximately in position. in front of supply and waste pipes.

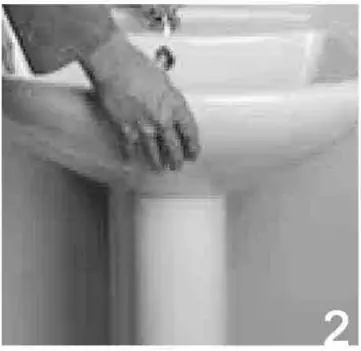
- Lift the new basin into place and gently rest it on top of the pedestal. You will need a helper for this.

- Adjust pedestal and basin to ensure that the basin is level and sits comfortably. Use a spirit level.

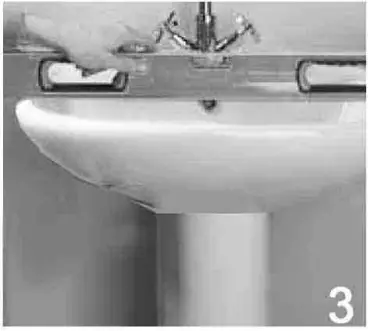
- When happy with the position of the basin. mark through the basin fixing holes. under the basin. with a pencil.

- Mark through the fixing holes for the pedestal and draw a pencil guideline around its edge onto the floor.

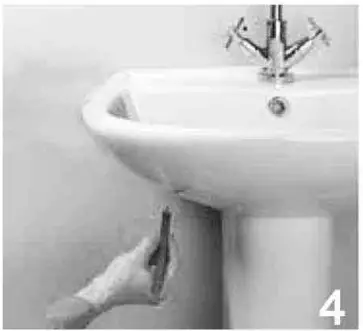
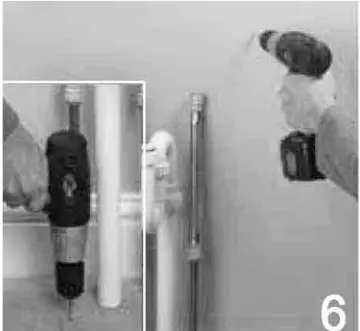
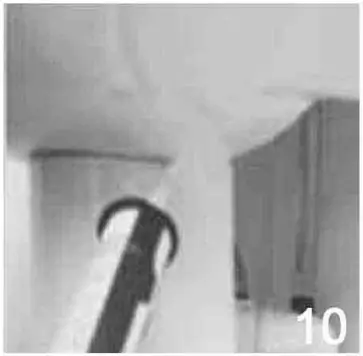
- Drill fixing holes for the basin, as marked. into the wall and push in the appropriate-sized wall plugs. Drill pilot holes for the pedestal. where marked. Here, no plugs are needed as the floor is wooden.

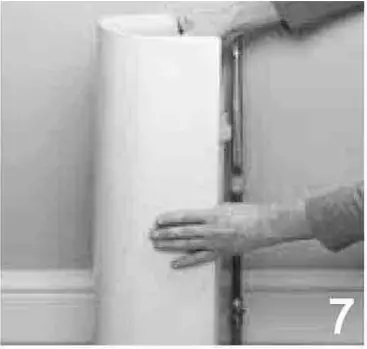
- Reposition the pedestal and screw it in place. Use any washers supplied and do not overtighten fixings.

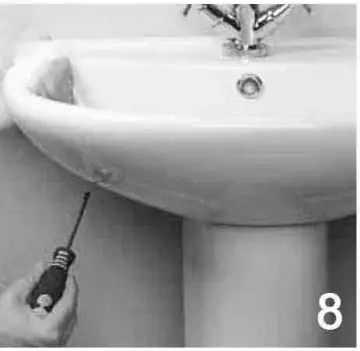
- When the pedestal is securely positioned. reposition the basin on the pedestal and fix it in place. Screw through the fixing holes with a screwdriver.

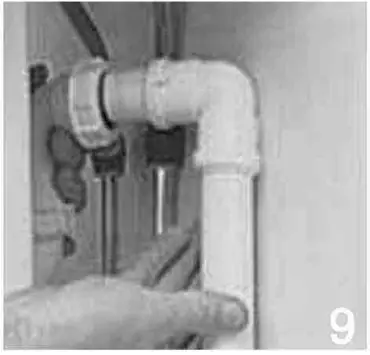
- Connect waste pipes to the bottom of the waste system. Do not overtight plastic compression connections. Che that washers are correctly positioned.

- Once you have done all your tiling and flooring, you can seal where the basin is in contact with the wall and around the base of the pedestal mounted basins.