Diivoo Smart Water Timer User Guide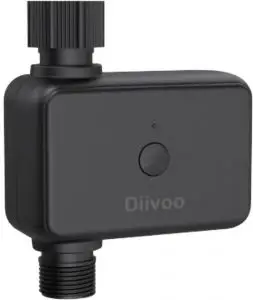
Congratulations on the purchase of your Diivoo Smart Hose Faucet Timer! Faucet watering has never been faster, easier or more convenient with the ability to control it from your phone.
You can schedule, manually operate without climbing through your shrubs to access the timer. You can connect to your timer with the push of a button via the home screen in the app. It also allows you to water down to minutes, which is great for gardening, hydroponics, filling pet dishes or even bird baths.
Whatever your connected outdoor watering needs, Diivoo provides best-in-class smart products to help you more effectively manage and control your watering. Thanks for your purchase, and welcome to Diivoo.
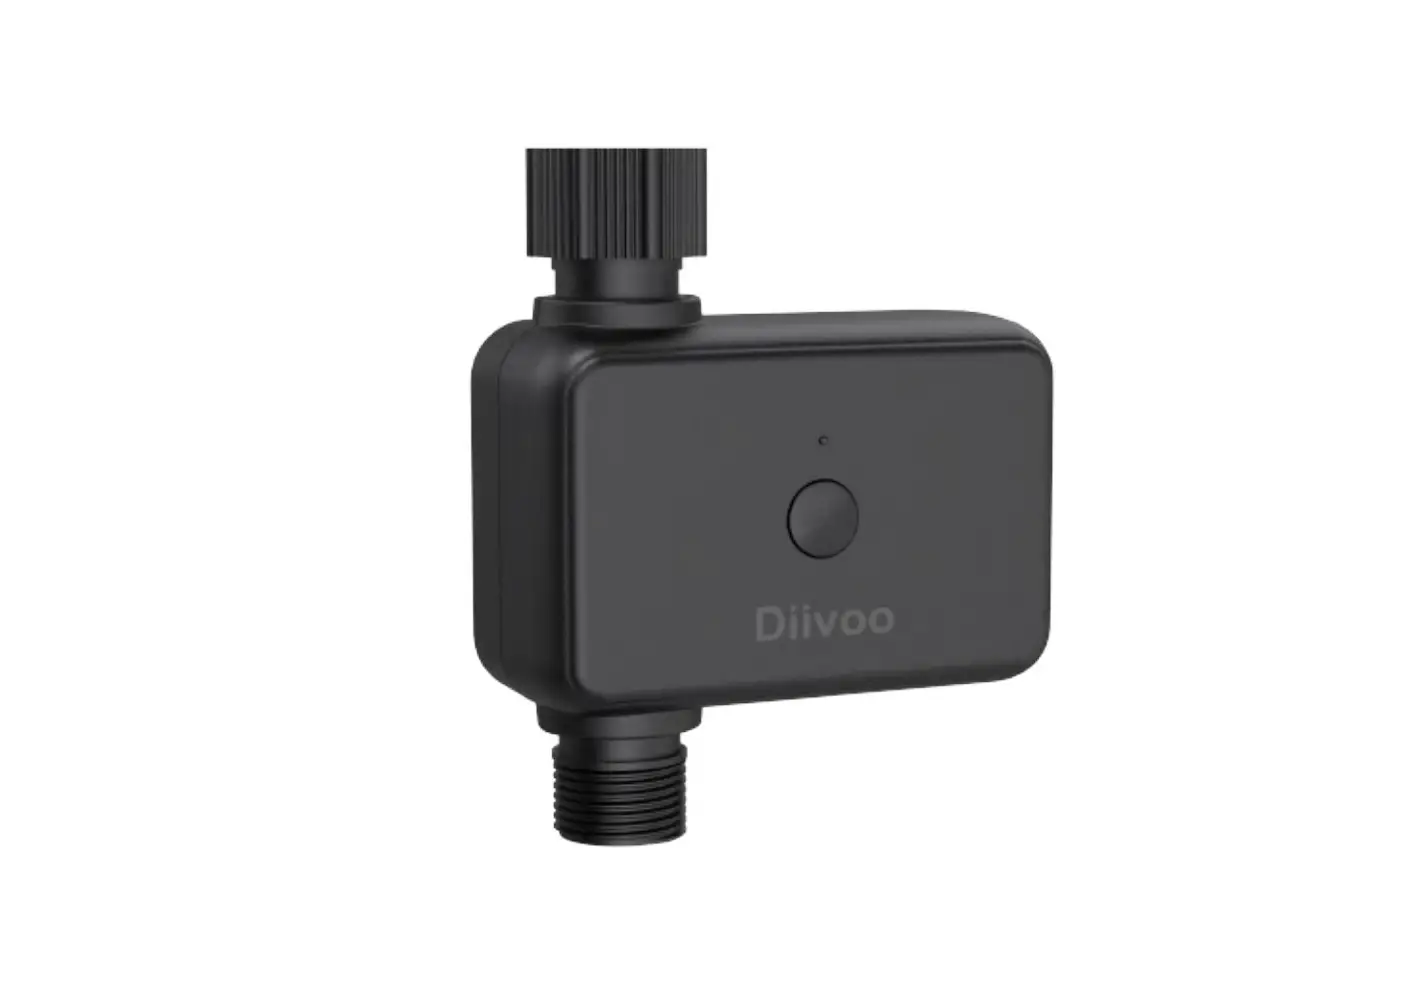
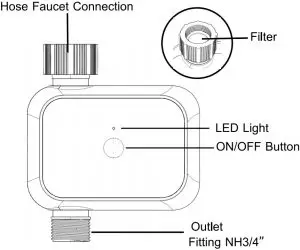
Meet the Diivoo Hose Faucet Timer
- Range: 50ft without interference
- Pressure operating range: 2.9-116 psi
- Temperature operating range: 40.1℉-113℉(4.5°C-45 °C)
- For outdoor use with cold water only
- Not for use with appliances
- Do not mix alkaline, standard (carbon-zinc), or rechargeable (nickel cadmium) batteries. Used up or dead batteries must be removed from the timer and disposed of properly
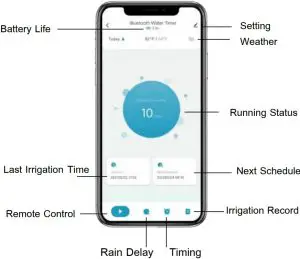
Meet the Diivoo App Home Screen
Initial Smart Life App Setup
- Download the Smart Life App
If you don’t already have the Smart Life App on your smart device, search for “Smart Life” and download the free Android or IOS app.
Download Smart Life APP

- Open the Smart Life App
Create an account or login with an existing account to begin timer setup. - Enter configuration Mode
Long press the On/OFF button for 6s until the green light flashes quickly, and then enter the pairing mode. - Add a Device
Tap “Add device” or “+” to add the smart device in app. Select “Industry&Agriculture” > “Watervalvecontroller(BLE)”. Waiting for connecting to be 100%. Edit the name of your water timer completed.


Initial Water Timer Setup
Insert Two AA Batteries
Batteries are not included and you will need two alkaline AA batteries to power your timer. Remove the battery tray and install the batteries according to the drawings located in the tray. Firmly reinstall the battery tray back into the timer.
Install the Timer
Connect the timer to an outdoor hose faucet. Your timer is now ready to be used with any product that can be attached to a standard hose faucet.
Tip: Do not place the timer in an underground valve box or anywhere your Bluetooth signal will be obstructed.
Turn on Your Water
The water must remain on for the timer to work properly.
Additional Water Timer Features
Manual Watering
Your timer has the ability to allow you to manually water without disturbing the programmed schedule. Manual is used to test equipment, run an extra watering cycle in an area, or to use the hose faucet without removing the timer. Press the ON/OFF button to activate manual watering. Using the app you can set how long you want the preset manual cycle to run for.
Stop Watering
You can stop the flow of water at any time whether it is during manual watering, or during a programmed time. Press the ON/OFF button once to stop watering.
Warm Tips
When expecting freezing temperatures, timer should be removed from the faucet and stored indoors to avoid potential freeze damage. Please remember to clean the filter regularly and replace it if worn.
Troubleshooting
Q: Why the bluetooth water timer didn’t turn on/off at preset time?
- Ans:
- Programming is incorrect
- Water pressure is too low
- Particles of dirt or debris stuck in valve
- More than one start time is programmed with overlapping schedules
- Manual watering is on
- Faulty valve
- The faucet is off
Support
If you have any questions about our product, please feel free to contact us via [email protected]. We will follow up and respond within 24 hours.


