![]()
Supplies:
| White t-shirt |
| Rubber bands |
| plastic tablecloth |
| Tie-Dye |
| Plastic gloves |
| Sealed zipper bag or plastic wrap |
Instructions:
- Prep your work surface by laying out a plastic tablecloth (this could get messy!)
- Select and prep your dye according to instructions on its package. (You can use one color or up to 8 different dye colors. We recommend an even number.)
- Wash a white t-shirt without fabric softener and leave it damp.
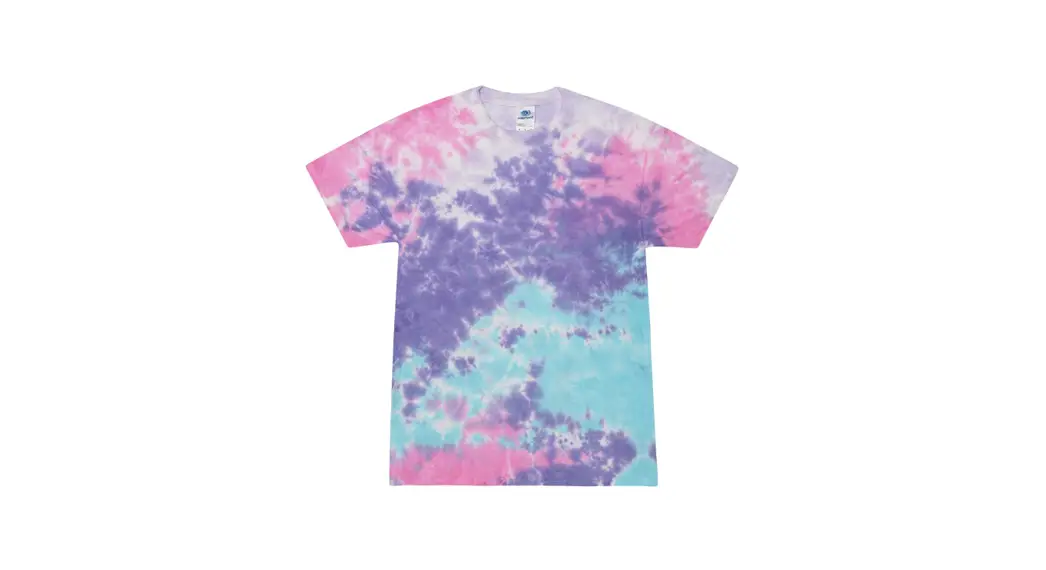
- Lay the damp t-shirt flat on your covered work surface. Pinch it at the center and twist until the fabric is in a round spiral shape.
- Once the fabric is twisted, wrap 3 to 4 rubber bands around it to secure it. Crisscross the rubber bands to create 6 to 8 wedges.
- Put on your plastic gloves. Apply colored dye to wedge shapes. Flip spiraled fabric over and repeat on the backside.
- Let your dyed shirt set for 6 to 8 hours or longer for the dye to fully set. Pro tip: Place in a sealed zipper bag to cover with plastic to keep damp while the dye processes for best results.
- Once the dye has been set, wash your shirt according to garment label.

Sore or creations wit vs on social media (aoOfficiolLi#tleTikes o 1G od Little Tiles everywhere else! #ComnpPlaya+home


