PH310T pH Meter Operation
Quick Guide
1. Specification
Parameters: pH, mV, Temperature
pH level: 0.01pH
pH range: (-2.00~20.00)pH
mV range: (-2000.0~2000.0)mV
Temperature range: (-5.0~110.0)°C
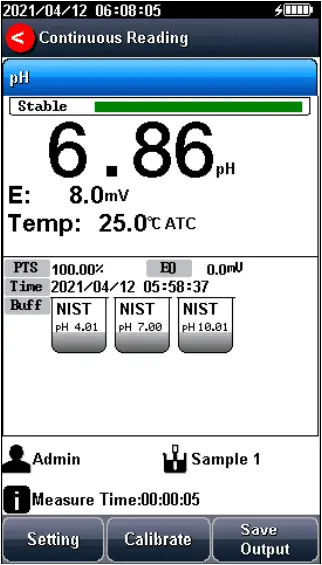
2. Screen Icons
![]()
2.1. Annotation
No. | Explanation |
| 1 | System time |
2 | Reading mode |
| 3 | Measurement parameters |
4 | Measurement information |
| 5 | Calibration information |
6 | User ID |
| 7 | Sample ID |
8 | Power information |
| 9 | Reading State |
10 | Function buttons |
2.2. Symbol
Symbol | Explanation |
Reading status | |
PTS | The percentage slope of the pH electrode calibration data |
| BUFF | The standard buffer solution for calibration |
Time | Time to Calibrate Electrodes |
 | Standard solution for pH electrode calibration |
ATC | Auto Temperature compensation |
| MTC | Manual temperature compensation |
3. pH Operation Quick Guide
3.1. Preparation
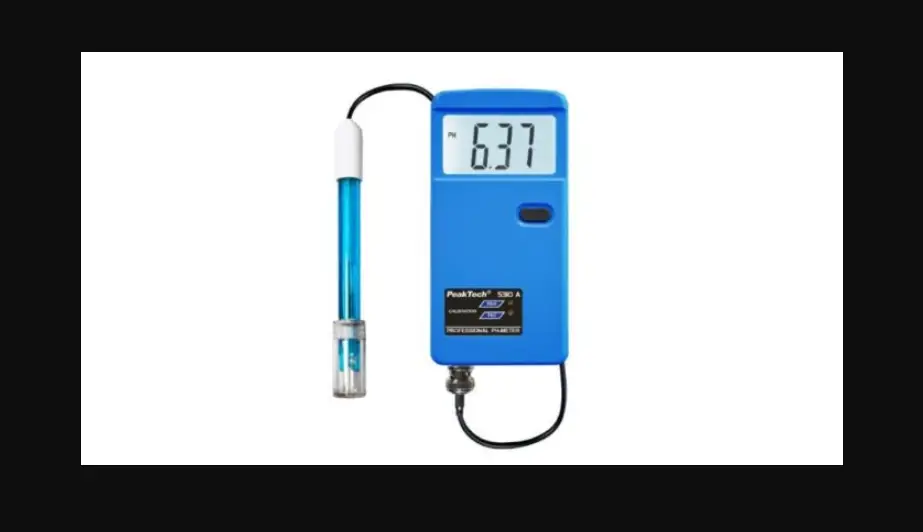
- Install the components of the instrument and connect the electrode.
- Prepare standard buffer solutions such as pH 4.01, pH 7.00, pH 10.01 standard solutions.
- Remove the protective cap at the lower end of the pH electrode, pull down the rubber cover at the upper end of the electrode. Expose the top hole, rinse the electrode with distilled water, and dry with filter paper.
- Press the power key to turn on the instrument.
3.2. Calibration
- Setting.
1) Set the parameters (e.g. pH).
2) Select standard solution group (e.g. NIST pH 4.01, pH 7.00 and pH 10.01).
3) Set to automatic recognition. - Enter to calibrate the pH electrode through the “Calibrate”-“pH Calibration”.
- Put the cleaned electrode into pH 4.01 standard solution, wait for the instrument to display “Auto Mode Matched”, after the reading is stable, press “Start”.
- If only 1-point calibration is required, after 1-point calibration is completed, press the “Calibration” key to complete the calibration.
- If multi-point calibration is required, please replace the pH7.01 and pH10.01 standard buffer solutions. After cleaning the electrode, put the electrode into the standard solution. After the instrument recognizes it successfully, the instrument reads stably, press the soft function key “Next Point” to complete the calibration.
- After completing the calibration, press the “Calibration” key to complete the calibration, save the calibration results and end the calibration, directly enter the start interface. If the checked standard solution group is 5, automatically end the calibration after five points of calibration.

3.3. Measurement
- Setting.
1) Set the parameters (e.g. pH).
2) Set the reading mode (e.g. continuous reading, auto-reading, or timed format). - Enter “parameter setting” and select “reading mode setting” to set the required reading mode and balance conditions, can be set as: continuous, timed and auto reading mode. After setting, press the “
 ” key. Return to the start interface.
 - Press
 to enter the measurement interface. After the reading is stable (the data is stable, the fixed mark is full), and then measure.
 - Press the “Save” to save the measurement results and print the result.
Note: For accurate measurement, please calibrate and measure at the same temperature.