![]() SOAP/LOTION DISPENSER INSTALLATION
SOAP/LOTION DISPENSER INSTALLATION
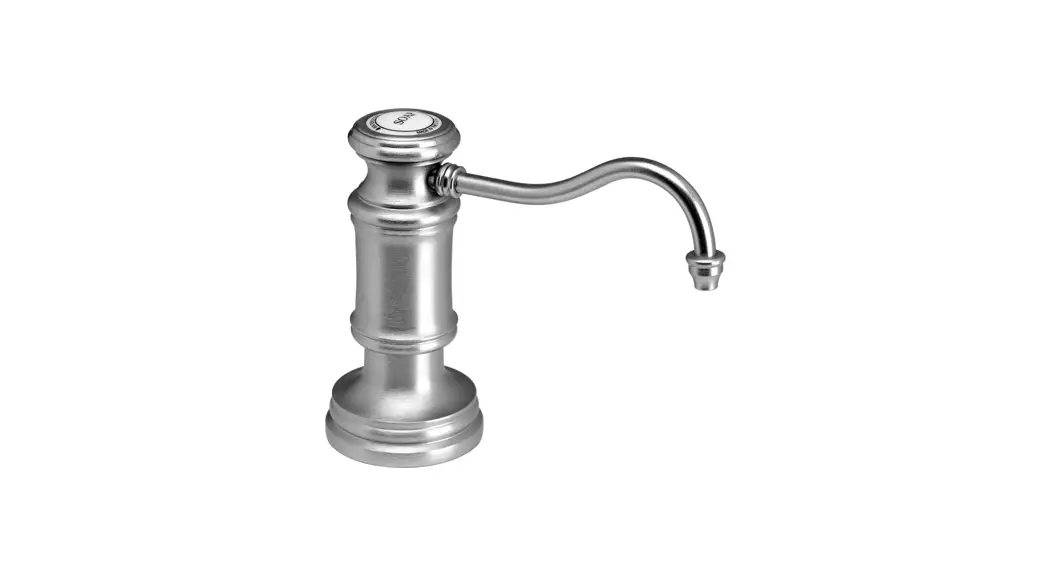
TRADITIONAL Models # 4055, 4055E, 4060, 4060E
BEFORE YOU BEGIN YOUR INSTALLATION:
4055, 4055E, 4060, 4060E Soap/Lotion Dispenser

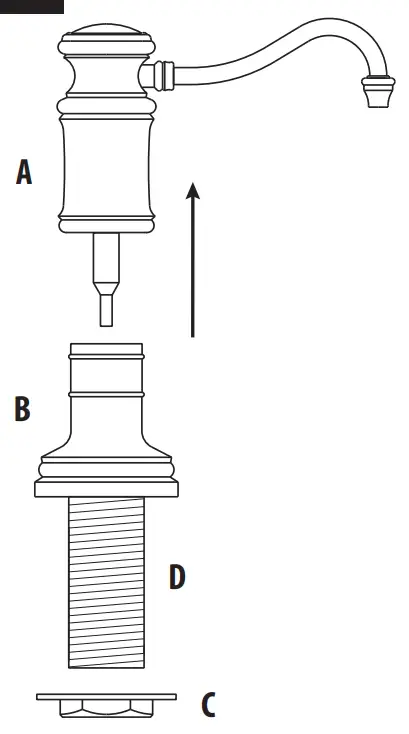 | 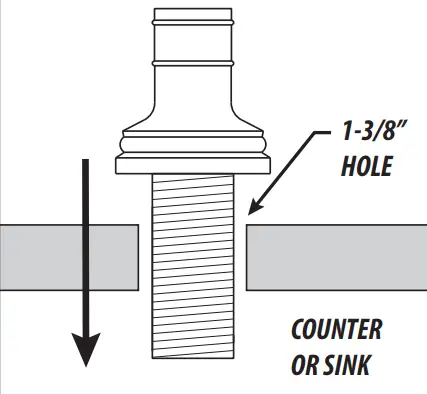 |
| Pull and remove spout (A) from dispenser body (B). Remove clamp nut (C) from threaded shroud (D). | Fit dispenser body through 1-3/8” hole on counter or sink. (No plumbers putty is required. O-ring seals base). |
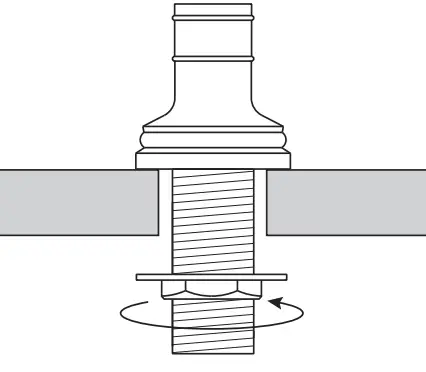 | 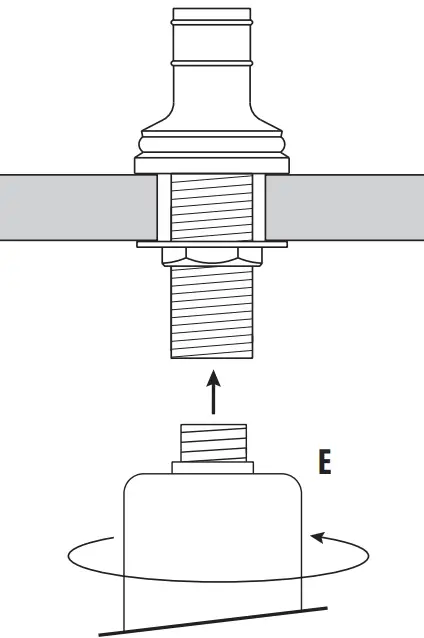 |
| Thread the clamp nut. Tighten nut snug to underside of sink or counter. | Thread bottle (E) into bottom of dispenser shroud. |
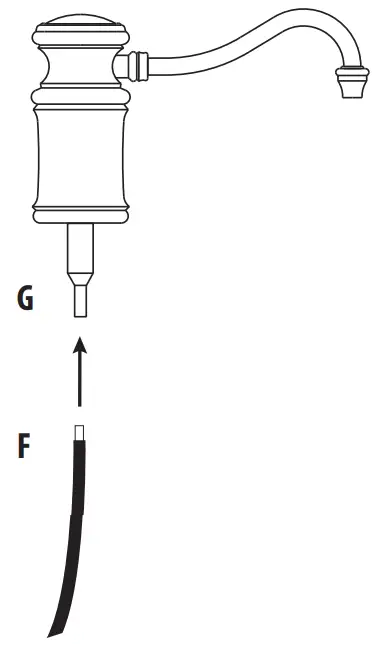 |  |
| Slide red tubing (F) into tube fitting (G) at bottom of spout. | From above the counter, pour soap through dispenser body into plastic bottle. Do not overfill. |
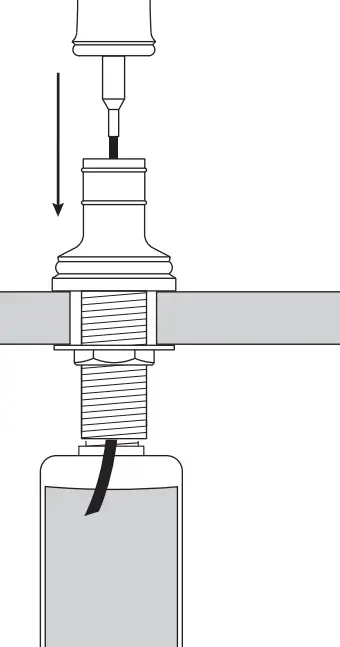 | 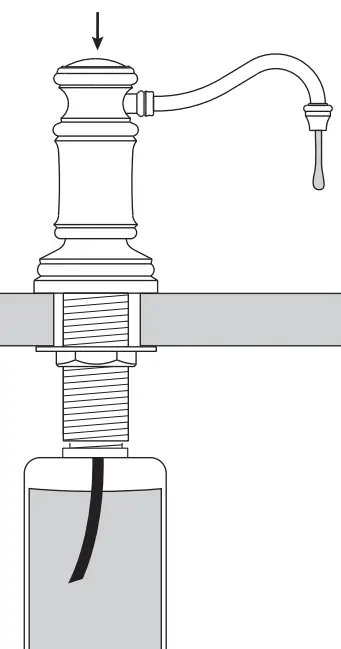 |
| Insert open end of red tubing down through dispenser and into plastic bottle. | Push down on spout to secure over white O-rings Pump spout a few times to get soap or lotion flowing. |
41180 Raintree Court • Murrieta, CA 92562
1-888-304-0660 • 951-304-0520
www.waterstoneco.com
VEN-038-SOAP Rev. D


