![]()
Quick Start Guide
Pairing Your Casambi Switch
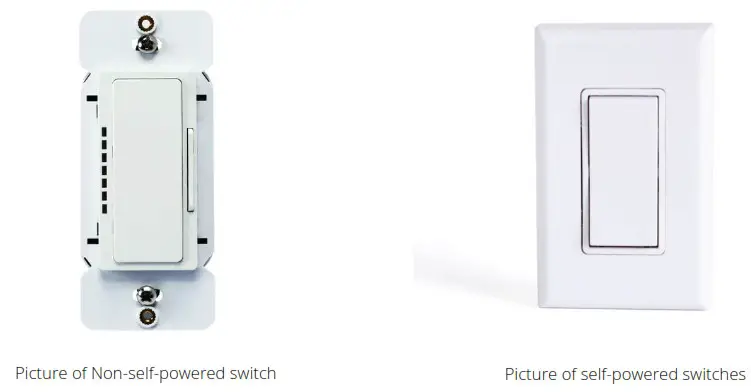
Environmental Lights offers two versions of Casambi-enabled switches: self-powered and non-self-powered. Though the processes to pair them are similar, this guide will clarify the subtle differences, letting you enjoy your Casambi-enabled home all the sooner!
Self-Powered Switch
- Log into the network you’d like to control. For details on setting up a Casambi network, please refer to the McWong guide.
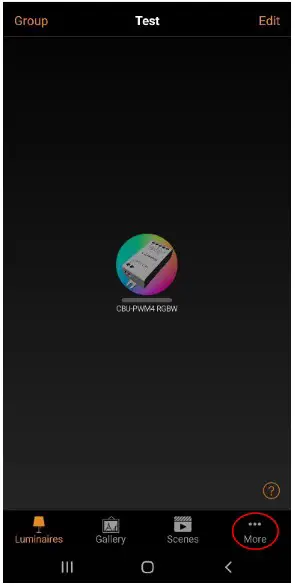
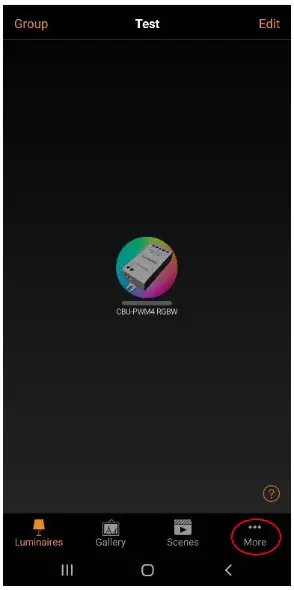
- Press the “More” option on the bottom-right of the screen.

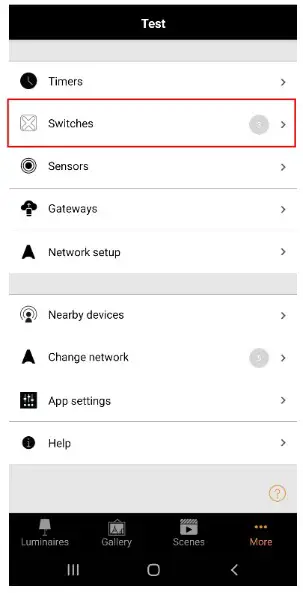
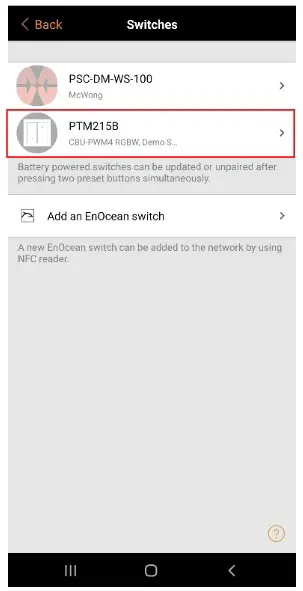
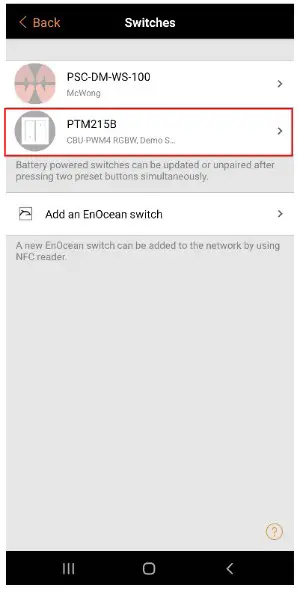
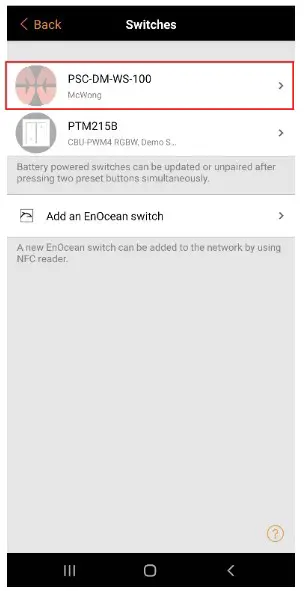
- Enter the “Switches” menu.

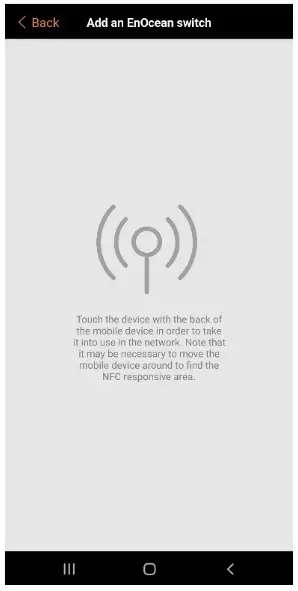
- Select “Add an EnOcean switch”.
a. Your phone may ask you to enable NFC. If so, the app should redirect you to the NFC setting. Turn it on and return to the Casambi app.
- Hold the back of the switch to the back of your phone until the switch is paired. This is usually indicated by a small vibration from your phone.
- The switch is now available and can be found under “Switches” menu in the “More” tab.

Configuring the Self-Powered Switch
- Go to the “Switches” menu in the “More” tab. Select the self-powered switch you’d like to configure.

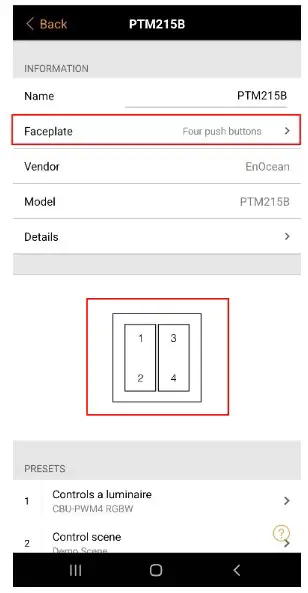
- Either select the “Faceplate” option or press on the 2D drawing of the switch between the “Information” and “Presets” sub-menus.

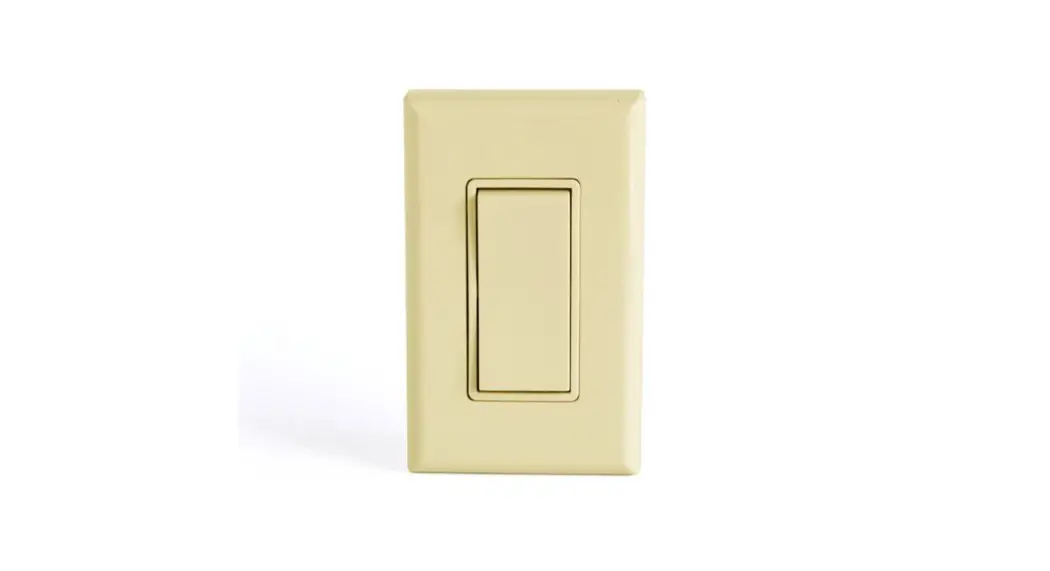
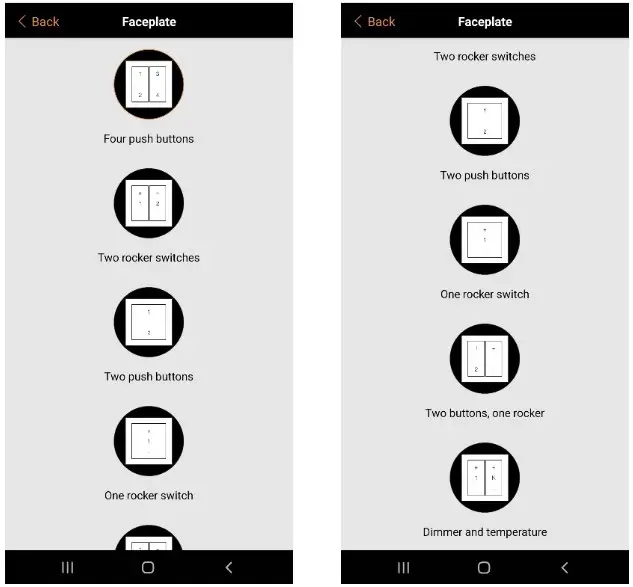
- Select the faceplate option that represents the switch you are configuring.
a. The icons for the faceplate may be misrepresented as the Casambi Battery Remote (Xpress). If so, use the images below to determine the correct settings for your switch.
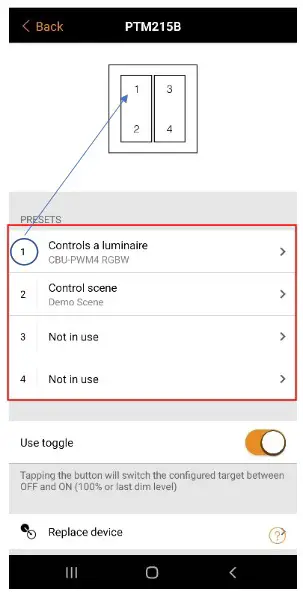
- In the switch menu, under the “Presets” sub-menu, select the button/rocker you’d like to configure.

- Configure the switch as described in the McWong guide.
McWong/Non-self-powered Switch
- Log into the network you’d like to control. For details on setting up a Casambi network, please refer to the McWong guide.
- Press the “More” option on the bottom-right of the screen.

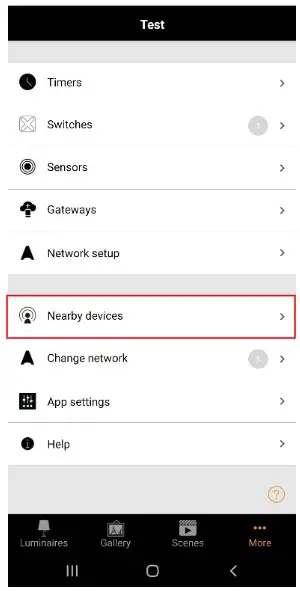
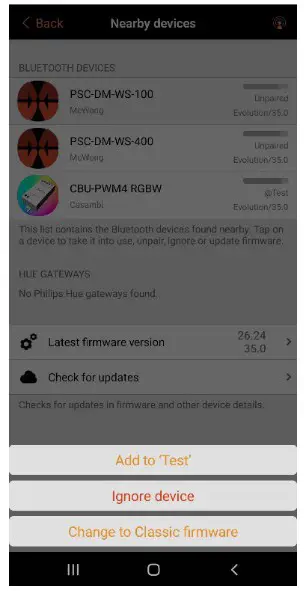
- Enter the “Nearby Devices” menu.

- Choose the switch you’d like to pair from the list of Casambi devices.
a. The app does not currently have a way to identify individual switches aside from their part number. If possible, it is best to pair and rename the switches one-by-one before installing them. - Add the switch to the network.

- The switch is now available and can be found under “Switches” menu in the “More” tab.
- Please refer to the McWong guide for switch configuration details.
EnvironmentalLights.com · P: 888.880.1880 · 11235 West Bernardo Ct., Suite 102, San Diego, CA 92127
© Environmental Lights
 User Guide")


