control.r™

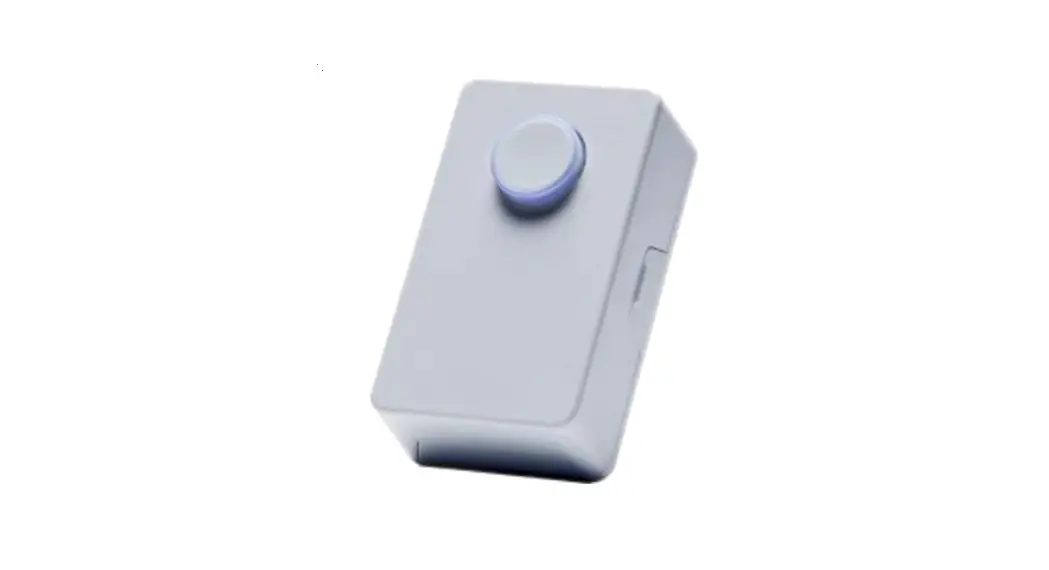
control.r™ Push Button
Installation Manual
What’s in the Box
| Push Button | 2 Screws with Anchors |
 |  |
| Includes Battery and Mounting Plate | Optional Mounting Option |
Components

*CR2032 Battery (Installed)
What You Will Need
Customer-Supplied:

control·r™ Wi-Fi Module
Phillips Head Screwdriver (If Installing Push Button to Wall with Screws and
Current Module Users
If you are currently using the module and upgrading to the new push button, you must update your module firmware before continuing to the next step.

- Download and open the control·r™ or Rinnai Pro app.
- Follow the on-screen instructions to update your firmware.
Pair
Before You Begin:
- The module must be installed and functioning properly before pairing.
- The push button must be within 4 in. (10 cm) of the module during pairing.

Once in pairing mode, you have 5 minutes to pair the push button with the module. After 5 minutes, you must repeat the steps below.
- On the Module: Press and hold the “Connect” button until the LED light flashes green. Then, release the button.

- On the Push Button:
A. Remove the push button cover:
• Pull the push button cover away from the magnetic base. • Turn over the cover. Insert a coin into the groove and rotate counter-clockwise to open the battery cover.
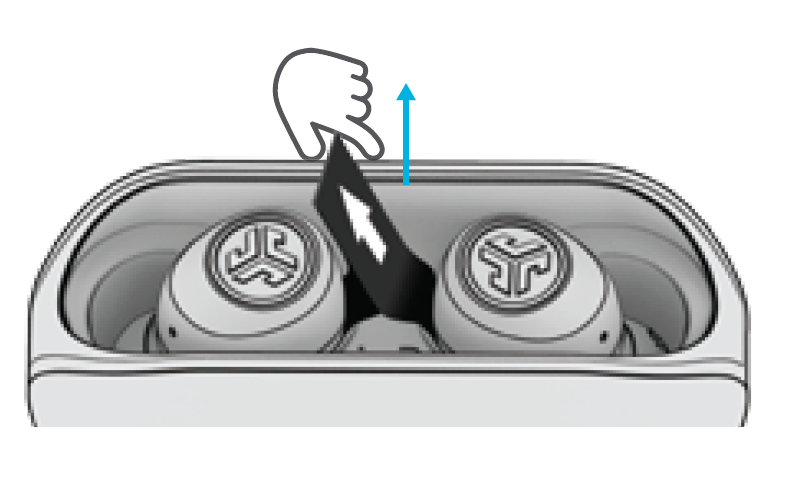
 B. Remove the plastic tab located below the battery cover.
C. Press and hold the “Reset” button for approximately 1.5 to 5 seconds until the indicator light rapidly flashes red. When the light stops flashing and turns solid red, release the “Reset” button. D. The push button light slowly blinks red while trying to pair with the module (the pairing process takes about 15-20 seconds to complete).
 E. When pairing is successful:
• The push button light stops blinking 10 red and turns off.
• The module LED blinks green 3 times to acknowledge the push button, and then turns to the original LED color before the pairing process began. F. Replace the push button battery cover.
Install
- Select a Location
• Select a convenient location.
• The push button must be within 131 ft (40 m) from the module. Do not mount the push button in wet areas, outdoors, or near large metal objects or mirrors which may cause radio signal interference. - Mount the Push Button
• Remove the adhesive backing from the mounting plate back side.
• Firmly press the adhesive side to a clean, dry surface.
See “Appendix A” for installation using the supplied screws and anchors.
Operate
Press the push button to activate the Rinnai Tankless Water Heater recirculation system. Note:
Note:
- Each time the push button is pressed, the module LED quickly flashes green 3 times.

- Recirculation operates for 5 minutes or until the recirculation temperature is achieved.
- If the recirculating pump has recently been active and the recirculation loop is still warm, there may be a delay in pump activation. Note: Tankless water heater parameter settings and Cire-Logic1 determine the frequency for activating the recirculation system. 1 See next page for Cire-Logic definition.
- Circ-Logic is Rinnai’s recirculation technology built into Rinnai tankless water heaters. Circ-Logic defines recirculation patterns that coincide with your hot water usage.
- To minimize any delay in pump activation, set the tankless water heater to “Comfort” mode. Refer to the Tankless Water Heater Installation and Operation Manual for more information on “Comfort” mode.
For More Information
Scan the QR Code to access additional information including:
- Safety Precautions
- Replace the Battery
- Restore Factory Settings
- Troubleshoot
- Specifications
Apendix A Alternate Installation Option
To secure the mounting plate to a wall:
- Pull the push button cover away from the magnetic mounting plate.
- Hold the mounting plate against a wall and secure with the two supplied screws. Use the supplied anchors if necessary.
- Replace the push button cover on 18 the mounting plate.

- This device complies with Part 15 of the FCC Rules. Operation is subject to the following two conditions: (1) this device may not cause harmful interference, and (2) this device must accept any interference received, including interference that may cause undesired operation.
- Changes or modifications not expressly approved by the part responsible for compliance could void the user’s authority to operate the equipment.
- This equipment complies with FCC radiation exposure limits set forth for an uncontrolled environment.
- This equipment has been tested and found to comply with the limits for a Class B digital device, pursuant to part 15 of the FCC Rules. These limits are designed to provide reasonable protection against harmful interference in a residential installation. This equipment generates, uses and can radiate radio frequency energy and, if not installed and used in accordance with the instructions, may cause harmful interference to radio communications. However, there is no guarantee that interference will not occur in a particular installation. If this equipment does cause harmful interference to radio or television reception, which can be determined by turning the equipment off and on, the user is encouraged to try to correct the interference by one or more of the following measures:
- Reorient or relocate the receiving antenna.
- Increase the separation between the equipment and receiver.
- Connect the equipment into an outlet on a circuit different from that to which the receiver is connected.
- Consult the dealer or an experienced radio/TV technician for help.
- This device complies with Industry Canada license-exempt RSS standard(s). Operation is subject to the following two conditions: (1) this device may not cause interference, and (2) this device must accept any interference, including interference that may cause undesired operation of the device.
- This equipment complies with Industry Canada radiation exposure limits set forth for an uncontrolled environment.
- FCC ID: 2AGHJ -RWMPB02 IC: 6389A-RWMPB02
Notes
____________________________
Copyright 2021 Rinnai America
Corporation.Rinnai® is a registered trademark of Rinnai Corporation used under license by Rinnai America Corporation. Rinnai America Corporation continually updates materials, and as such, content is subject to change without notice.
Rinnai America Corporation
103 International Drive
Peachtree City. GA 32069
Tel: 1-800-621-9419
Web: www.rinnai.us
www.rinnai.ca
Documents / Resources
 | Rinnai RWMPB02 Push Button [pdf] Installation Guide RWMPB02, 2AGHJ-RWMPB02, 2AGHJRWMPB02, RWMPB02 Push Button, Push Button, Button |


 • Turn over the cover. Insert a coin into the groove and rotate counter-clockwise to open the battery cover.
 B. Remove the plastic tab located below the battery cover.
 D. The push button light slowly blinks red while trying to pair with the module (the pairing process takes about 15-20 seconds to complete).
 E. When pairing is successful:
 F. Replace the push button battery cover.


