![]()
3rd Party Upgrade Guide
Instructions for Gateway Upgrade Installation
The following instructions will guide you through the replacement of your 3rd Party Data Collector with a new NextCentury Gateway.
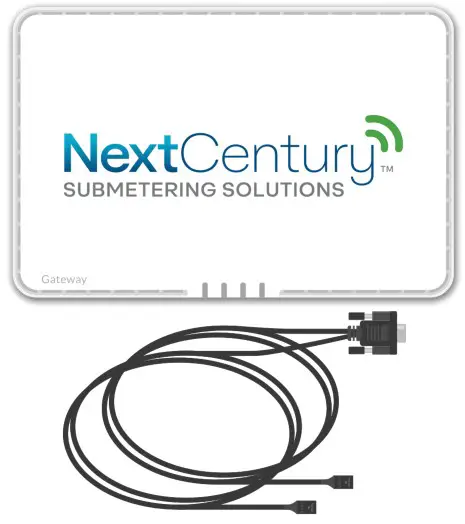
Verify Gateway and 3rd Party Cable
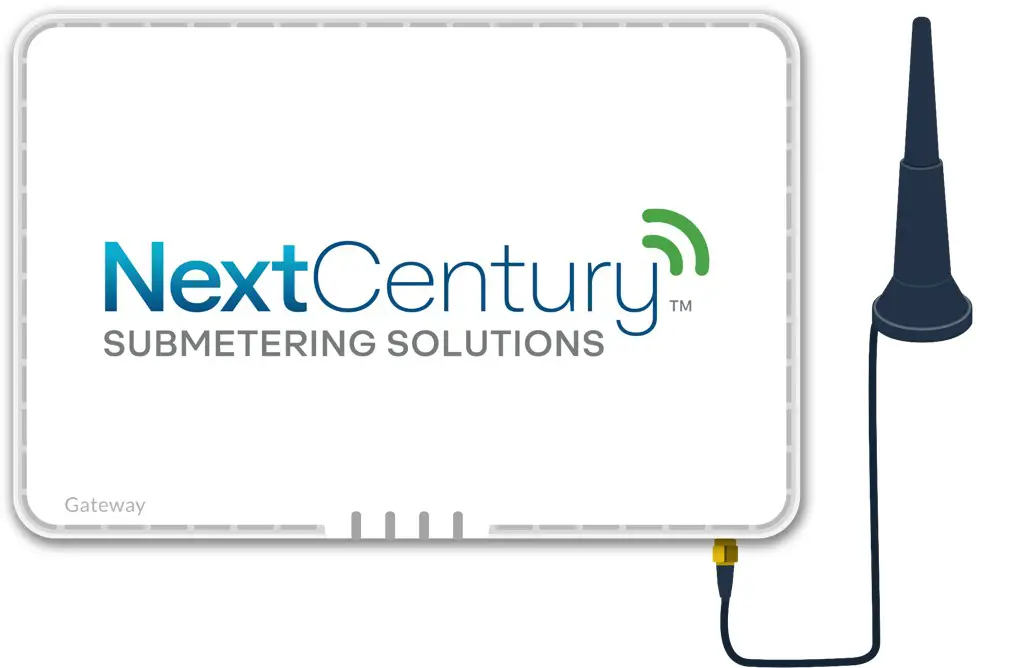
Before you begin, verify that you have received the NextCentury Gateway (GW4) and the 3rd Party Cable (NC3PC).
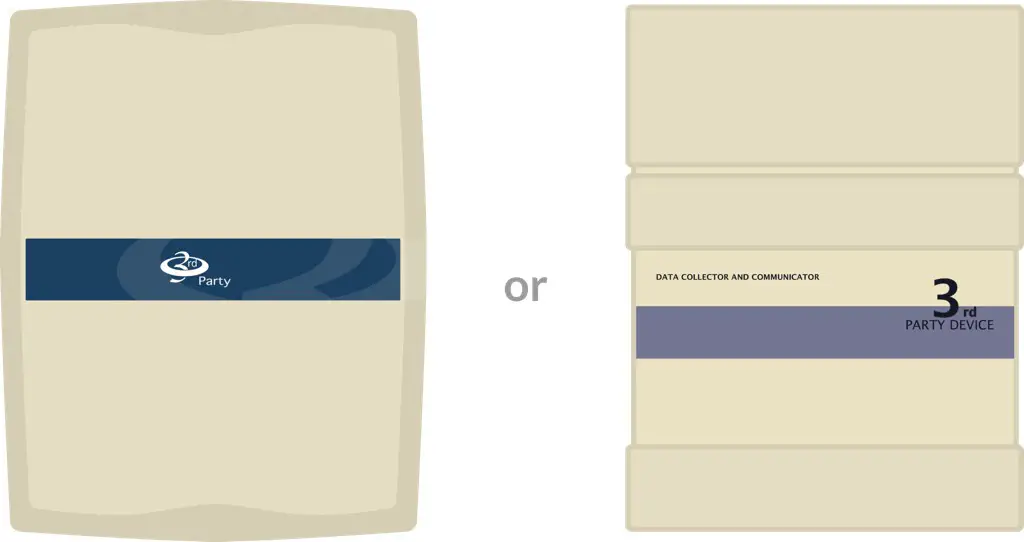
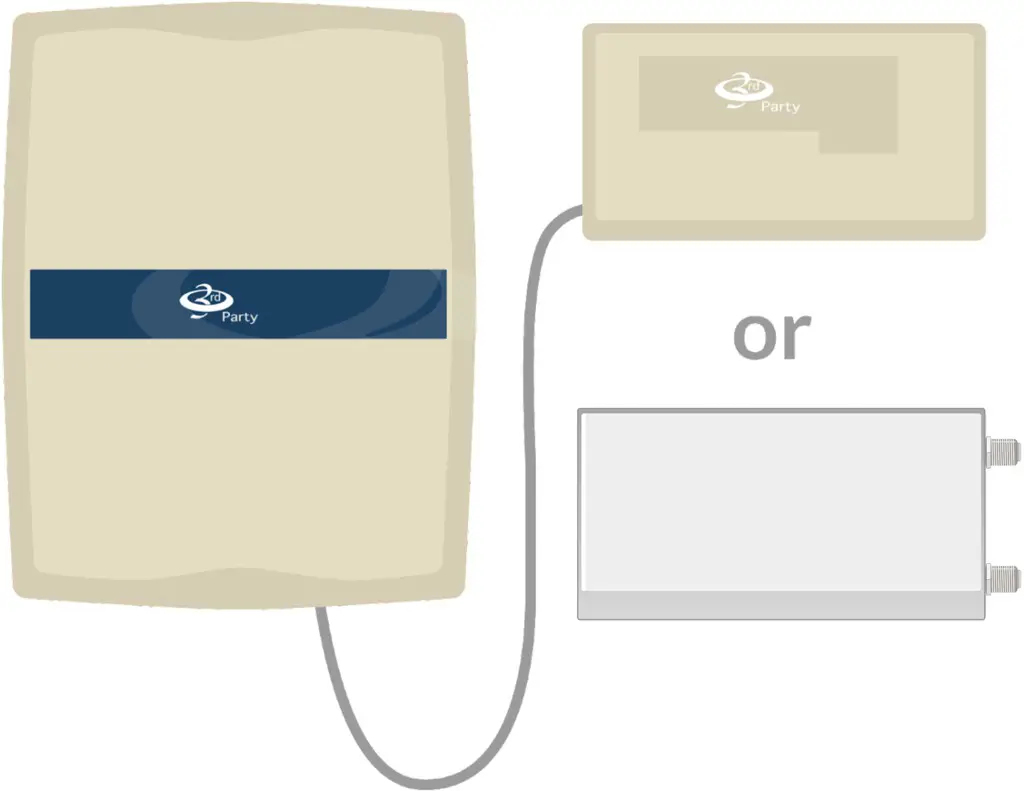
Locate 3rd Party Data Collector
The Data Collector is typically mounted to a wall in the leasing office, telecom room, or other secure location on the property. Often it is found near internet or networking equipment:
Note: After completing the steps in this guide, the Data Collector will no longer be needed and can be removed.
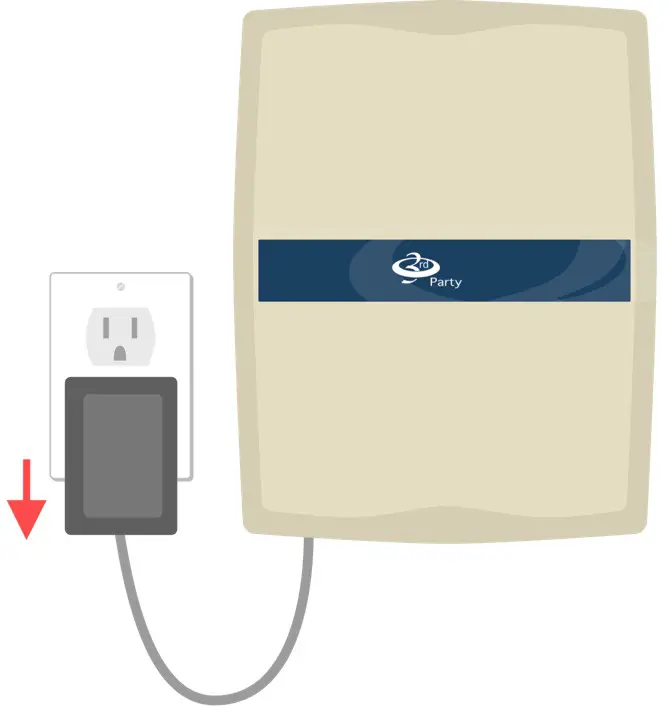
Disconnect Power
Unplug the Data Collector from power.
Locate Connected Receiver(s)
You may have 1 or 2 Receivers connected to your Data Collector.
Disconnect Receiver(s)
Open the Receiver(s) and disconnect the old wires using a small, flathead screwdriver.
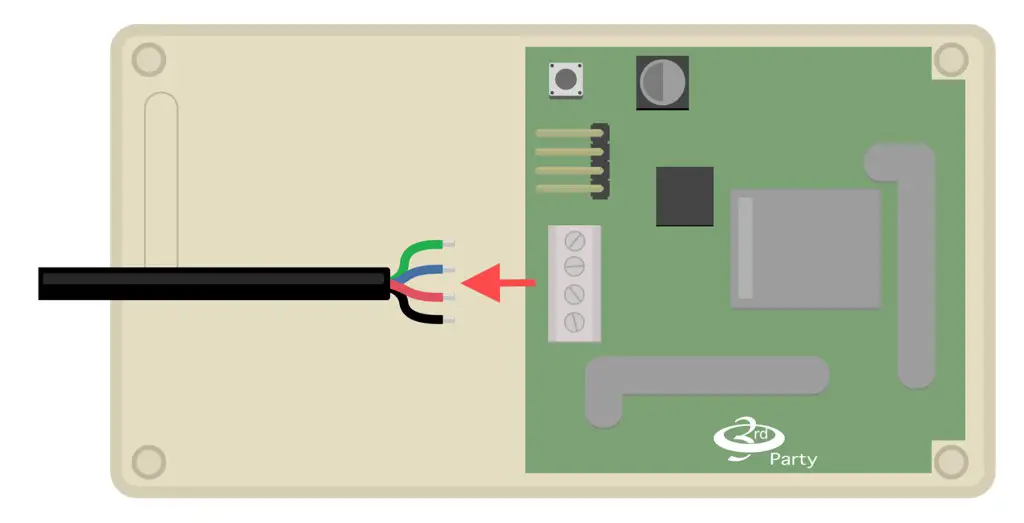
Note: Ensure all wires are disconnected and do not reconnect them. These wires are no longer used.
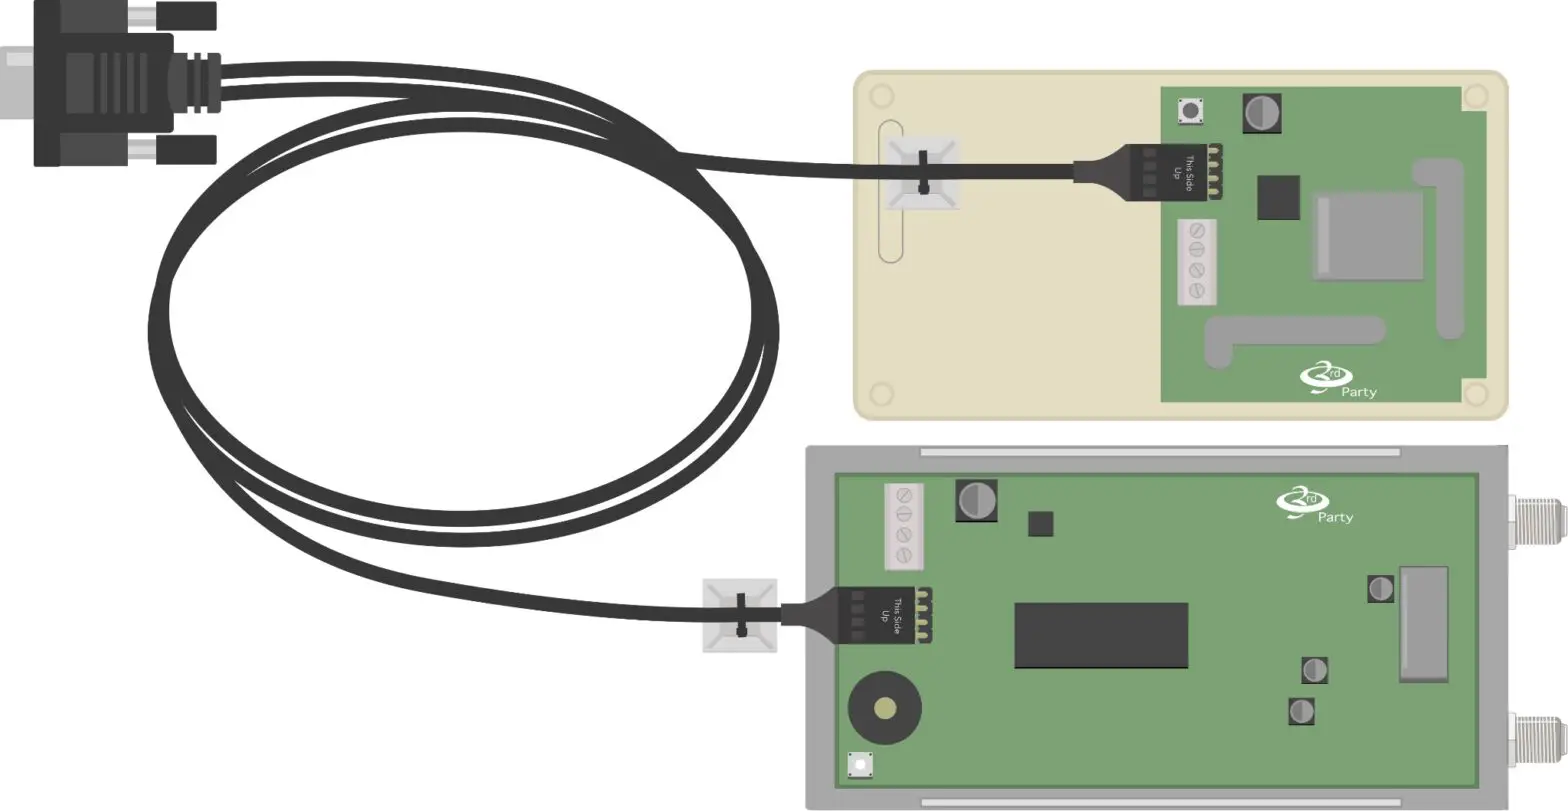
Connect Cable to Receiver(s)
Slide the replacement 3rd Party Cable onto the 4-pin connector and secure the cable-tie with the adhesive back.
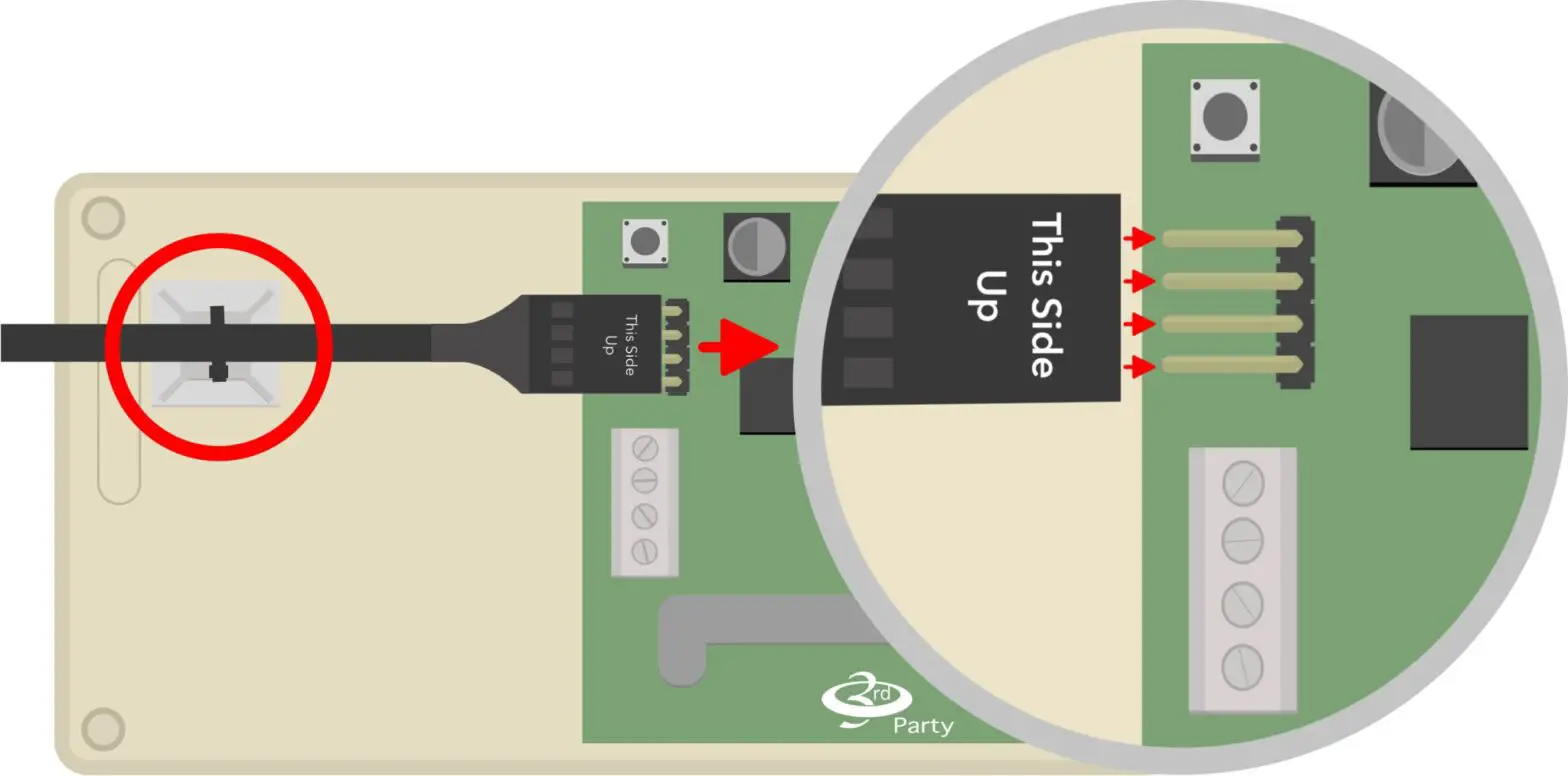
If you have 2 Receivers, connect both Receivers to the 3rd Party Cable.
Mount Gateway
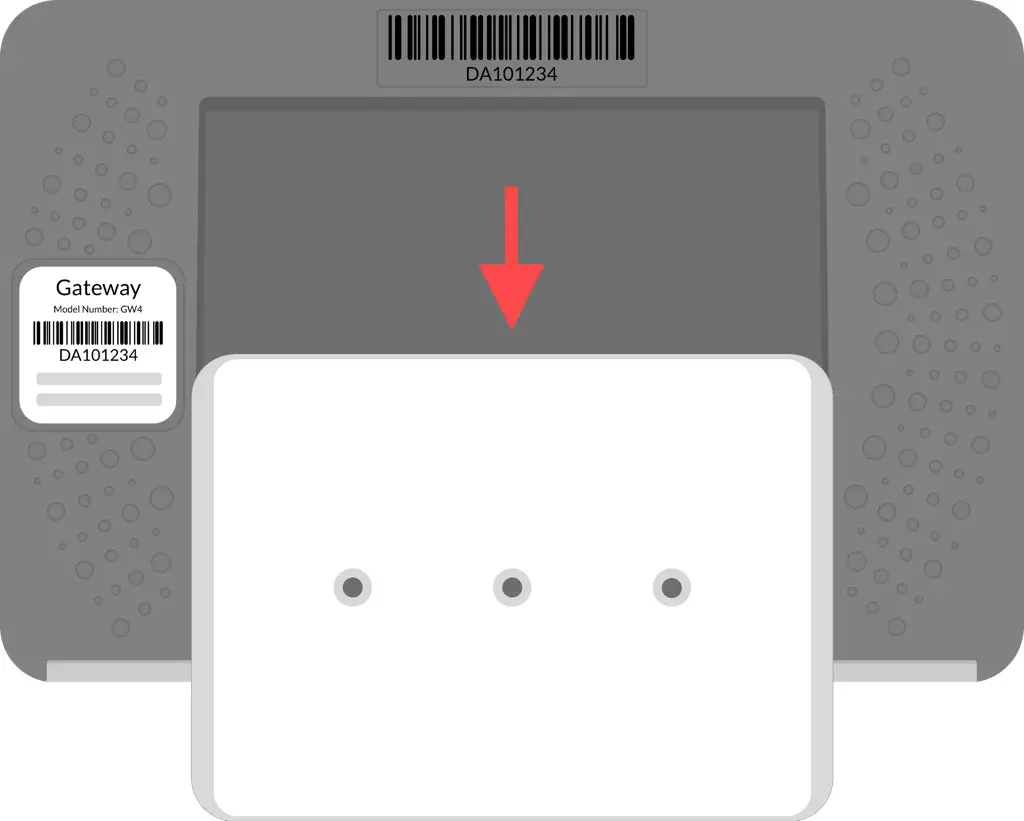
Remove the wall plate from the back of the NextCentury Gateway.
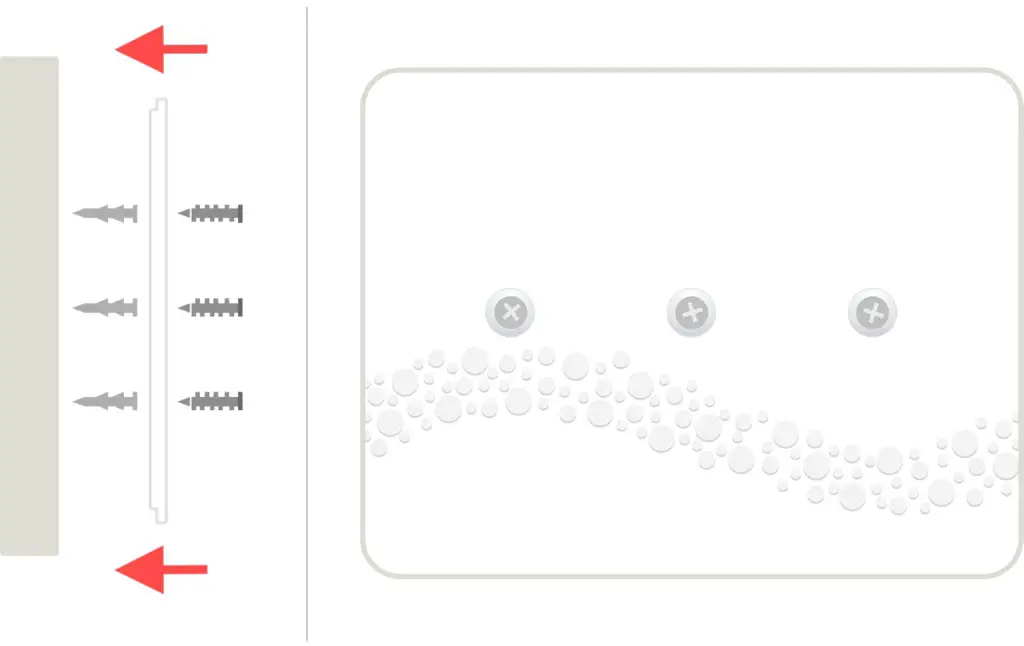
Attach the wall plate to the wall with the adhesive back and secure it with included hardware.
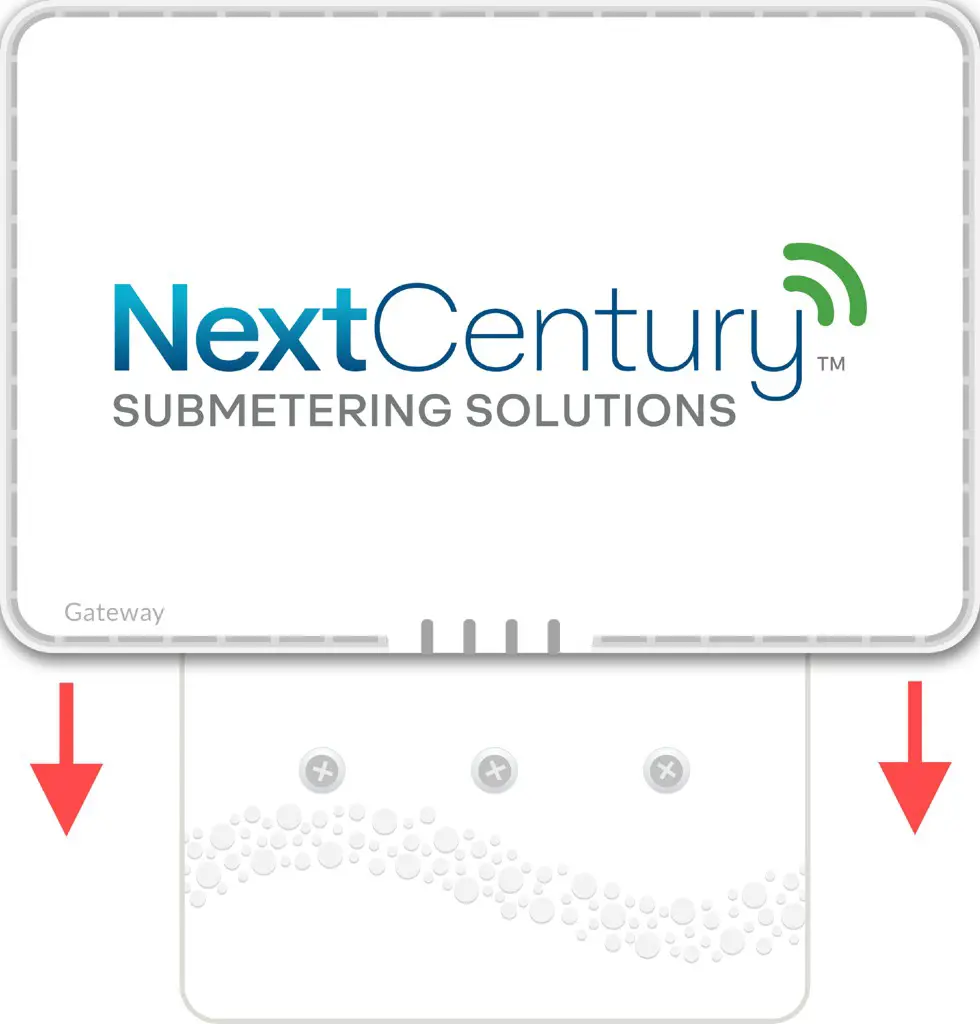
Mount the Gateway by sliding it down onto the wall plate.
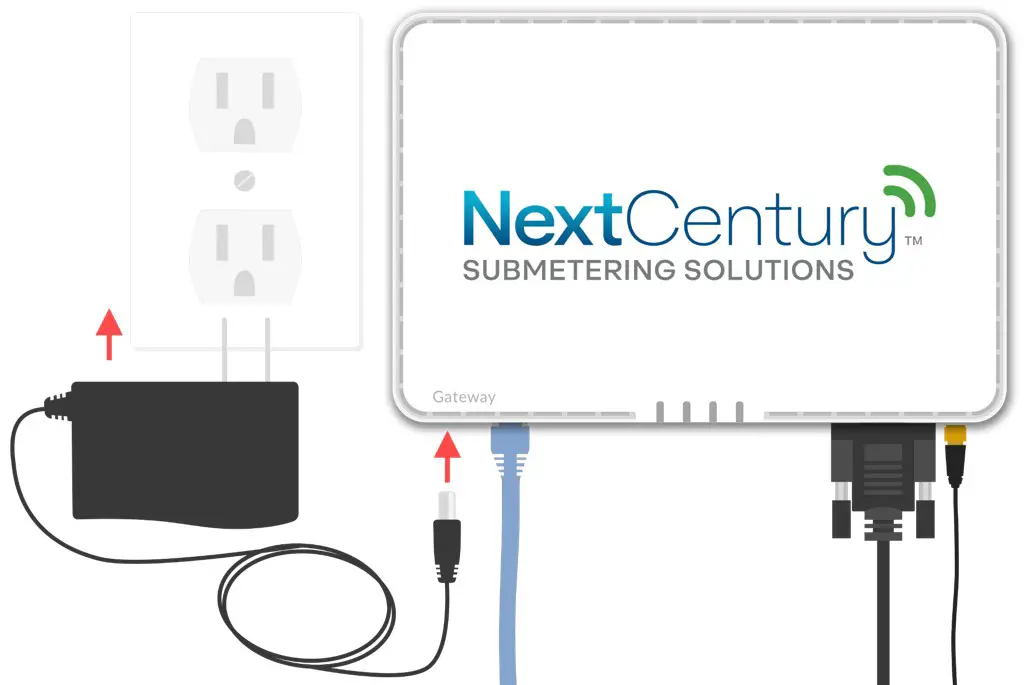
Connect Gateway Cables
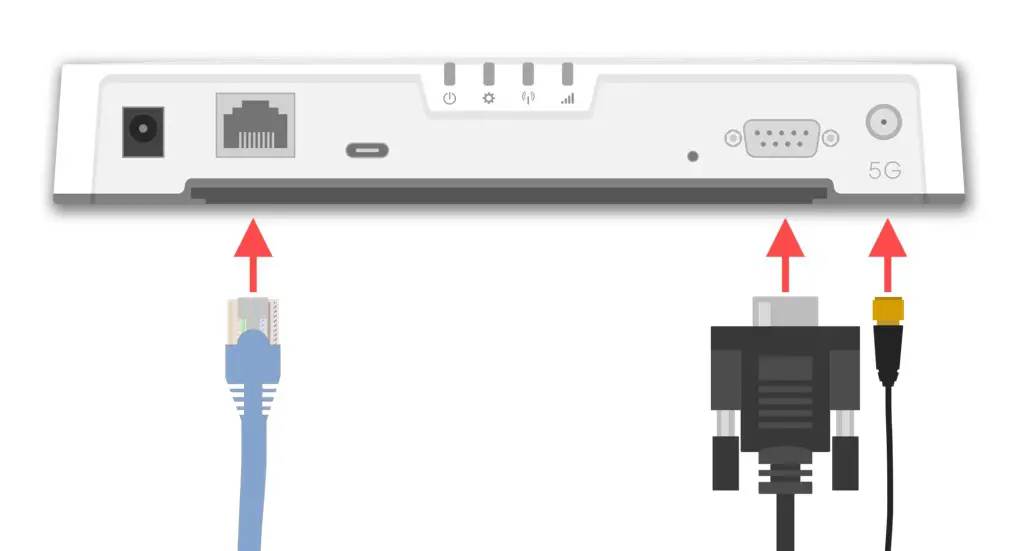
Connect the 3rd Party Cable and Cellular Antenna. Connect Ethernet Cable if applicable.
Note: Do not connect power yet.
Place the Cellular Antenna as high as possible for the best signal.
Power-on Gateway
The Gateway can now be powered on using the included 15v power supply.
Confirm Gateway is Online
After a few minutes, the power light (first light from the left) should turn solid blue, indicating an active Internet connection.
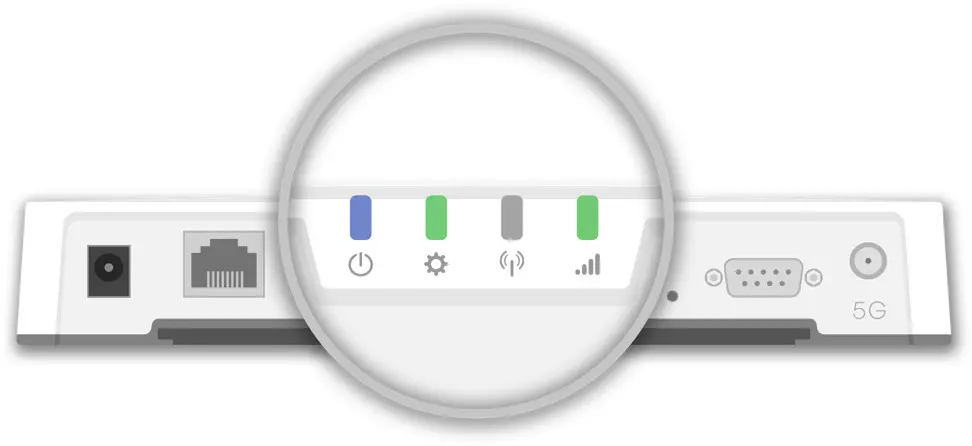
If the power LED does not turn blue, please contact NextCentury Support.
Contact Information
For any questions or concerns, please contact NextCentury Submetering Solutions Product Support:
- Phone: (844) 538.8203
- Email: [email protected]
[email protected]
www.nextcenturymeters.com


![Gpi Electronic Water Meters [01n31gm, 01n31lm, 01n12lm] User Manual](https://static-data1.manualsee.com/1/img/74/17010/2020/12/0-40.jpg "Gpi Electronic Water Meters [01n31gm, 01n31lm, 01n12lm] User Manual")
