![]()
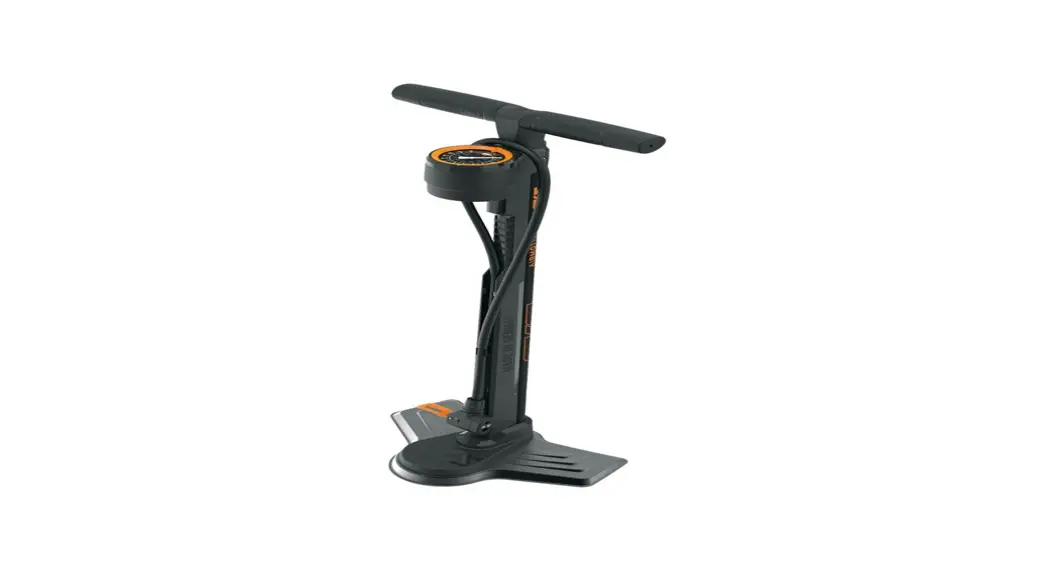
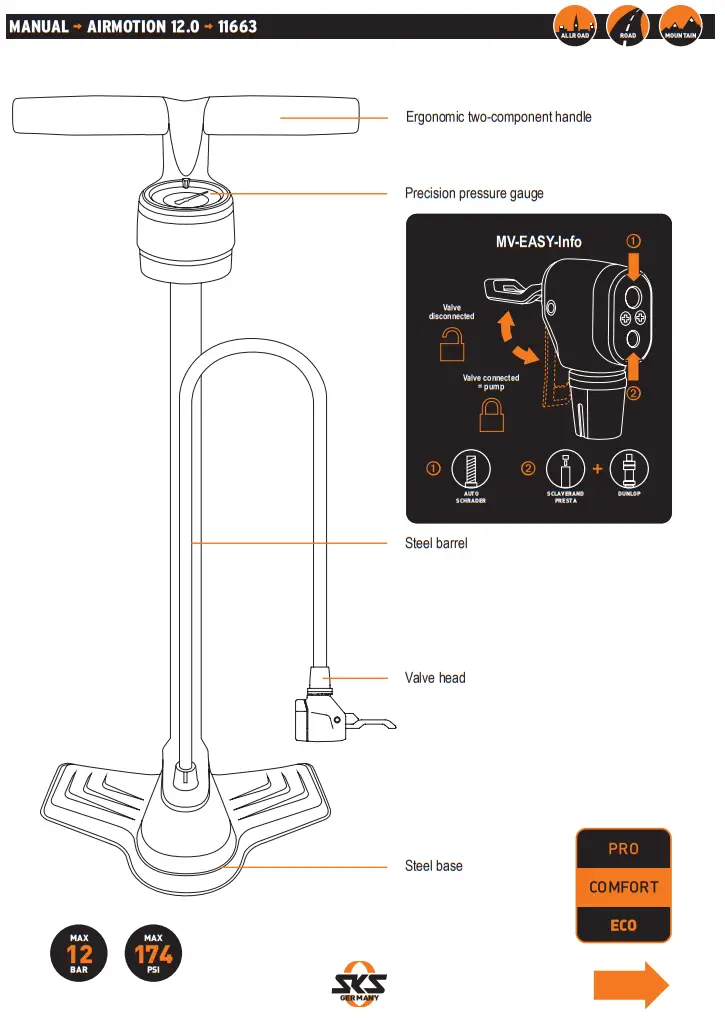
GERMANY 11663 Air Motion 12.0 Floor Pump
Instruction Manual 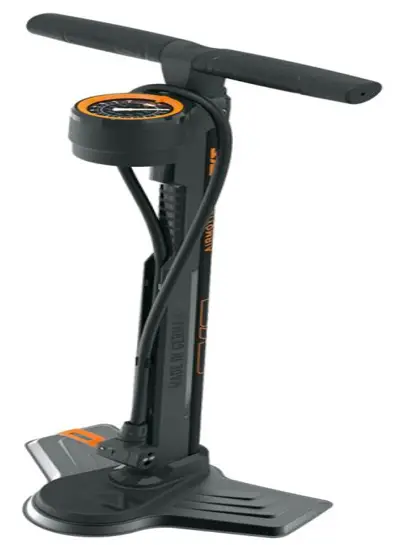
11663 Air Motion 12.0 Floor Pump
Exchange gauge floor pumps
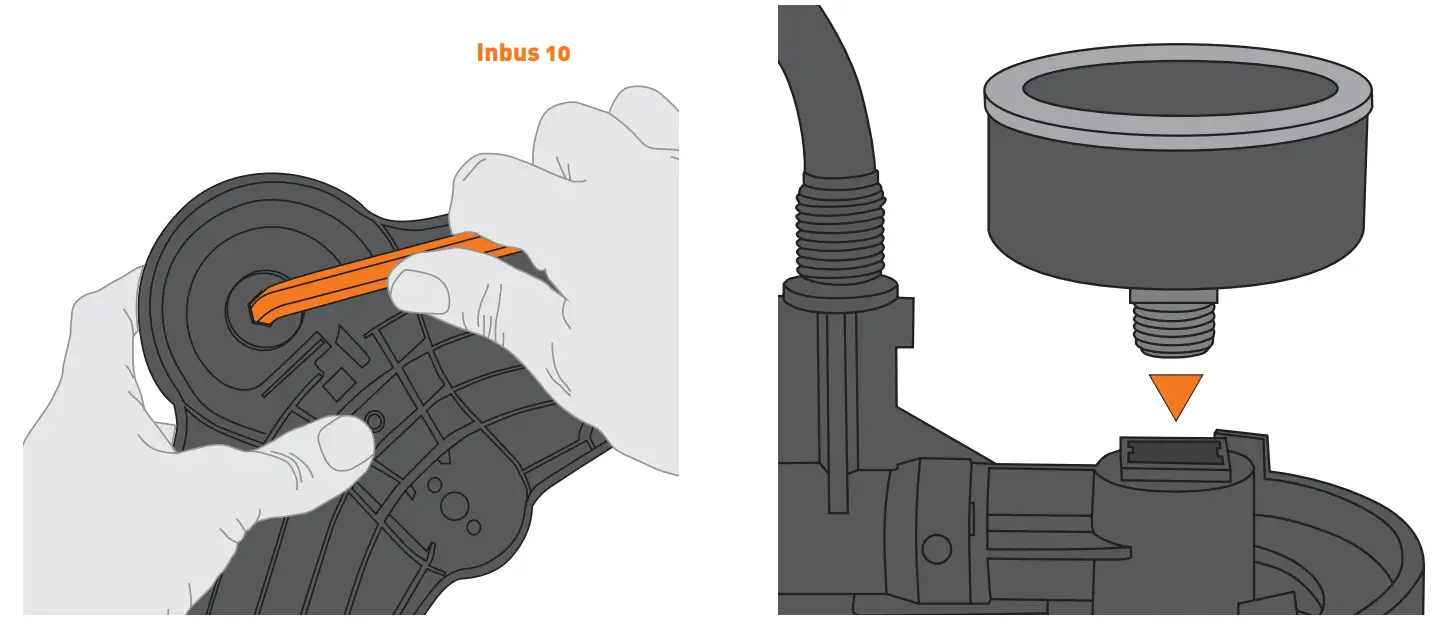
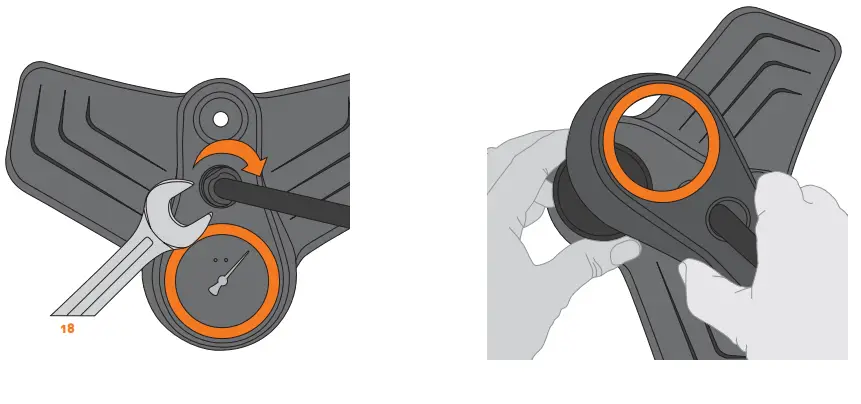
| 1. Loosen the union nut on the pressure gauge cap. | 2. Pull up the pressure gauge cap. |
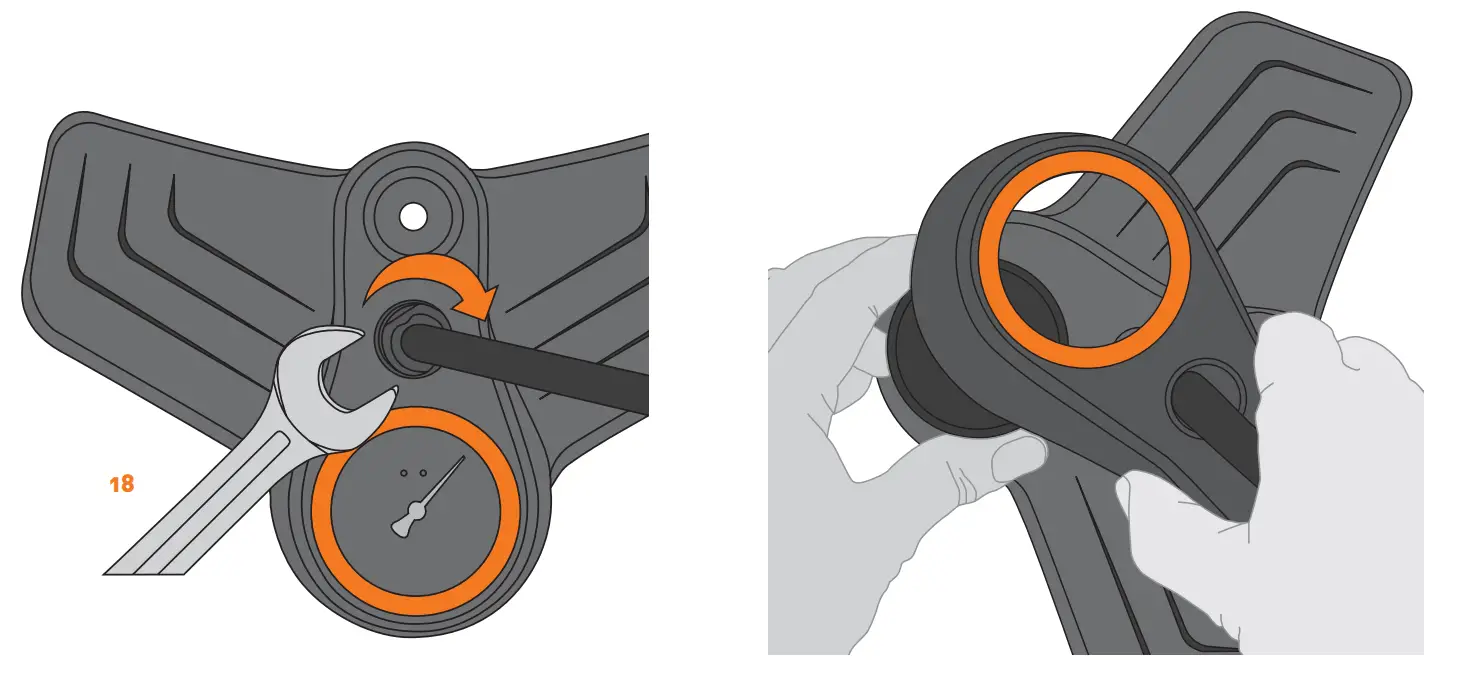 | |
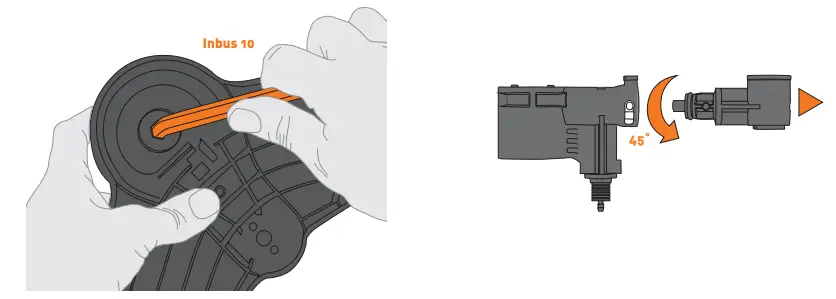
| 3. Unscrew the pressure gauge at the bottom with an Allen key (size 10). | 4. Insert a new pressure gauge into the pressure gauge holder. |
 | |
| 5. Screw on the pressure gauge with a maximum torque of 2 Nm. | 6. Push the pressure gauge cap down again and secure it with the union nut. |
 | |
Exchange rubber sealing cuff floor pumps
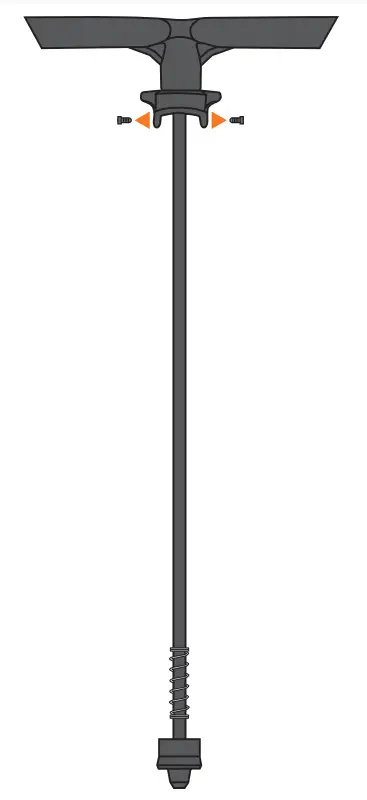
- Remove the two Torx screws (T25) of the hose holder. Pull the cylinder rod out of the tube with a strong jerk.

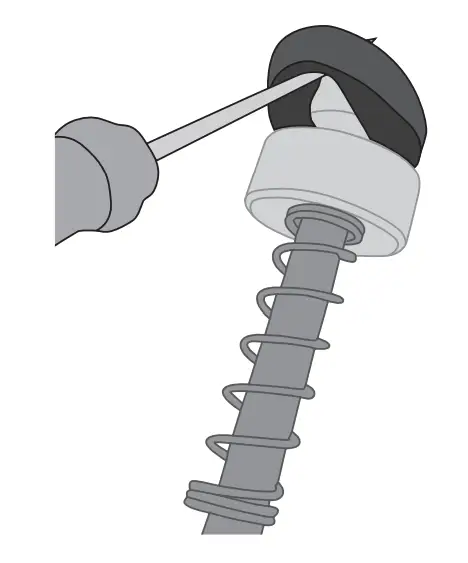
- Remove the old cup seal. If necessary, use a tool to do this (e.g. screwdriver).
 Place the new cup over the cylinder rod until it is positioned in the designated joint.
CAUTION: Make sure that it is on the correct side!
- Grease the rubber cup seal, re-insert the cylinder rod, and screw it in.
 Place the new cup over the cylinder rod until it is positioned in the designated joint.
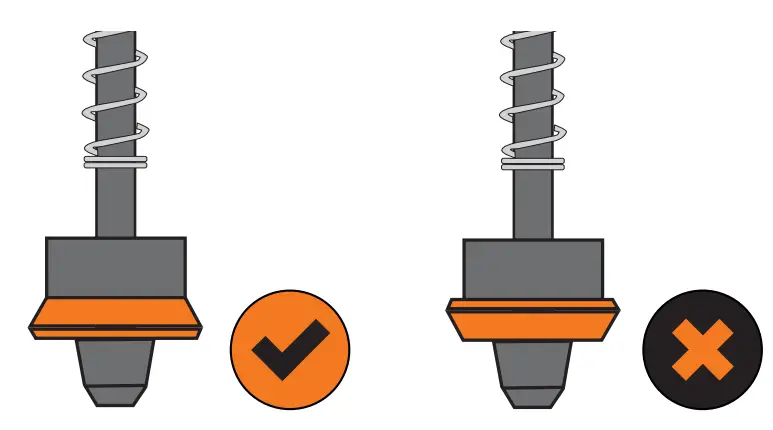
Exchange recovery system
| 1. Loosen the union nut on the pressure gauge cap. | 2. Pull up the pressure gauge cap. |
 | |
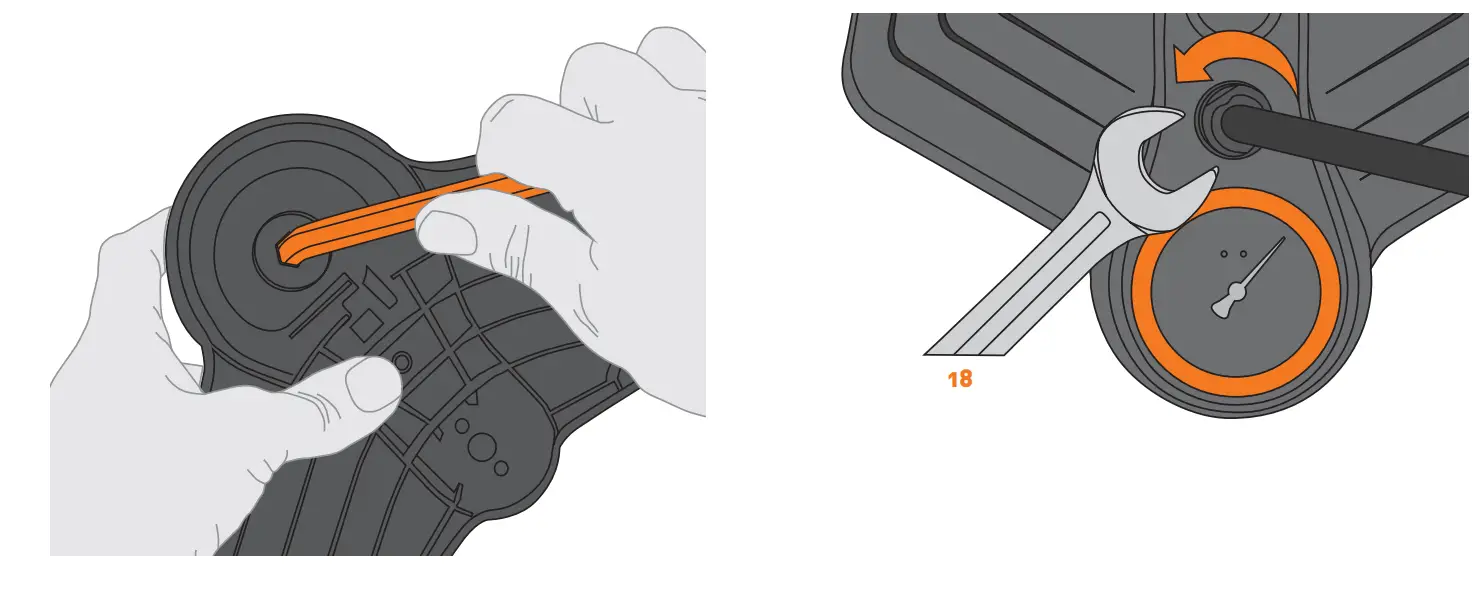
| 3. Unscrew the pressure gauge at the bottom with an Allen key (size 10). | 4. Turn the pressure gauge holder approximately 45° anti-clockwise until you feel resistance. Then pull out the pressure gauge holder. |
 | |
| 5. Replace the non-return valve system and follow the steps mentioned above in reverse order. | 6. ATTENTION: Please make sure that the non-return valve system is correctly positioned in the designated fixing. Check that the spring is fitted securely! |
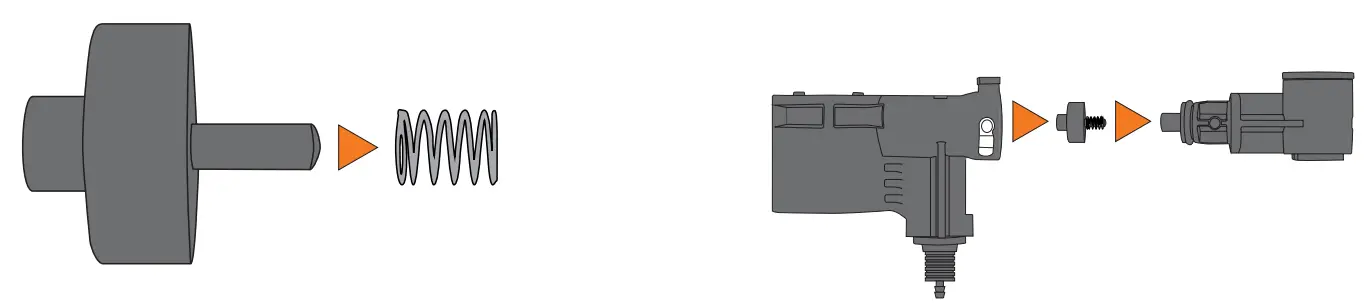 | |
Exchange valve seals
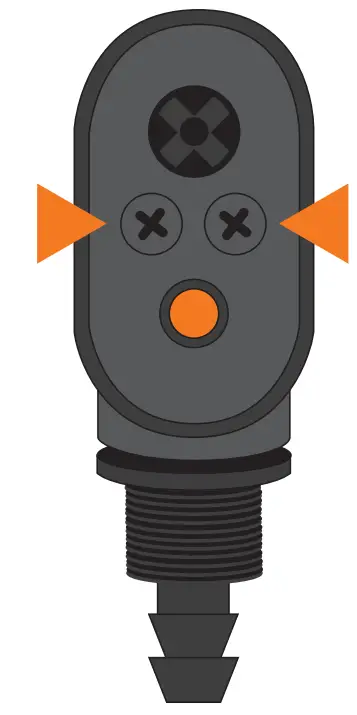
- Remove cross-headed screws.

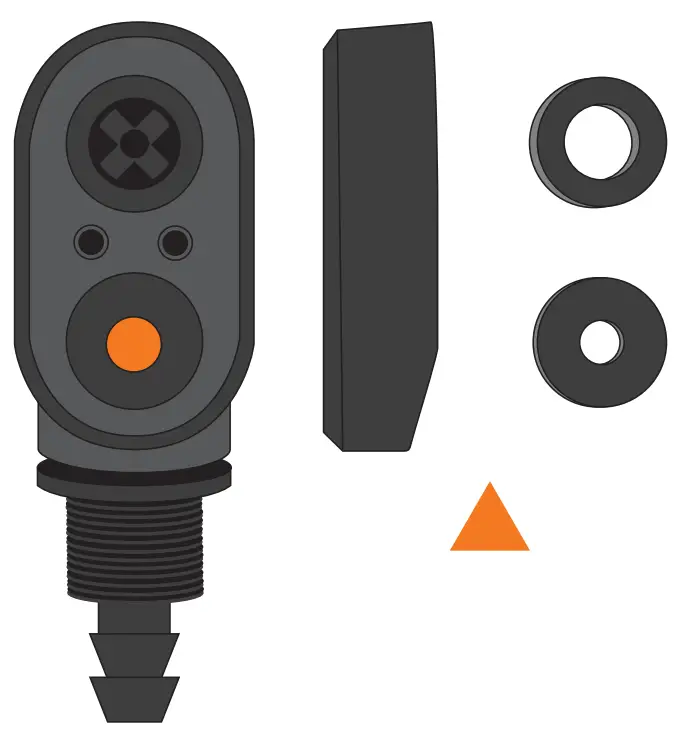
- Remove the cap and seals.

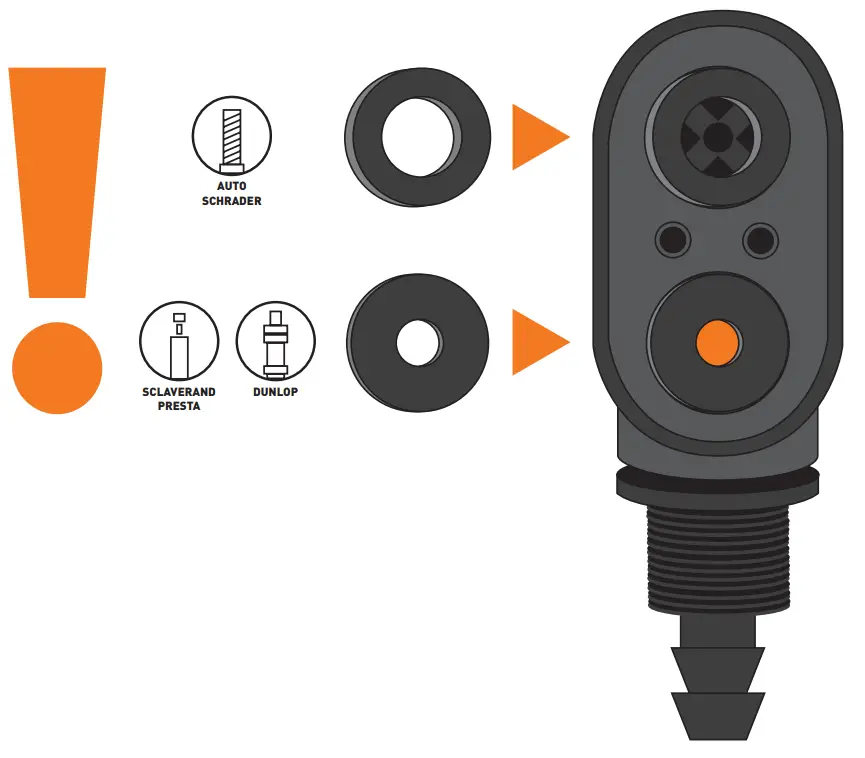
- Insert new seals.
ATTENTION: Different seals for Schrader and Presta.
- Replace the cap and screw it tight.
![]()


